How to Convert an Image to HDR
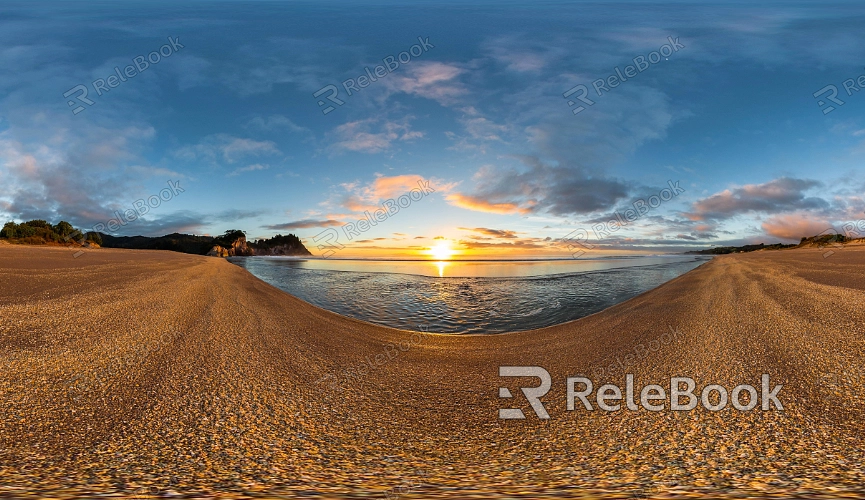
In leading 3D software such as Blender, 3ds Max, and Cinema 4D, HDR images are commonly used for environment mapping and light simulation, particularly in scenes with strong lighting contrasts, such as sunrises, sunsets, night scenes, or high-glare environments. Designers can leverage the advantages of HDR images to enhance the rendering effect, resulting in a more realistic and detailed visual outcome. This article will explore the process of converting a standard image into an HDR image, guiding you through key steps to help you master this technique.
1. Preparing and Selecting the Base Images
Choosing the Right Exposure
The first step in creating an HDR image is to select and prepare a series of base images with different exposure values (EV). These images should range from the darkest to the brightest, capturing all the details of the scene. It is recommended to use at least three images—one with low exposure, one with medium exposure, and one with high exposure—to ensure you capture the full spectrum from shadows to highlights.
Selecting the Image Format
Ensure that your base images are in a high-quality format, such as RAW or TIFF. These formats retain more image details and color information, which is crucial for the subsequent HDR merging process. If creating this type of model feels too complex or time-consuming, or if you're unsure where to start, consider visiting Relebook. At https://textures.relebook.com/, you can easily download high-quality 3D resources to help you complete your projects quickly.、
2. Merging the Images with HDR Software
Choosing the Right Software
There are many software options available for HDR merging, such as Photoshop, Photomatix Pro, and HDRsoft. Designers can choose the tool that best suits their needs and ease of use. 3D software like Blender and 3ds Max also have built-in HDR merging functions, allowing you to handle images directly within a 3D environment.
Importing and Aligning the Images
Import the selected images with different exposures into the software. The software will automatically align these images, ensuring all elements overlap perfectly. If the images were captured using a tripod, the alignment will be even more precise.
Creating the HDR Image
Select the option to merge the images into an HDR file. The software will combine the images with different exposures to produce an HDR image with a rich dynamic range. During the merging process, designers can adjust parameters such as gamma and tone mapping to optimize the final result.
3. Fine-Tuning Details and Colors
Tone Mapping
HDR images usually require tone mapping to display correctly on standard monitors. This step compresses the wide brightness range of the HDR image into the range that standard display devices can show. Tone mapping tools help designers control contrast, saturation, and brightness, making the image look more natural.
Enhancing Details
To ensure that details are preserved across the entire brightness range, use detail enhancement tools. By fine-tuning highlights and shadows, you can improve the overall visual effect of the image. This step can significantly enhance the quality of the final image.
4. Exporting and Saving the HDR Image
Choosing the Right HDR Format
Save the merged and adjusted HDR image in an appropriate format, such as HDR, EXR, or TIFF. These formats preserve the full dynamic range of the HDR image, making it suitable for subsequent 3D rendering or other image processing tasks.
Apply the HDR image to your 3D software and test its effect in different scenes. Adjust exposure, light sources, and environment settings to ensure the HDR image accurately reflects the lighting conditions of the scene, enhancing the rendering effect.
By following these steps, designers can easily convert a standard image into an HDR image, providing more realistic and refined lighting for 3D scenes. This not only improves the rendering quality but also delivers a more impactful visual experience for the audience.
Finally, if you’re looking for high-quality HDR image resources, 3D textures, SketchUp models, or 3ds Max models to download for creating models and virtual scenes, Relebook is an excellent resource. Downloading textures and models from Relebook and importing them into 3ds Max can significantly elevate the quality of your work.
