How to Make a 3D Model House Using Cardboard
Creating a 3D model house is not only a fun craft activity but also a great way to enhance your hands-on skills and spatial imagination. Cardboard is an easily accessible and manageable material that is perfect for making 3D models. This guide will walk you through the process of creating a 3D model house using cardboard, with clear and easy-to-follow steps.
Materials Needed
First, gather the following basic materials and tools:
- Cardboard: Choose cardboard with moderate thickness to provide adequate support while being easy to cut.
- Cutting Tools: Utility knife or scissors.
- Measuring Tools: Ruler and pencil for precise measurement and marking.
- Adhesive: Glue or tape for securing the cardboard.
- Colors and Decorative Materials: Colored pens, paint, etc., for decorating the house.
Design and Measurement
Before you start building, design the structure and dimensions of the house. Draw a sketch on paper, including the sizes and shapes of walls, roof, doors, and windows.
1. Walls and Floor: Measure and mark the dimensions of the walls and floor, then cut them out with a utility knife or scissors. Adjust the size of the walls and floor based on your design, ensuring they fit together securely.
2. Door and Window Cutouts: On the cut walls, carefully cut out the door and window openings according to your design using a utility knife. Adjust the size and placement of doors and windows based on personal preference.
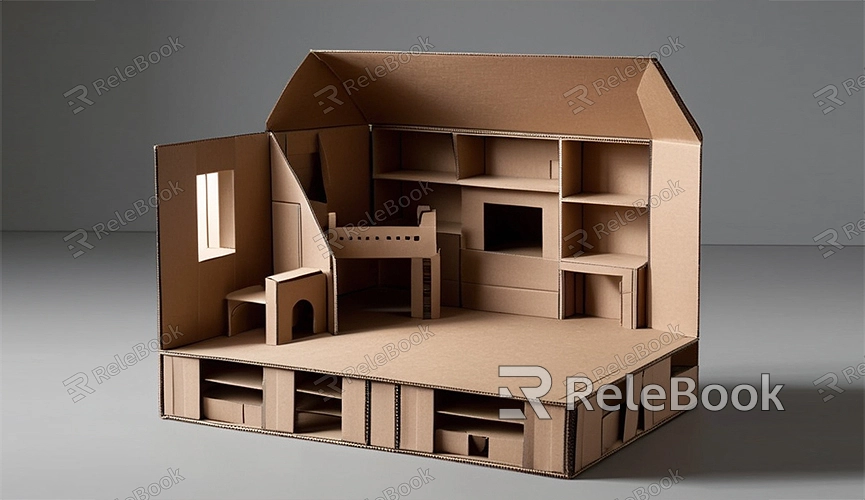
Assembling the House
Next, assemble the pieces to form a complete house structure.
1. Attach Walls and Floor: Place the floor on a flat work surface, then attach the four walls to the edges of the floor to create a frame. Use glue or tape to secure the walls, ensuring they are firmly attached.
2. Install the Roof: Cut the roof cardboard into two equal triangular pieces, then attach them to the top of the house to create a sloped roof. Additional cardboard strips can be used as roof supports for added stability.
3. Decoration and Details: Decorate the house using colors and decorative materials. Draw brick patterns on the walls, color the windows with colored pens, and paint the roof. This step allows for personal creativity and customization.
Adding Details
To make your 3D model house more realistic, add some additional details such as door handles, curtains, and small gardens.
1. Make Furniture: Use leftover cardboard to create simple furniture like tables, chairs, and beds. Place these items inside the house to add a lived-in feel.
2. Decorate the Exterior: Add small details to the exterior of the house, such as balconies, flower pots, and climbing plants. These can be made from cardboard, colored paper, and other materials, and glued to the walls.
3. Lighting Effects: To showcase the house at night, consider installing small LED lights inside. Position the LED lights in various corners of the house, powered by batteries or USB, to create a warm lighting effect.
Once completed, you can display your 3D model house on a shelf, desk, or display cabinet at home. If you want to share your creation with others, take photos or make a video of your model and upload it to social media to connect with others and exchange crafting tips and experiences.
If you need high-quality 3D textures, HDRIs, or downloadable 3D models for creating models and virtual scenes, you can download them from Relebook. Simply import the textures and 3D models into your project for immediate use. By following these steps, you can easily create a beautiful 3D model house using cardboard. We hope this guide provides useful instructions and inspires your creativity.
