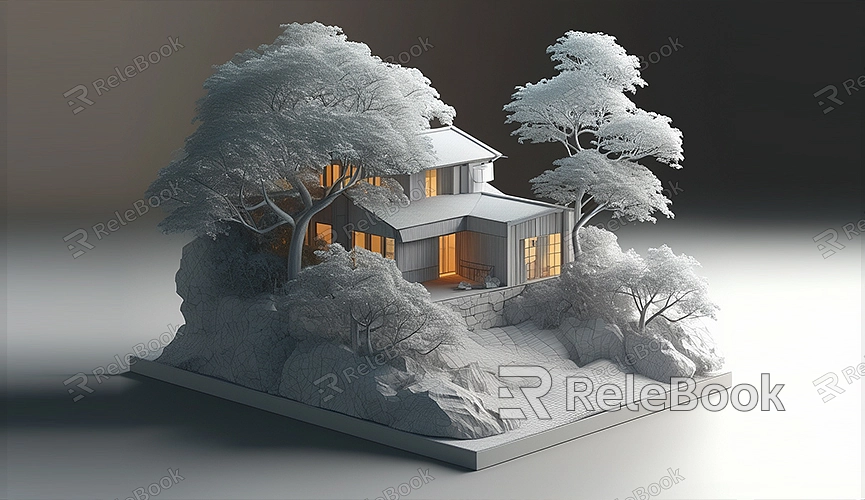
How to Render a 3D Scan in Blender
3D scanning technology provides a convenient way to convert real-world objects into digital models. Whether for virtual reality, augmented reality, or product design, 3D scan models offer realistic details and textures. Blender, a powerful open-source 3D software, offers various tools to handle and render 3D scan models. This guide will walk you through the process of rendering a 3D scan in Blender, from importing the model to final rendering.

Import the 3D Scan Model
First, you need to import your 3D scan model into Blender. Common 3D scan file formats include OBJ, STL, and PLY.
1. Launch Blender: Open the Blender application and enter the main interface.
2. Import the Model:
- Click on the “File” option in the top menu bar.
- From the dropdown menu, select “Import” and then choose the option that matches your file format, such as OBJ, STL, or PLY.
- Browse your computer, locate your 3D scan file, and click the “Import” button.
After importing the model, you will see the scan model appear in Blender's 3D view. At this point, you can adjust and optimize the model to fit rendering needs.
Clean and Optimize the Model
3D scan models often contain unnecessary details or noise, which can affect rendering quality. To improve the rendering, you need to clean and optimize the model.
1. Remove Excess Faces and Vertices:
- In “Edit Mode,” select “Select” from the menu and choose “Select All.”
- Use the “Delete” tool to remove unwanted faces and vertices, ensuring a smooth surface.
2. Fix the Model:
- Use the “Sculpt” tools to repair damaged areas and fill missing parts.
- Employ the “Mesh” tools to fix the model’s topology and ensure continuity.
3. Simplify the Model:
- Use the “Decimate” function to reduce the polygon count and enhance rendering speed.
- Add a “Decimate” modifier in the “Modifiers” panel and adjust the simplification ratio as needed.
Add Textures and Materials
To make your 3D scan model look more realistic, you need to add textures and materials. Blender provides powerful material editing features to achieve various effects.
1. UV Unwrapping:
- Select your model and perform UV unwrapping in “Edit Mode.”
- Use the “UV Editor” to unwrap the model’s surface onto a 2D image for accurate texture application.
2. Add Textures:
- Create a new material in the “Material Properties” panel.
- In the “Texture” tab, add a texture image and map it to the model.
3. Adjust Materials:
- Modify material properties, such as color, reflectivity, and glossiness, to suit your needs.
- Use Blender’s built-in node editor to create complex material effects.
Set Up Lighting and Camera
Good lighting and camera settings are crucial for rendering results. Blender offers various lighting and camera options to help you achieve the desired rendering effect.
1. Add Lighting:
- From the “Add” menu, select “Light” and choose the appropriate type, such as a point light, spotlight, or ambient light.
- Adjust the light’s position and intensity for optimal illumination.
2. Set Up the Camera:
- From the “Add” menu, select “Camera.”
- Position, angle, and adjust the camera’s focal length to ensure the rendering view meets your requirements.
3. Adjust Rendering Settings:
- In the “Render Properties” panel, select an appropriate rendering engine, such as Cycles or Eevee.
- Set the rendering resolution, sampling rate, and other parameters for the best results.
Render and Output
The final step is to render your 3D scan model and save it as an image or video file. Blender offers various rendering options to meet different needs.
1. Render:
- Click on the “Render” option in the top menu bar, then choose “Render Image” or “Render Animation.”
- Blender will generate the final render based on your settings.
2. Save the Render Result:
- After rendering, you can select “Save As” from the “Image” menu to save the render result in common image formats, such as PNG or JPEG.
If you need high-quality 3D textures and HDRIs for your models and virtual scenes, you can download them for free from [Relebook Textures](https://textures.relebook.com/). For beautiful 3D models, visit [Relebook 3D Models](https://3dmodels.relebook.com/), where you’ll find a wide range of premium 3D resources.
By following these steps, you can successfully render a 3D scan model in Blender.

