Can I Use HDR Texture in Blender for Lighting
Using HDR textures for lighting in Blender is a common and effective technique, especially when aiming for realistic rendering results. HDR textures are widely used in various 3D software such as Blender, 3ds Max, and Maya due to their rich details and high contrast. This article will explore how to effectively use HDR textures for lighting in Blender, providing practical tips and steps to help you achieve the best possible results in your work.

1. What Is an HDR Texture?
An HDR (High Dynamic Range) texture is an image that captures a wide range of lighting information from a scene. These textures contain more brightness details than regular images, enabling a more accurate simulation of real-world lighting effects. When used for lighting, HDR textures create natural and intricate light and shadow patterns, which are crucial for enhancing the realism of a scene. Blender and other 3D software support importing and using these high dynamic range images to illuminate 3D environments effectively.
2. Benefits of Using HDR Textures for Lighting
Incorporating HDR textures into your lighting setup in Blender offers several advantages:
Enhanced Realism: HDR textures provide detailed brightness information, allowing for a more lifelike recreation of real-world lighting conditions, particularly in outdoor scenes.
Reduced Post-Processing: Since HDR textures inherently contain high dynamic range data, the rendered images often require minimal adjustments in brightness and contrast during post-processing.
Ease of Use: Applying HDR textures in Blender is straightforward—just import the HDR file and set it as an environment texture.
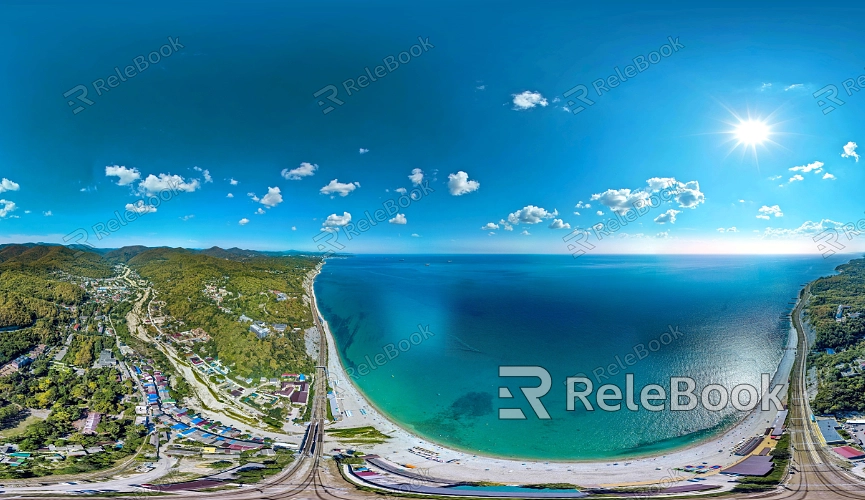
If you're looking for high-quality HDR images, consider visiting Relebook. You can directly download stunning HDR image resources at https://textures.relebook.com/.
3. How to Import HDR Textures in Blender?
To use HDR textures for lighting in Blender, you'll first need to import the HDR file into the software. Here's how:
Open Blender and navigate to the “World” properties panel.
Under the “Surface” option, select “Use Nodes.”
Click the small circle next to “Color” and choose “Environment Texture.”
Use the “Open” button to import the HDR file.
Once these steps are completed, your scene will be illuminated by the HDR texture. You can also adjust the “Strength” value as needed to control the intensity of the lighting.
4. How to Optimize HDR Lighting Settings?
To fully leverage HDR texture lighting, consider the following optimizations:
Adjust Exposure: Depending on the scene, you can control the overall brightness by tweaking the “Exposure” settings. Proper exposure adjustments can enhance the details illuminated by the HDR texture.
Combine with Traditional Lights: While HDR textures can provide comprehensive lighting, combining them with traditional lights (such as point lights or spotlights) can further enhance the scene's visual appeal in certain situations.
Customize Background Display: Sometimes, you might want the HDR texture to influence the lighting without being visible in the background. In such cases, you can use a “background separation” technique to use the HDR texture solely for lighting while displaying a different image or color as the background.
5. Applications in Different Scene Types
HDR textures have broad applications across various scene types:
Outdoor Scenes: HDR textures are particularly well-suited for simulating natural light, especially during times of significant lighting changes like dawn or dusk.
Indoor Scenes: In interior renderings, HDR textures can effectively simulate natural light coming through windows, making indoor environments more realistic.
Product Visualization: For product renders, HDR lighting helps showcase the materials and textures of the product, especially reflective materials like metal and glass.
6. How to Address Challenges with HDR Lighting?
While HDR lighting offers many benefits, it also presents some challenges, such as increased rendering times and large file sizes. To tackle these issues, you might consider:
Lowering Resolution: For scenes that don’t require extremely high precision, opting for a lower resolution HDR file can help reduce the strain on system resources.
Using Progressive Rendering: Enabling Progressive Rendering in Blender allows you to refine the image gradually, ensuring high-quality final renders while saving time.
Using HDR textures for lighting in Blender can significantly improve the realism and visual appeal of your renders. Whether you’re working on indoor or outdoor scenes, HDR lighting provides a more natural and detailed light and shadow effect. If you're searching for high-quality HDR textures, 3D textures, SketchUp models, or 3ds Max models to download and use in creating models and virtual scenes, Relebook is an excellent resource. By downloading textures and models from Relebook and importing them into Blender, you can substantially elevate the quality of your work.
