How to Make a 3D Model of a Floor Plan
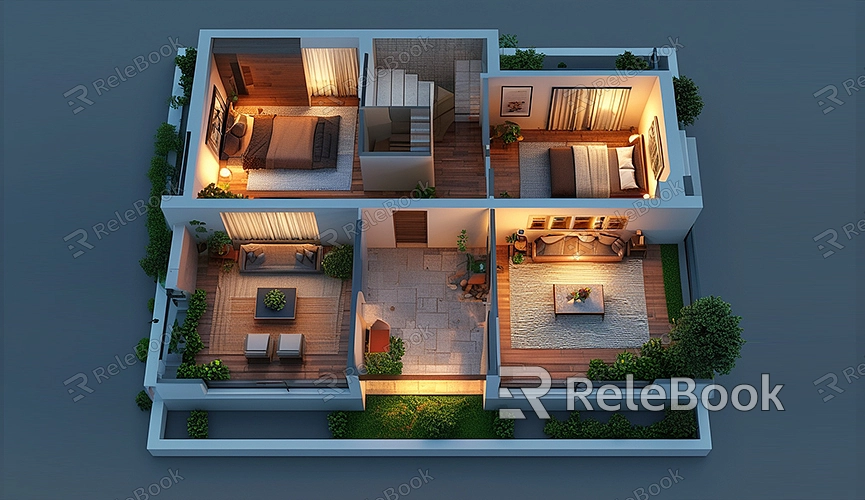
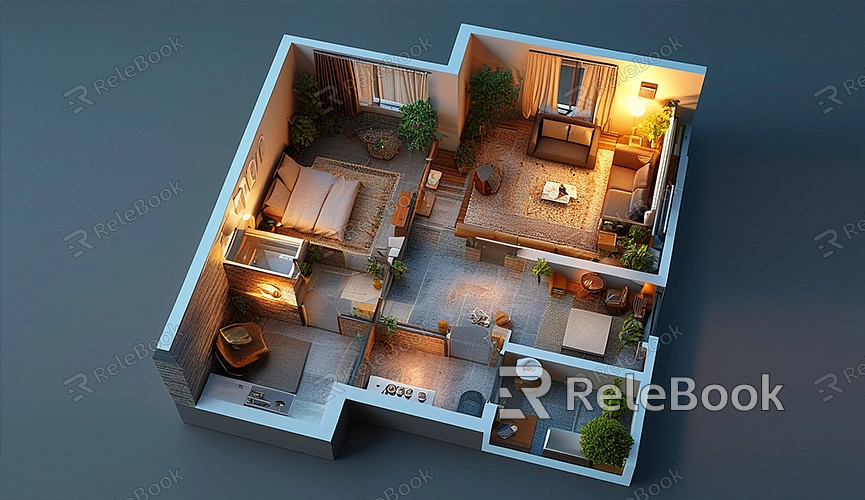
Creating a 3D model of a floor plan is crucial in architectural design, interior decoration, and real estate presentations. A 3D model allows designers and clients to visualize space layout and design effects more intuitively. This article will guide you through the basic steps and tips for creating a 3D floor plan model using Blender, helping you get started with ease.

Preparation
Before you begin, ensure you have a 2D image or drawing of the floor plan ready. These images will serve as references to help you accurately build the 3D model.
Importing the Floor Plan
1. Open Blender and create a new project.
2. In the top menu, select “File” > “Import” > “Image as Planes.”
3. Choose your floor plan image file and import it into Blender. Make sure the image’s scale and dimensions are correct.
Building the Basic Model
1. In the 3D view, select the imported floor plan.
2. Using Blender's basic modeling tools such as “Extrude,” “Scale,” and “Move,” create walls, floors, and other structures according to the floor plan’s outline.
3. Ensure the dimensions and positions of each structure are accurate. Use the “Snapping” tool to align various parts.

Adding Details
1. Create Doors and Windows: Use the “Boolean” modifier to cut through walls and create openings for doors and windows.
2. Add Furniture and Decorations: Import or create furniture models and place them in appropriate locations.
3. Apply Materials and Textures: Use Blender’s material and texture tools to add realism to the model. You can download high-quality 3D textures and HDRIs from Relebook to enhance your model's appearance.
Applying Materials and Textures
1. In the “Shading” workspace, select the object to which you want to apply materials.
2. Create a new material and add appropriate textures. High-quality 3D textures can be downloaded for free from [Relebook Textures](https://textures.relebook.com/).
3. Adjust material settings to achieve a realistic look.
Render Settings
1. In “Render Properties,” choose a suitable render engine (such as Cycles or Eevee).
2. Set Up Lighting: Add ambient and point lights to ensure every part of the model is properly illuminated.
3. Adjust render settings like resolution and sample count to achieve the best render quality.
Rendering Output
1. In “Output Properties,” set the render output path and file format.
2. Click “Render” > “Render Image” to preview the rendering effect. If everything looks good, click “Render Animation” to perform the final render.
3. Once rendering is complete, you can find the result in the output path.
Creating a 3D floor plan model not only enhances the visualization of the design but also provides a better presentation for clients. With Blender’s powerful features, you can easily create high-quality 3D models.
If you need high-quality 3D textures and HDRIs for your models and virtual scenes, you can download them for free from [Relebook Textures](https://textures.relebook.com/). For beautiful 3D models, visit [Relebook 3D Models](https://3dmodels.relebook.com/), where you’ll find a wide range of premium 3D resources. We hope this article helps you successfully create 3D floor plan models in Blender, improving your design efficiency and quality.

