Does Texture Mapping Need V-Ray?

The Basics of Texture Mapping
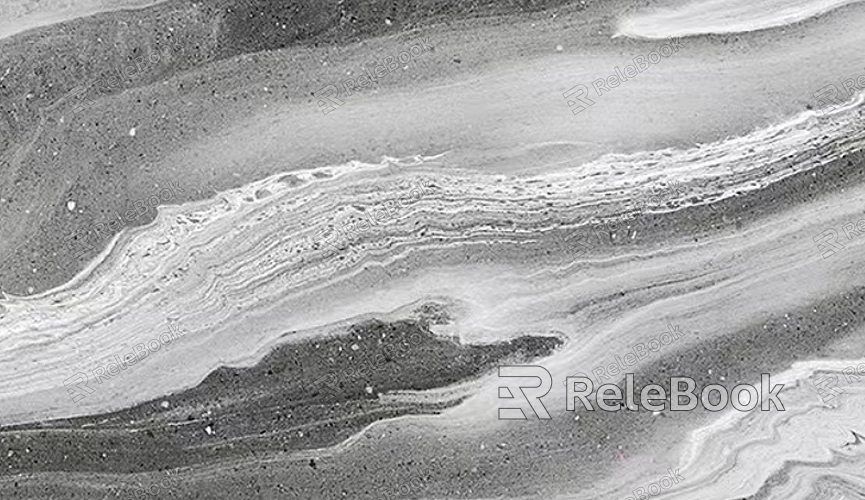
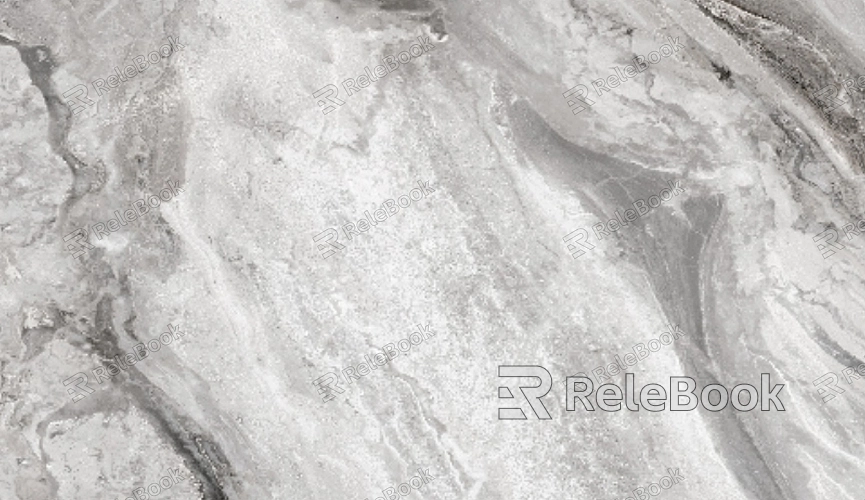
Texture mapping is a technique used to apply a 2D image or texture to a 3D model’s surface to enhance its visual detail. This process involves several key steps:
1. UV Mapping
Before a texture can be applied, the 3D model needs to be unwrapped into a 2D plane, a process known as UV mapping. UV mapping involves projecting the 3D surface onto a 2D grid, creating a layout that allows textures to be accurately placed on the model. This step is crucial for ensuring that the texture wraps around the model correctly without distortion.
2. Texturing
Once the UV map is ready, textures are applied to the model. Textures can range from simple color maps to complex images that include details such as bumps, reflections, and transparency. Textures help simulate various materials, such as wood, metal, and fabric, making the model appear more realistic.
3. Shading and Lighting
In addition to applying textures, shaders and lighting are used to further enhance the appearance of the model. Shaders determine how textures interact with light, affecting the model’s overall look. Proper lighting is essential for creating realistic shadows and highlights.
V-Ray and Texture Mapping
V-Ray is a popular rendering engine known for its high-quality output and extensive features. It is widely used in industries such as architecture, film, and game design for creating photorealistic images and animations. Here’s how V-Ray integrates with texture mapping:
1. V-Ray’s Integration with Textures
V-Ray supports a variety of texture types and mapping techniques. It provides tools for applying and adjusting textures, including diffuse maps, bump maps, and reflection maps. V-Ray’s advanced material editor allows users to fine-tune how textures interact with light and other materials, resulting in high-quality, realistic renderings.
2. Advantages of Using V-Ray
One of the main advantages of using V-Ray for texture mapping is its ability to handle complex materials and lighting scenarios. V-Ray’s rendering algorithms are designed to simulate real-world lighting and material interactions, which can significantly enhance the realism of the final output. Additionally, V-Ray offers features such as global illumination and physical camera settings, which contribute to achieving accurate and detailed textures.
3. Alternatives to V-Ray
While V-Ray is a powerful tool, it is not the only option for texture mapping and rendering. Other rendering engines, such as Arnold, Blender’s Cycles, and Unreal Engine’s rendering system, also offer robust texture mapping capabilities. Each of these engines has its strengths and features that may be better suited for specific projects or workflows.

Do You Need V-Ray for Texture Mapping?
The necessity of V-Ray for texture mapping depends on various factors, including the specific requirements of the project and the desired level of realism. Here’s a closer look:
1. Project Requirements
For projects that demand high levels of realism and photorealistic rendering, V-Ray’s advanced features and capabilities can be highly beneficial. V-Ray’s ability to simulate real-world lighting and material properties makes it an excellent choice for architectural visualization and high-end visual effects.
2. Budget and Resources
V-Ray is a commercial product, and its licensing costs may be a consideration for some users. For those with budget constraints or those working on smaller projects, free or open-source alternatives may be more appropriate. Blender’s Cycles, for example, is a powerful rendering engine available at no cost and can achieve impressive results with the right techniques.
3. Skill and Familiarity
The choice of rendering engine can also depend on the user’s familiarity and comfort level with the software. If a user is already proficient with V-Ray and its features, it may make sense to continue using it for texture mapping. Conversely, those who are experienced with other tools may prefer to use them based on their specific strengths.
Best Practices for Effective Texture Mapping
Regardless of the rendering engine used, following best practices in texture mapping can ensure high-quality results:
1. Optimize UV Maps
Ensure that UV maps are optimized to reduce stretching and distortion. Proper UV mapping is crucial for accurate texture application and overall model appearance.
2. Use High-Quality Textures
Utilize high-resolution textures for detailed and realistic results. Low-resolution textures may appear pixelated or blurry, detracting from the model’s realism.
3. Test and Adjust
Regularly test textures in the rendering engine to check for any issues or inconsistencies. Make necessary adjustments to ensure that textures look correct under different lighting conditions and camera angles.
4. Leverage Material Editors
Take advantage of material editors and shaders to fine-tune texture interactions. Adjust properties such as reflectivity, bump mapping, and transparency to achieve the desired effect.
FAQ
Is V-Ray the only rendering engine that supports texture mapping?
No, V-Ray is not the only rendering engine that supports texture mapping. Other engines such as Arnold, Blender’s Cycles, and Unreal Engine also offer robust texture mapping capabilities.
Can I achieve photorealistic results without using V-Ray?
Yes, photorealistic results can be achieved with other rendering engines. The choice of engine depends on the specific features and capabilities needed for the project.
Are there free alternatives to V-Ray for texture mapping?
Yes, there are free alternatives to V-Ray, such as Blender’s Cycles. These tools offer powerful features and can be used for effective texture mapping.
How important is UV mapping in texture application?
UV mapping is crucial for texture application. It ensures that textures align correctly on the 3D model without distortion or stretching.
Can I use V-Ray with other 3D software?
Yes, V-Ray is compatible with various 3D software applications, including 3ds Max, Maya, SketchUp, and Rhino, among others.

