How to Merge 3D Model with Flattened Texture
In 3D modeling and rendering, merging 3D models with detailed textures is essential for achieving realistic results. Whether in game development, animation, virtual reality, or architectural visualization, we need to apply textures onto 3D model surfaces to give them more depth and realism. Combining textures with models not only enhances visual quality but also optimizes rendering efficiency and reduces resource consumption. In this article, we’ll explore the process of merging textures with 3D models using popular 3D software, while sharing tips and tricks to help improve both your workflow and creative outcomes.

Understanding the Relationship Between Flattened Textures and 3D Models
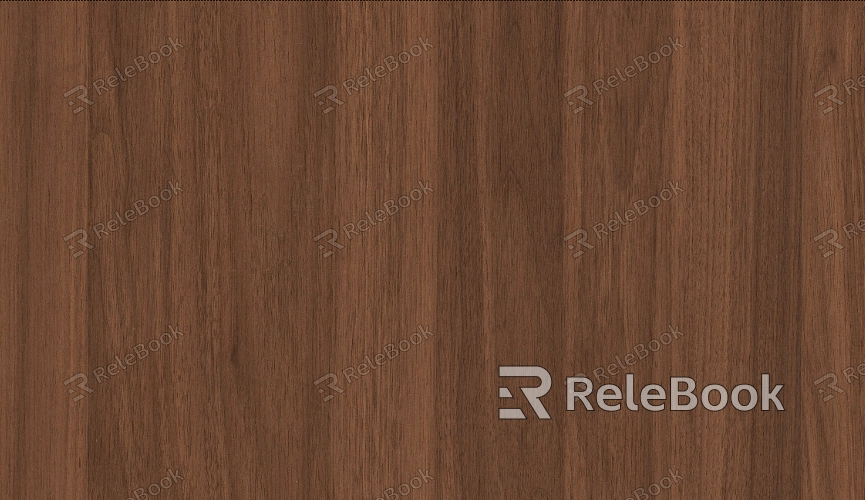
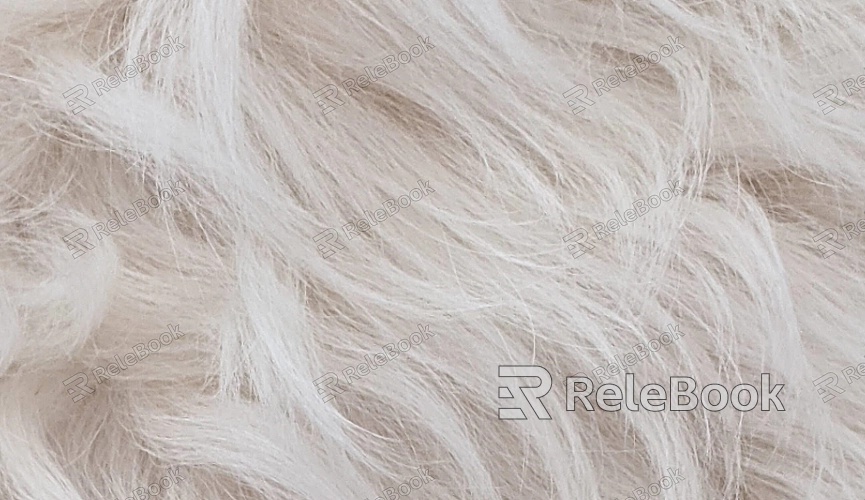
Before we dive into merging flattened textures with 3D models, it’s important to understand the relationship between the two. Flattened textures are essentially 2D images that have been stretched out to map over the surface of a 3D model. These textures simulate various material effects like wood, metal, and leather. Using UV unwrapping, we can "unwrap" a 3D model's surface and align it perfectly with the texture, ensuring that the texture does not distort.
Popular 3D software like Blender, 3ds Max, and Maya all offer tools for combining 3D models with textures. These tools allow us to map textures onto a model through precise UV unwrapping and mapping techniques, creating a complete texture map.
Preparing the Model: Ensuring Correct UV Unwrapping
The first step in merging textures with a 3D model is ensuring that the model’s UV unwrapping is done correctly. UV unwrapping refers to unfolding a 3D model’s surface into a 2D image so that textures can be precisely applied. If the UV unwrapping is inaccurate, the texture may stretch, distort, or misalign.
Check for Seamlessness: Ensure the UV layout doesn’t have overlapping areas, which could lead to unnatural seams during rendering.
Optimize Space: Try to make the best use of the available space in the UV layout, reducing empty areas and texture overlaps for better texture efficiency.
Tool Usage: In Blender, you can use the “Smart UV Project” or manually mark seams, while in 3ds Max, the “UVW Unwrap” tool can help with unwrapping.
Creating Flattened Textures
The quality of the textures directly impacts the final visual outcome. Before applying textures to the model, you’ll need to create or source high-quality texture images. Common types of textures include base color, normal maps, and ambient occlusion (AO) maps.
Base Color Texture: This is the most fundamental texture, defining the color of the object. It can be created using photography, hand-painting, or digital drawing tools.
Normal Map: This simulates surface details, such as bumps or grooves. Normal maps are typically created using software like Photoshop or Substance Painter.
Ambient Occlusion Map: This enhances the shadow details on the model, making it appear more three-dimensional.
Make sure the texture resolution matches the model’s size to achieve the best visual effect.
Merging Textures with the 3D Model
Once the UV unwrapping is correct and the textures are ready, it's time to merge them with the 3D model. Here are the typical steps to follow:
Apply Textures to the Model: In Blender, 3ds Max, or Maya, select the model and apply the appropriate texture files. You can assign different texture layers to the model through the "Material Editor" panel.
Adjust Texture Mapping: Ensure that the texture maps align perfectly with the model’s UV layout. You can do this by adjusting the UV coordinates in the UV editor.
Bake Textures: Baking is the process of merging multiple textures (such as base color, normal, and AO maps) into a single texture map. By baking textures, you can consolidate all the texture data into one map, reducing the rendering load.

Optimizing the Merged Texture and Model
After merging the textures with the model, optimization becomes key, especially when working with complex scenes or large assets. Here are some optimization methods:
Texture Compression: Compress texture files to maintain quality while reducing file size. This can significantly improve load and render times, especially for large-scale projects.
Reduce Texture Resolution: Adjust texture resolution based on the project’s needs. Higher resolutions use more resources and can negatively impact performance. For real-time applications like games, it’s important to use appropriately sized textures.
Simplify UV Layout: For complex models, simplifying the UV layout and reducing overlap can improve rendering efficiency while minimizing unnecessary texture calculations.
Testing and Adjusting
After merging the textures with the model, testing is essential to ensure the merged textures perform well under different lighting and viewing angles. Here are some key steps for testing and adjustment:
Test in Different Lighting Conditions: Check how the textures behave under different lighting sources to make sure there are no unnatural shadows or color distortions.
Render Tests: Conduct test renders to ensure the textures merge seamlessly with the model in the final image. In high-detail renders, the merged textures must hold up to scrutiny, so testing is crucial.
Explore More Resources
While the process of merging 3D models with flattened textures may seem complicated, it can be streamlined with proper planning and execution. By following the steps outlined in this guide, you can more efficiently complete texture merging tasks and achieve better results in your projects.
If you're looking for more 3D models and texture resources to enhance your work, consider checking out Relebook. The platform offers a wide range of high-quality assets that can provide fresh inspiration and support for your projects, helping you create even more impressive visuals.

