How to Create a Graduated Texture in 3D-Coat?
Getting Started with 3D-Coat
Before diving into creating a graduated texture, it’s essential to familiarize yourself with the basics of 3D-Coat, a powerful tool for sculpting and texturing. 3D-Coat offers a range of features that streamline the process of texturing, including robust tools for painting and texturing surfaces. Ensure you have the latest version of 3D-Coat installed on your computer, and that your model is properly imported and prepared for texturing.
Preparing Your Model
To effectively apply a graduated texture, start by preparing your model. This involves unwrapping the UVs, which allows the texture to be applied accurately across the model’s surface. If you haven’t unwrapped your model yet, follow these steps:
1. Open Your Model: Load your 3D model into 3D-Coat.
2. Enter UV Mapping Mode: Navigate to the UV mapping workspace where you can view and adjust your model’s UV layout.
3. Unwrap UVs: Use the automatic or manual unwrapping tools to ensure that the UVs are well-distributed and do not overlap.
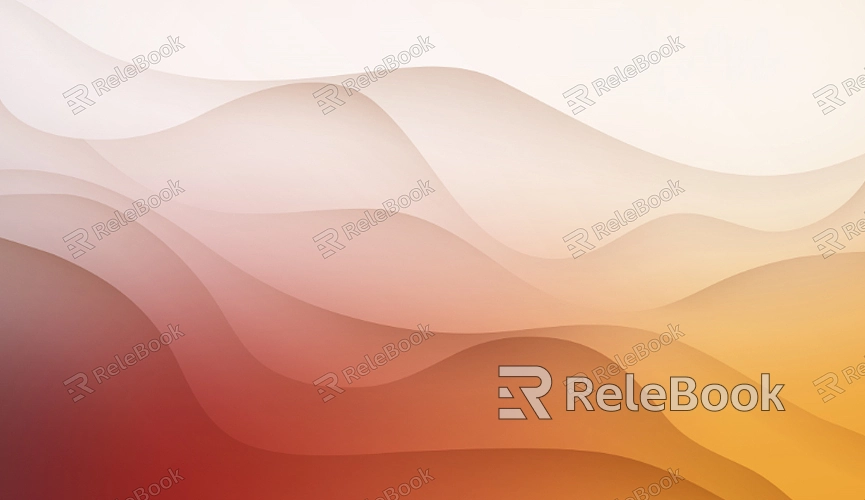
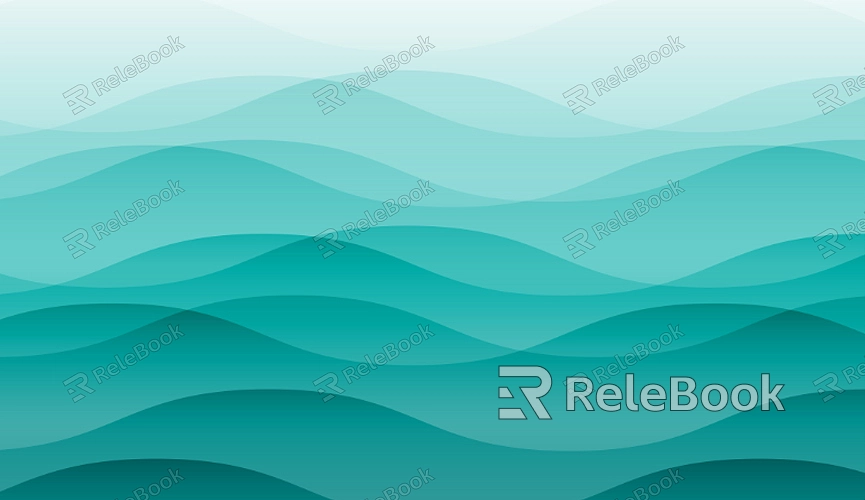
Creating a Graduated Texture
Once your UVs are prepared, you can begin creating the graduated texture. Here’s a step-by-step approach:
1. Create a New Texture: In the Textures menu, create a new texture layer. Set the resolution based on the level of detail you need for your model.
2. Choose a Gradient Tool: 3D-Coat includes various gradient tools for creating smooth color transitions. Select the Gradient Tool from the paint or texture tools menu.
3. Apply the Gradient: Click and drag on your texture layer to define the gradient. You can adjust the direction and spread of the gradient by manipulating the tool’s settings.
4. Fine-tuning: Use the texture paint tools to refine the gradient. Adjust opacity, blending modes, and color stops to achieve the desired look.
Applying the Texture to Your Model
With your gradient texture created, the next step is to apply it to your model:
1. Switch to Painting Mode: Go back to the main painting workspace in 3D-Coat.
2. Select Your Texture: Choose the graduated texture you created from the texture layers list.
3. Apply the Texture: Paint the texture onto your model using the paint tools. You can adjust the scale and orientation of the texture to fit your model perfectly.
Adjusting and Refining the Texture
After applying the texture, you might need to make adjustments to ensure it blends seamlessly with the model:
1. Texture Adjustment Tools: Use the Texture Adjustment tools in 3D-Coat to tweak the gradient’s appearance. You can alter color balance, contrast, and more.
2. Preview and Test: Regularly preview your model with the texture applied under different lighting conditions to ensure it looks as intended.
3. Make Iterations: Based on your preview, go back and make necessary adjustments to the texture or gradient to refine the final result.
Exporting Your Model with the Graduated Texture
Once you are satisfied with the graduated texture, it’s time to export your model:
1. Export Settings: Go to the export menu and choose the appropriate settings for your project. Ensure that the texture maps are included in the export.
2. Save Your Files: Save both the 3D model and texture maps in formats compatible with your target application or platform.
Best Practices and Tips
To achieve the best results with graduated textures, consider the following tips:
1. Resolution Matters: Higher resolution textures provide more detail but can also increase file size. Balance quality with performance needs.
2. Seamless Textures: Ensure your gradient transitions are seamless to avoid visible lines or abrupt changes on your model.
3. Regular Updates: Keep 3D-Coat updated to access the latest features and improvements.
FAQ
What is the difference between a graduated texture and a solid color texture?
A graduated texture transitions smoothly between colors or shades, creating a gradient effect, while a solid color texture remains uniform without transitions.
Can I use graduated textures for both hard surface and organic models?
Yes, graduated textures can be applied to both hard surface and organic models. The key is to adjust the gradient to suit the model’s surface and design.
How do I fix a gradient that looks pixelated on my model?
Ensure you’re using a high-resolution texture and check the UV mapping for any stretching or distortion. Adjusting the texture resolution and UV mapping can help alleviate pixelation issues.
What if my graduated texture isn’t aligning correctly with my model?
Double-check your UV mapping and make sure the texture coordinates are properly aligned. You may need to re-adjust the UVs or the texture’s placement.
