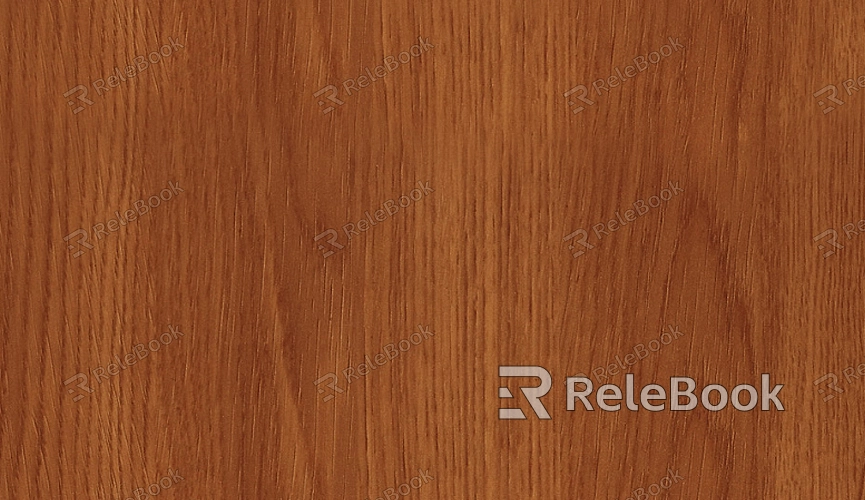
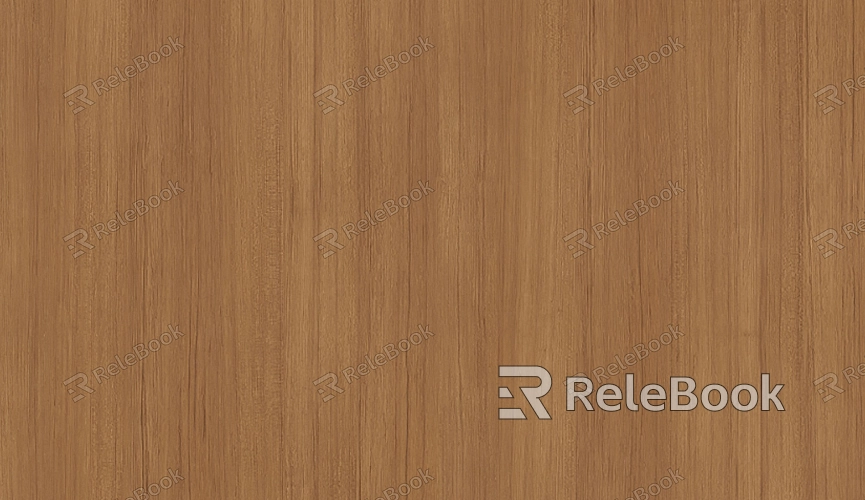
How to Make a Simplified Wood Texture in Illustrator?
Creating a wood texture in Adobe Illustrator may seem challenging, but with the right techniques, you can craft a simplified yet visually appealing design. This texture can enhance various projects, adding warmth and a natural feel. By breaking the process into manageable steps, you can achieve an effective result even without advanced skills. This article guides you through creating a simplified wood texture in Illustrator.

Setting Up Your Workspace
Before diving into creating the texture, ensure your Illustrator workspace is organized. Start with a new document, setting your preferred dimensions. Choose a color mode suitable for your project—RGB for use or CMYK for print. Arrange your tools and panels for easy access, focusing on the Appearance panel, Layers panel, and switches.
Drawing the Base Shape
The base of the wood texture is essential for defining its overall look. Use the Rectangle Tool to draw a shape that represents the area you want to fill with the texture. For instance, if you’re designing a background, this rectangle will span the canvas. Select a base color resembling wood, such as light brown or beige, and apply it as the fill color.
Creating the Grain Pattern
The wood grain gives the texture its characteristic look. Use the Pen Tool to draw irregular, wavy lines across the base shape. These lines should mimic the natural flow of wood grain. Group them and adjust their stroke weight and color to match the wood theme, typically a darker shade of brown. To make the lines less uniform, use the Width Tool to vary the thickness along their paths.

Adding Detail with Brushes
Illustrator’s brush tools can add depth to the wood texture. Open the Brushes panel and select a textured brush. Apply the brush to some of your grain lines, experimenting with opacity and stroke weight. This step introduces subtle variations that make the texture more organic. You can create custom brushes for unique effects, tailoring them to your desired wood appearance.
Using Transparency and Blending Modes
To create depth and realism, utilize Illustrator’s transparency settings. Select the grain pattern and adjust its opacity to make it blend smoothly with the base color. Experiment with blending modes such as Multiply or Overlay to achieve the desired effect. These settings help integrate the grain into the background, avoiding a flat or artificial look.
Incorporating Subtle Noise
Adding noise to your texture enhances its natural feel. Draw a rectangle over your design and fill it with a neutral color. Navigate to Effect > Texture > Grain, and adjust the intensity and contrast until you achieve a subtle speckled effect. Change the blending mode of this layer to Multiply and reduce its opacity. This creates a subtle roughness reminiscent of real wood.
Refining Edges and Finishing Touches
The edges of your wood texture should appear smooth and cohesive. Use the Smooth Tool to refine any jagged lines or shapes. If desired, add knots or imperfections by drawing irregular circles or shapes and placing them strategically within the texture. Adjust their color and blending mode to match the surrounding design.
Saving and Exporting Your Texture
Once satisfied with your wood texture, save the file in Illustrator’s native format (AI) to preserve layers and editability. For sharing or use in other applications, export it in a suitable format like PNG or SVG. Ensure you maintain a high resolution for clarity and quality.
Creating a simplified wood texture in Illustrator involves layering, blending, and attention to detail. By following these steps, you can produce a versatile texture suitable for various design projects. For ready-made 3D models and textures, visit Relebook to explore their collection and elevate your creative work.
FAQ
What tools are essential for creating a wood texture in Illustrator?
The Pen Tool, Rectangle Tool, and Width Tool are crucial, along with the Brushes and Transparency panels. These tools help create and refine the grain pattern, adding depth and detail.
Can I use this method to create textures for other materials?
Yes, the principles of layering, blending modes, and texture brushes can be applied to other materials like stone or fabric by adjusting the shapes, colors, and effects.
How do I ensure the texture scales properly?
Use vector elements and avoid raster effects where possible. This ensures your texture remains crisp and scalable for any project size.
What if I want to change the color of the wood texture?
Adjust the fill colors of the base shape and grain lines. Use the Recolor Artwork tool for global changes, making it easy to shift the entire palette.
Can I use these textures in other software?
Yes, export the texture as a PNG, SVG, or another compatible format. These files can be imported into graphic design, 3D modeling, or video editing software.

