How to Apply Cylindrical UV Mapping in Maya?
Preparing Your 3D Model for UV Mapping
Before diving into the UV mapping process, it’s important to prepare your model. Start by ensuring that your model has clean geometry, with no overlapping faces or unnecessary subdivisions. The more straightforward the geometry, the easier it will be to apply UV mapping accurately.
1. Clean the Geometry
Use Maya’s cleanup tools to remove any issues with the model's geometry. This includes fixing non-manifold geometry, removing unused vertices, and ensuring the model’s faces are correctly aligned.
2. Freeze Transformations
It’s a good practice to freeze transformations on your model before beginning the UV mapping process. This resets the model’s scale, rotation, and position, making the UV mapping more predictable.
3. Apply a Basic Material
Assign a simple material to your model, such as a Lambert or Phong shader, so that you can easily see how the texture will be applied during the UV mapping process.
Accessing the UV Editor
The UV Editor is where all UV mapping work takes place in Maya. It provides a 2D view of your model’s UV coordinates, allowing you to adjust and align the UVs to fit your texture properly.
1. Open the UV Editor
Go to the "UV" menu in Maya’s main toolbar and select "UV Editor." This will open the UV Editor window, which shows the UV map of your selected object. Initially, the UVs might appear jumbled or improperly aligned, but this is normal before applying a specific mapping method.
2. Switch to UV Editing Mode
To modify UVs, ensure that you’re in UV selection mode. You can switch to this mode by pressing the right mouse button over your model and choosing "UV" from the marking menu, or by selecting it from the toolbar.
Applying Cylindrical Mapping
Now that your model is ready, it’s time to apply cylindrical UV mapping. This technique is best suited for models with cylindrical shapes, as it projects the texture in a manner that wraps around the model like a cylinder.
1. Select the Object or Faces
First, select the entire object or the specific faces you want to apply cylindrical mapping. This can be done in Object Mode or Face Mode, depending on your needs.
2. Apply Cylindrical Mapping
With your model or faces selected, go to the "UV" menu, then choose "Cylindrical Mapping." Maya will automatically apply a cylindrical projection to the selected geometry, and you’ll see a cylindrical manipulator appear around your object.
3. Adjust the Projection
The cylindrical manipulator allows you to adjust the projection to better fit your model. You can move, scale, and rotate the manipulator to ensure the cylindrical mapping aligns correctly with your model’s geometry. This step is crucial to avoid texture stretching or compression.
Refining the UV Map
Once the cylindrical projection is applied, the UV map may still require adjustments to achieve a perfect fit. The UV Editor provides various tools to tweak the UVs for optimal texture alignment.
1. Unfold the UVs
In the UV Editor, use the "Unfold" tool to automatically relax and straighten the UVs within the boundaries of the cylindrical projection. This helps eliminate any distortions that may have occurred during the initial mapping process.
2. Move and Scale UVs
You can manually move, scale, and rotate individual UV shells within the UV Editor to ensure that all parts of the model are using the texture space efficiently. This is especially useful if certain areas of your model require more texture detail.
3. Sew and Move UV Edges
If the UV map has seams (where the texture splits), you can sew the UV edges together using the "Sew UV Edges" tool. This reduces visible seams on your model when the texture is applied.
Applying and Testing the Texture
After finalizing the UV map, the next step is to apply a texture to your model and test how it looks. This step ensures that the cylindrical mapping has been applied correctly and that the texture appears as intended.
1. Assign a Texture
Create a new material with a texture map and assign it to your model. In the Hypershade window, you can create a material and link it to a texture file that you want to apply.
2. Preview the Texture
In the viewport, enable textured mode by pressing the "6" key. This will display the texture on your model, allowing you to inspect how well the UV mapping fits the texture. Look for any stretching, distortion, or seams that might need further adjustment.
3. Make Final Adjustments
If necessary, go back into the UV Editor and make any final tweaks to the UV map. You can re-adjust the cylindrical projection, unfold the UVs again, or manually tweak the UV shells until the texture looks perfect.
Exporting the UV Map
After successfully applying the cylindrical UV mapping and confirming that the texture appears correctly, you may want to export the UV map for further use in other software, such as Photoshop, where you can create or refine textures.
1. Export the UV Layout
In the UV Editor, go to the "Image" menu and select "UV Snapshot." Choose the desired resolution and format, then save the UV map to your computer. This file can be used as a guide for painting textures or creating detailed maps.
Applying cylindrical UV mapping in Maya is an essential skill for any 3D artist, especially when working with models that have cylindrical shapes. By following the steps outlined in this article, you can confidently create accurate UV maps that allow for seamless texture application. This not only enhances the visual quality of your models but also ensures they are ready for more advanced texturing and rendering processes. To expand your library of textures and 3D models, visit the Relebook website, where you can download a variety of resources to elevate your 3D modeling projects.
FAQ
What objects are best suited for cylindrical UV mapping?
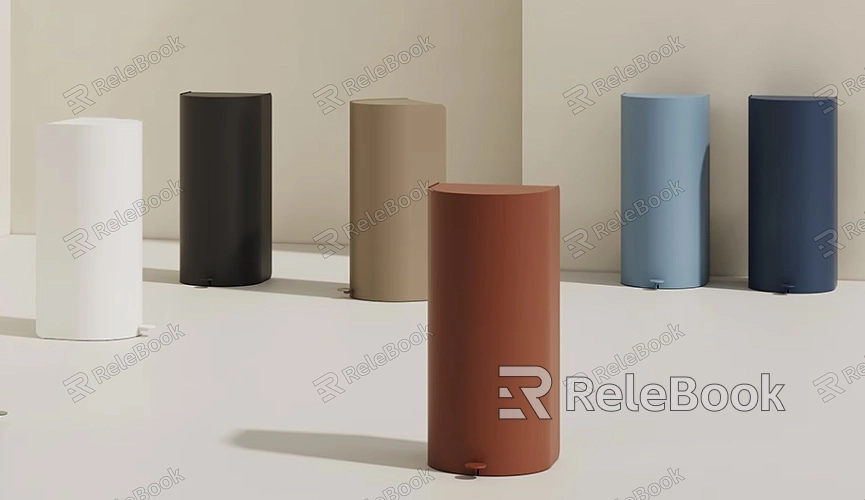
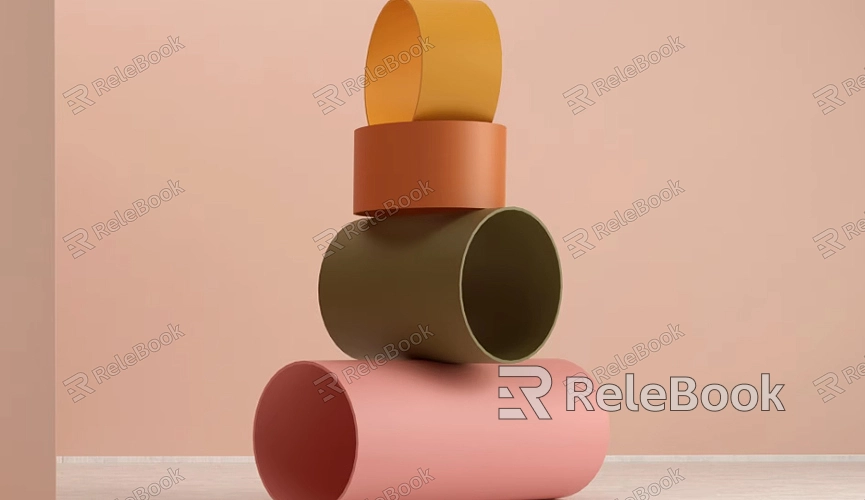
Cylindrical UV mapping works best on objects that have a cylindrical shape, such as bottles, tubes, pipes, and certain types of arms or legs in character models.
How do I avoid seams when using cylindrical UV mapping?
Seams are often unavoidable, but you can minimize their visibility by carefully placing them in less noticeable areas of the model or by using the "Sew UV Edges" tool to stitch the UVs together.
Can I use cylindrical UV mapping on non-cylindrical objects?
While cylindrical mapping is designed for cylindrical shapes, you can use it on other types of geometry. However, you may need to do more manual adjustments in the UV Editor to prevent texture distortion.
How do I know if my UV map is correct?
The best way to check your UV map is to apply a checkered or grid texture to your model. If the squares or grids appear uniform without stretching or distortion, your UV map is likely well done.
Where can I find textures to use on my UV-mapped models?
You can find a wide range of textures online, including websites like Relebook, where you can download high-quality textures and 3D models to use in your projects.
