How to Apply HDR Textures in Unity
The use of HDR textures is becoming increasingly popular, especially in game development and architectural visualization. These textures significantly enhance the realism and visual appeal of a scene. However, many designers face challenges when applying HDR textures correctly in Unity, which can affect the final rendering quality and lead to unnatural lighting or lackluster visual effects. This article will guide you through the process of applying HDR textures in Unity, helping you maximize the benefits of HDR in your projects.
1. Importing and Setting Up HDR Textures
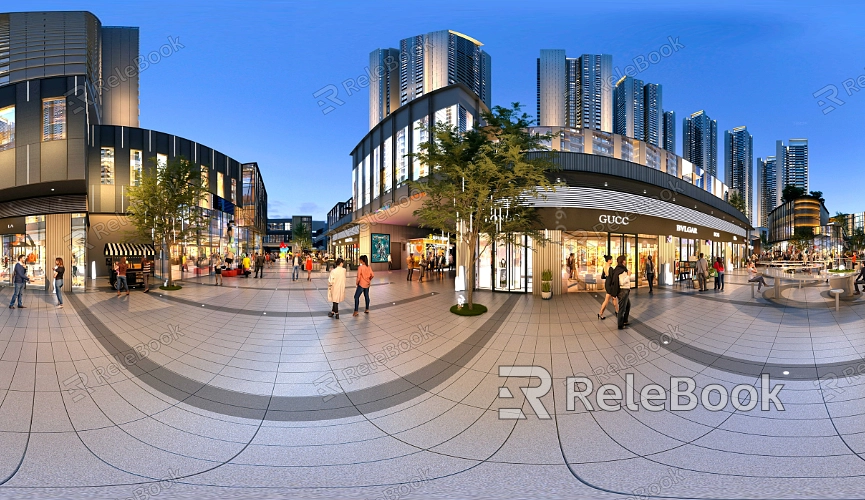
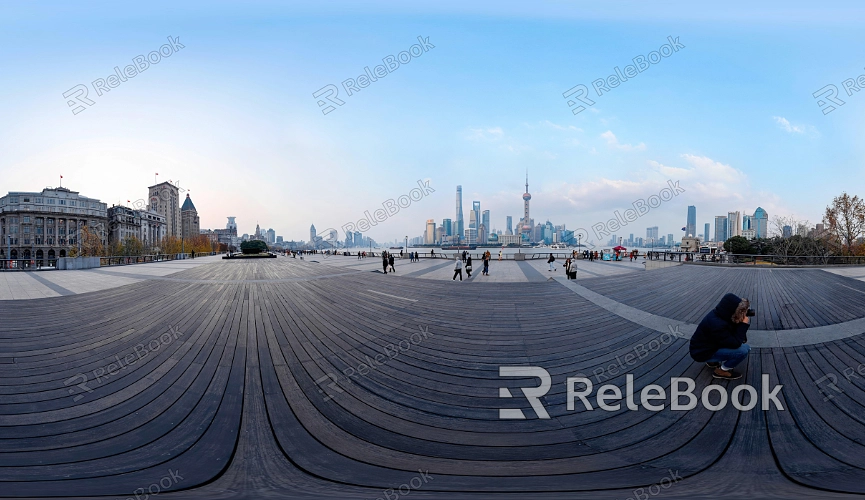
The first step to applying HDR textures in Unity is to properly import and configure the texture files. If you find sourcing high-quality HDR textures too complex or time-consuming, you can visit Relebook and download stunning HDR texture resources from https://textures.relebook.com/.
Importing HDR Textures: Start by ensuring that the HDR file format you’re using is supported by Unity, with common formats including HDR and EXR. When importing HDR textures into your Unity project, make sure to check the import settings, setting the texture type to “Default” and enabling the “sRGB” option.
Adjusting Texture Settings: After importing, open the texture’s Inspector panel and select the “Advanced” settings. Ensure that the texture type is set to “HDR” and choose an appropriate compression format to balance performance and quality. Additionally, if you’re using linear color space, make sure the “Color Space” is set to “Linear.”
2. Applying HDR Textures to Materials
Once your HDR texture is imported into Unity, the next step is to apply it to materials to influence the lighting effects in your scene.
Creating a New Material: In Unity, create a new material and set its rendering mode to “Standard.” Then, drag and drop the imported HDR texture into the material’s “Albedo” or “Emission” slot. To enhance the effect, you can adjust the intensity parameter in the Emission settings, making the HDR texture appear brighter or darker in the scene.
Using Custom Shaders: For more complex scenes, you might need to write or use custom shaders to have finer control over the HDR texture's performance. With Shader Graph, designers can visually create custom shaders, allowing HDR textures to achieve the best possible results under various lighting conditions.
3. Adjusting HDR Environmental Lighting
In Unity, HDR textures can be used not only for materials but also as environmental lighting to create a more realistic scene atmosphere.
Setting Up Environmental Lighting: In Unity's Lighting panel, select the “Environment Lighting” settings. Apply the imported HDR texture to the “Skybox Material” slot. This allows the HDR texture to serve as global environmental lighting, affecting the light distribution throughout the scene.
Adjusting Environmental Light Intensity: Use the “Intensity Multiplier” slider to adjust the intensity of the HDR texture’s lighting, finding a balance that highlights texture details without causing overexposure. For more precise control, you can use Unity’s “Reflection Probes” to capture and apply the reflective effects of the HDR texture in the scene.
4. Optimizing HDR Texture Performance
When using HDR textures in Unity, performance optimization is essential, particularly in large projects or real-time rendering scenarios.
Reducing Resolution: While high-resolution HDR textures provide more detail, they also increase memory consumption and processing load. By reducing the resolution in the texture import settings, you can significantly improve performance without noticeably affecting visual quality.
Using Mipmaps: Enabling Mipmaps allows the texture resolution to automatically decrease when displayed at a distance or in smaller sizes, conserving resources and preventing flickering or banding effects. Check the “Generate Mip Maps” option in the HDR texture import settings to optimize rendering performance.
Dynamic Loading and Unloading: In complex scenes, you can use scripts to dynamically load and unload HDR textures, ensuring that high-resolution textures are loaded only when needed, thereby saving memory.
Conclusion and Further Resources
Correctly applying HDR textures in Unity can significantly enhance your project's lighting and overall visual impact. By following the methods for importing and setting up textures, applying them to materials, adjusting environmental lighting, and optimizing performance, you can fully leverage the power of HDR textures to create more realistic and immersive visual experiences.
If you’re looking for high-quality HDR images, 3D textures, Sketchup models, or 3ds Max models to create models and virtual scenes, Relebook offers a wide range of options to help you achieve exceptional visual effects in your projects.
