How to render cloth as image in blender
Rendering cloth as an image in Blender is a common task, especially when creating animations, game models, or static scenes. Realistic cloth effects can significantly enhance your work. With Blender's powerful tools, you can easily create, simulate, and render various cloth effects. This guide will walk you through the steps and tips for rendering cloth as an image in Blender.
Creating the Cloth Object
First, you need to create a basic cloth object. You can use any basic geometric shape in Blender as the base for your cloth, with the plane (Plane) being the most commonly used option.
- Add a Plane: In Blender, press `Shift + A` and select "Plane" as your base shape for the cloth.
- Adjust Size: Resize the plane as needed to fit your scene requirements.
Next, you'll convert this plane into a cloth object. In the Physics Properties panel, you can add a Cloth Simulation and configure its settings.
- Select Cloth Simulation: Click on the "Physics" tab in the right-side Physics Properties panel and choose "Cloth." This will give your plane the physical properties of cloth.
- Adjust Cloth Parameters: Modify the cloth parameters such as mass, stiffness, and air resistance to achieve a more realistic cloth effect.
Setting Up the Scene
The cloth needs an environment for interaction, such as collision objects or a ground surface. You can add a collision object to control the cloth's behavior.
- Add Collision Objects: For example, you can add a cube or sphere and position the cloth over its surface. By setting the "Collision" property in the Physics tab for these objects, you can ensure the cloth interacts and collides with them during simulation.
- Adjust Gravity: Cloth is affected by gravity. You can tweak the gravity settings in the scene to make the cloth fall faster or slower, depending on the effect you want.
Cloth Simulation and Adjustment
Once the scene is set up, you can run the cloth simulation and observe how the cloth interacts with other objects.
- Run the Simulation: Play the animation on the timeline to see how the cloth falls, folds, and interacts with objects. You can pause the animation to select the most ideal cloth shape.
- Manual Adjustment: If the cloth simulation results are not satisfactory, you can manually adjust the cloth's position and shape to ensure the final render meets your expectations.
Material and Texture Settings
Before rendering the cloth as an image, the material and texture settings are crucial for realism.
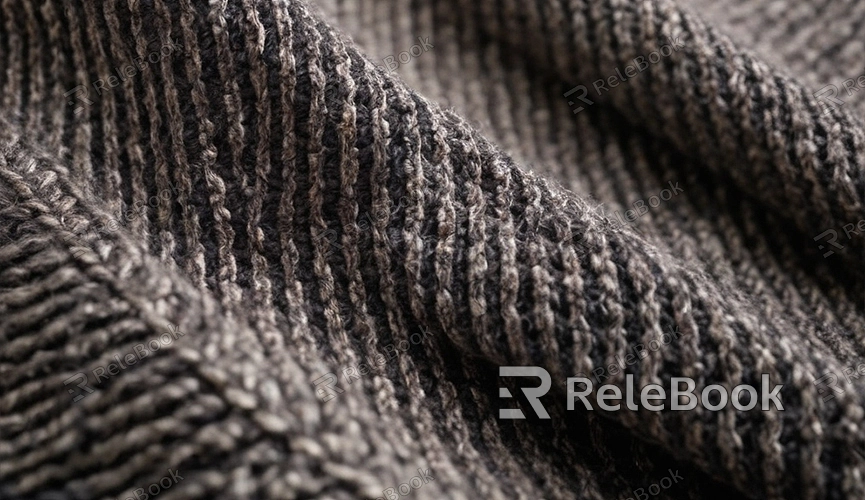
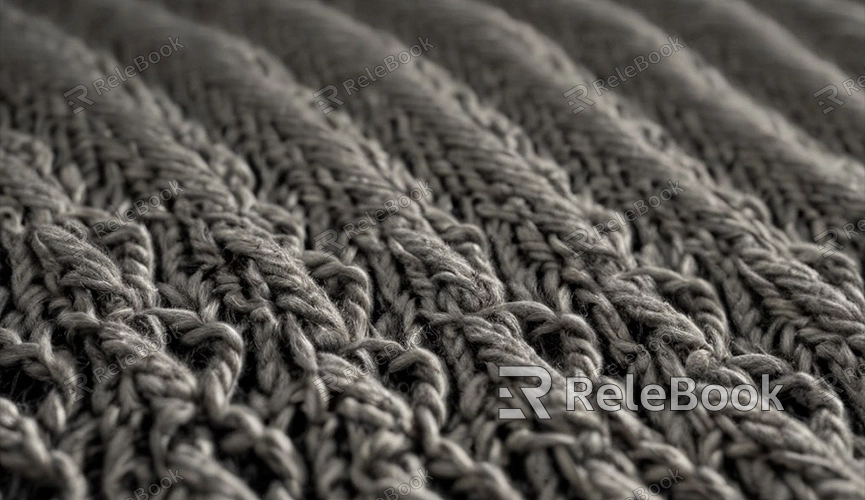
- Choose the Right Material: In the Material Properties panel, add a new material for the cloth. You can select presets like silk, cotton, or other textures, or customize the material's color, glossiness, and roughness.
- Add Textures: By adding textures to the material, you can introduce details and depth to the cloth. For example, you might add a wrinkle texture or subtle patterns to enhance realism.
Lighting and Camera Setup
For high-quality rendering, lighting and camera settings are essential.
- Add Lighting: Place appropriate lights in the scene to showcase the cloth's details. Common lighting setups include ambient light, point lights, or spotlights. Adjust the light angles and intensity according to the cloth's material to highlight its texture and details.
- Set Camera Angle: Adjust the camera's position and angle to find the best view of the cloth. Ensure the camera is aimed at the cloth object with the appropriate focal length and perspective to achieve a clear cloth render.
Rendering the Cloth as an Image
When all settings are complete, the final step is to render the cloth as an image.
- Choose a Render Engine: Blender offers multiple render engines, including Eevee and Cycles. Cycles is typically used for higher quality renders, suitable for detailed cloth effects, while Eevee is good for quick previews and simpler renders.
- Adjust Render Settings: In the Render Settings panel, adjust the resolution, sample count, and output format. To achieve high-quality images, it's advisable to increase the sample count and reduce noise.
- Start Rendering: Click the "Render" button and wait for Blender to complete the cloth rendering. Once done, you can save the result as an image file.
If you need high-quality 3D textures and HDRIs for your models and virtual scenes, you can download them for free from [Relebook](https://textures.relebook.com/). For beautiful 3D models, visit [Relebook](https://3dmodels.relebook.com/) for a wide selection of premium 3D resources.
Rendering cloth as an image in Blender isn't complex once you master cloth simulation, material settings, and lighting and camera adjustments. With practice, you'll be able to achieve realistic cloth effects. Additionally, utilizing Blender's powerful tools will enhance your model rendering capabilities.
