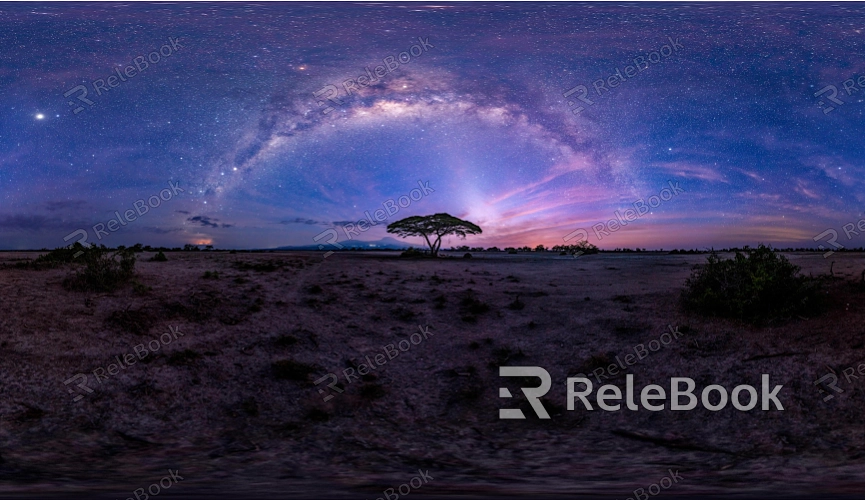
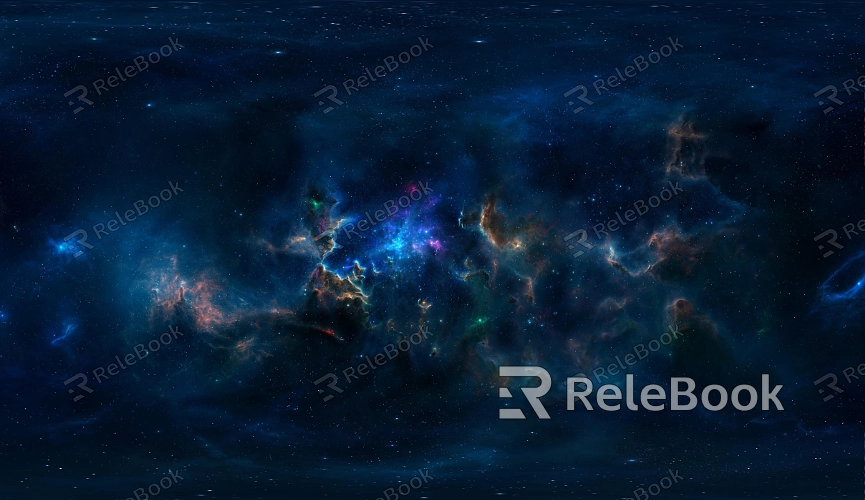
How to Use Skydome HDR Textures in Blender
Applying HDR textures can significantly enhance lighting realism in a scene, especially for outdoor environments or panoramic interiors. Skydome HDR textures are particularly effective in boosting lighting effects. In Blender, designers often use these textures to provide natural ambient lighting, mimicking real-world sky illumination. This guide will walk you through how to add and adjust skydome HDR textures in Blender, ensuring each step is clear and easy to follow.

1. Choose the Right HDR Texture
Before diving in, selecting a high-quality HDR texture is crucial. These textures often feature multiple exposure levels, capturing light details from very bright to very dark. You can find free HDR resources on websites like HDRI Haven or Poly Haven. When selecting a texture, consider the following points:
Resolution: Ensure the HDR texture has a high enough resolution, preferably 4K or above, to avoid any blurring or distortion in your scene.
Light Source Direction: Depending on your scene’s needs, choose an HDR that features sunlight or cloudy conditions to achieve the desired lighting effect.
Exposure Range: The larger the dynamic range of the HDR texture, the richer the lighting effects it can provide.
2. Import the HDR Texture into Blender
Once you’ve selected the HDR texture, the next step is importing it into Blender. Follow these steps:
Open Blender and navigate to the World Settings panel.
Click the gray circle next to the Color option and select Environment Texture.
In the dialog box that appears, locate and load your downloaded HDR file.
You should now see the scene’s background change, and the objects in your scene will start reacting to the lighting from the HDR texture.
3. Adjust HDR Texture Intensity and Direction
After loading the HDR texture, you may need to adjust its lighting intensity and direction to suit your scene’s requirements.
Adjusting Intensity: In the World Settings, locate the “Strength” parameter. You can increase or decrease this value to fine-tune the brightness of the HDR lighting. If the scene appears too bright or too dark, tweaking this value can improve the final render.
Rotating the HDR: To adjust the direction of the light source, use the Shader Editor. Add a Texture Coordinate and a Mapping Node, then connect them to the Environment Texture. You can then rotate the HDR using the rotation parameters in the Mapping Node.
4. Further Lighting Optimization with Nodes
Blender’s node system offers more advanced options for customizing the lighting. By combining different nodes, you can fine-tune the HDR lighting’s details, such as increasing or decreasing the intensity of light from specific directions or blending different lighting effects.
Use a Mix Shader to combine the HDR’s effect with other light sources, enhancing brightness in certain areas or softening shadows.
The Color Ramp can be used to control the HDR texture’s exposure, improving the distribution of light throughout the scene.

5. Test the Render
After setting up the HDR texture, it’s a good idea to do a test render to see how the lighting performs in the actual scene.
Quick Preview: Use the Eevee render engine to quickly preview the lighting and check whether you need to make further adjustments to the HDR’s intensity or direction.
Final Render: Switch to the Cycles render engine for the final render. Cycles can better simulate physical light behavior, showcasing the true potential of HDR lighting in more complex scenes.
6. Optimizing Render Times
While HDR textures can produce excellent lighting, they can also increase render times. To optimize your workflow, consider these tips:
Lower Sampling Values: Reducing the sampling values in the render settings can speed up rendering without significantly impacting quality.
Combine Light Sources: Don’t rely solely on HDR lighting. Incorporating directional or point lights can reduce the HDR’s load and improve render efficiency.
Lower Resolution: For test renders, use a lower-resolution HDR texture to dramatically cut down render times.
7. Adjusting Background and Masking
In some cases, you might not want the HDR texture’s background to appear in the final render but still want its lighting effects. You can hide the background using the following steps:
Go to the World Settings and adjust the background opacity to 0, ensuring that only the lighting is retained in the render without displaying the background image.
Use Object Masking to hide areas of the scene that might be overly affected by HDR lighting.
8. Post-Processing and Color Correction
Finally, you can make subtle adjustments to the HDR lighting in Blender’s post-processing section.
Exposure Adjustment: Use the exposure or color adjustment nodes to fine-tune the overall exposure, ensuring the HDR lighting blends naturally with other light sources in the scene.
Color Grading: Adjust the lighting’s color tone to match the scene’s mood, making sure the final result aligns with your design goals.
Once you master using skydome HDR textures in Blender, you can apply these techniques in various scenarios. Whether it’s adding realistic natural lighting to architectural exteriors or creating immersive ambient light for interior scenes, optimizing the details of HDR lighting helps designers elevate their render quality while maintaining efficient workflows.
If you’re looking for high-quality HDR image resources, 3D textures, SketchUp models, or 3ds Max assets, Relebook is a great resource. Downloading textures and models from Relebook and importing them into 3D Max can significantly enhance the quality of your work.

