How to Improve Lighting with Skydome HDR Textures in 3ds Max
HDR textures are excellent at capturing the rich details of natural light, making them especially useful for rendering outdoor or panoramic scenes. In addition to 3ds Max, HDR textures are widely used in other 3D software such as Blender and Cinema 4D, significantly enhancing the realism of lighting. This article will guide you through the process of improving lighting in 3ds Max using skydome HDR textures, including steps on how to import, adjust, and optimize HDR lighting for more efficient and realistic rendering results.
1. Choosing the Right HDR Texture
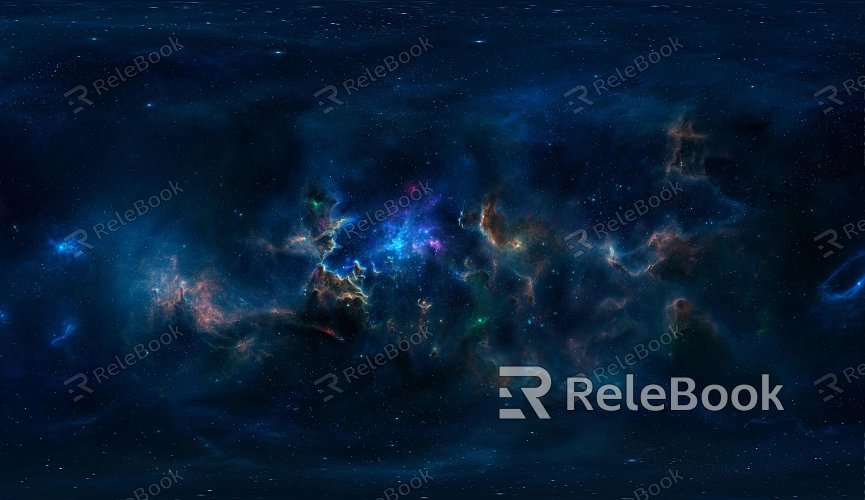
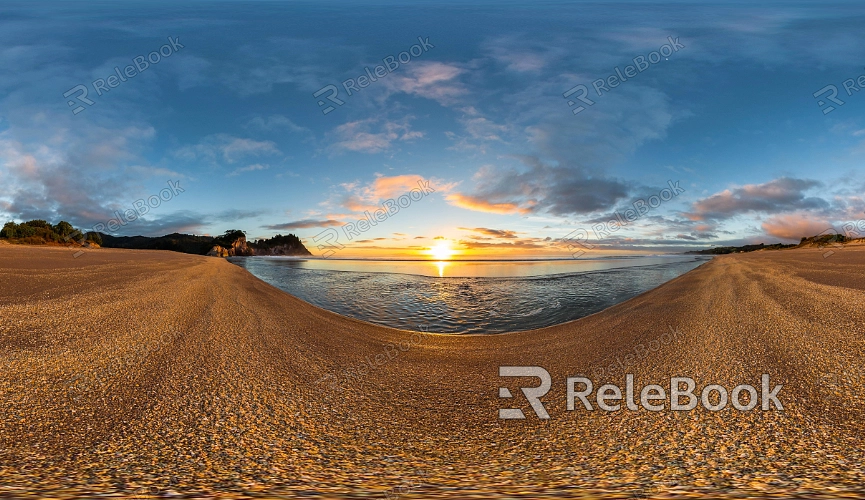
Before setting up a skydome HDR texture, selecting the appropriate HDR image is essential. HDR images contain multiple exposure levels that capture both highlights and shadows, providing richer lighting details. Designers can download high-quality, free HDR images from sites like Relebook. You can easily enhance your project by downloading HDR textures from https://textures.relebook.com/.
Resolution: Make sure the HDR image has a high enough resolution. A texture of 4K or higher is generally recommended to ensure clarity and detail.
Light Source Direction: Consider the needs of your scene. For instance, if your scene features strong sunlight, choose an HDR image that includes sunlight. If it's a cloudy day or night scene, select an HDR texture that better fits the lighting mood.
Exposure Range: An HDR image with a broader dynamic range can better capture contrasts between light and dark areas, giving the lighting more depth and realism.
2. Importing HDR Textures into 3ds Max
Once you've selected the appropriate HDR image, it’s time to import it into your 3ds Max scene. Here are the steps:
Open 3ds Max and navigate to the Render Setup panel.
In the "Environment and Effects" section, find the "Environment Map" and click the small box next to it.
Choose "Bitmap" as the type and import the HDR image file you've downloaded.
The HDR image will automatically be applied to the skydome, and the lighting effect will start to show in your scene.
3. Adjusting the Brightness and Direction of HDR Textures
After importing the HDR texture, you may need to tweak its brightness and light source direction to match the scene’s requirements.
Brightness Adjustment: In 3ds Max, you can adjust the brightness of HDR lighting by using the "Exposure Control" settings. By increasing or decreasing the exposure value, you can control the overall brightness of the scene, making the lighting appear more natural.
Rotating the HDR Light Source: If you need to change the direction of the light source, adjust the UV coordinates of the HDR map in the Material Editor. This simulates different angles of sunlight, allowing you to create realistic shadows and lighting for various times of day.
4. Optimizing Lighting and Material Interaction
When using skydome HDR textures, it’s crucial to ensure the lighting interacts well with the materials in the scene. By fine-tuning material properties such as reflectivity and glossiness, you can further enhance the interplay between light and surfaces.
Reflectivity: In the Material Editor, adjust the reflectivity of objects to better showcase the real-world reflections of HDR lighting. For example, glass and metal materials will reflect the HDR light more prominently.
Glossiness: Adjusting the glossiness parameters of materials allows you to simulate different surface finishes, which can enhance the realism of your scene.
5. Testing and Previewing the Render
Once the basic setup is complete, designers can preview the render to check the actual effect of the HDR lighting.
Quick Preview: Use 3ds Max’s real-time rendering engine to quickly view the lighting effects and see if they match your expectations. If the brightness or direction appears off, go back and adjust the HDR texture parameters accordingly.
Final Rendering: After confirming the basic lighting effects, it’s recommended to use a higher-quality rendering engine such as V-Ray or Arnold for the final render. This will produce higher-quality light and shadow interactions in the scene.
6. Enhancing the Lighting with Additional Light Sources
While HDR textures provide natural environmental lighting, you can still use additional light sources to further enhance the overall effect. For example, adding directional lights (like sunlight) or local point lights can highlight specific areas with more brightness or shadow.
Directional Lights: Adding directional light can simulate the direct sunlight effect, increasing the overall contrast in the scene.
Point Lights: In indoor or complex scenes, point lights can emphasize localized lighting effects, adding depth and detail to specific areas.
7. Optimizing Render Time
Although HDR textures significantly improve the rendering results, they can also increase render time. If you're on a tight deadline, you can optimize render time by lowering sampling rates or reducing the texture resolution.
Lowering Sampling Rates: Reducing the sampling rates can dramatically shorten render times, especially during the sketch phase or preview rendering.
Reducing Resolution: For test renders, use lower resolution HDR textures to decrease render time while retaining the overall lighting effect.
8. Adjusting Background Display
In some cases, designers may want to hide the HDR background while keeping its lighting effects. In 3ds Max, you can easily hide the background image by adjusting its opacity.
Hiding the Background: In the environment settings, set the background opacity to 0. This way, the HDR image won’t appear in the final render, but the lighting effects will still be present.
By correctly applying and adjusting skydome HDR textures in 3ds Max, designers can greatly enhance the lighting of their scenes, making them more realistic and visually appealing. This not only helps achieve higher-quality renders but also speeds up the design workflow.
If you’re looking for high-quality HDR images or 3D model resources, Relebook is a valuable platform. It offers a wide selection of HDR textures, 3D models, and other design assets that can help you improve your project’s visual quality and work efficiency.
