How to Create Bump Maps in Blender?
Bump mapping is a widely used technique in 3D modeling that simulates the appearance of surface detail, such as wrinkles, cracks, or texture, without altering the actual geometry of a model. This makes it an essential tool in creating realistic textures in a variety of projects, from architectural visualization to animated films. Blender, one of the most popular open-source 3D software platforms, offers robust tools for bump mapping. In this article, we'll explore the fundamentals of bump maps, how to create them in Blender, and some tips for optimizing your workflow.

What Are Bump Maps?
Bump maps are grayscale images that are used to create the illusion of depth and surface detail on 3D objects without modifying their underlying geometry. Essentially, bump maps simulate the way light interacts with the surface, making flat textures appear bumpy or rough. The brightness of the pixels in the bump map determines the height of the surface—darker values indicate recessed areas, while lighter values indicate raised areas.
Unlike displacement maps, which modify the geometry of a 3D model by displacing vertices, bump maps are purely visual and don't affect the model’s structure. This makes bump mapping less computationally expensive than displacement, offering a quick way to add realism without overloading your system.
Setting Up Bump Maps in Blender
In Blender, creating bump maps involves a few simple steps. Let’s walk through the process to give you a solid foundation for applying bump mapping to your 3D models.
1. Preparing Your Bump Map Image
The first step is to create or obtain a bump map. These images are typically black and white, with varying shades of gray representing different heights. You can create bump maps in image editing software like Photoshop or GIMP or use texture sources available online. High-quality bump maps can be found on websites such as Texture Haven or Poliigon.
Once you have your bump map ready, save it in a format that Blender supports, such as PNG or JPEG.
2. Applying the Bump Map to Your Model
Open Your Model: In Blender, start by opening the 3D model to which you want to apply the bump map.
Select the Material: Go to the Materials tab in the Properties panel and select the material you wish to apply the bump map to.
Add the Bump Map Texture: In the Shader Editor, press Shift + A to bring up the menu and choose Texture > Image Texture. Load your bump map image by clicking on the Open button in the Image Texture node and selecting your bump map file.
Connect the Image Texture to the Bump Node: Add a Bump node (Shift + A > Vector > Bump) and connect the Color output of the Image Texture node to the Height input of the Bump node. The Bump node has a Normal output, which should be plugged into the Normal input of your shader (usually the Principled BSDF node).
Adjusting the Bump Strength: The strength of the bump map can be controlled using the Strength slider in the Bump node. Start with a value around 0.2 and adjust based on how pronounced you want the bump effect to be. Higher values will create a more noticeable bump effect, while lower values will soften the result.
3. Preview and Fine-Tuning
Once you have applied the bump map, switch to the rendered view to preview the effect. Depending on the lighting and the material properties, you may need to fine-tune the bump strength or adjust the texture coordinates to ensure the bump map aligns correctly with the surface of your model.

Tips for Effective Bump Mapping
While bump maps are a simple and powerful tool, there are a few tips that can help you get the best results.
1. Use high-resolution bump maps.
Low-resolution bump maps may appear pixelated, especially when viewed close up or when applied to large surfaces. To avoid this, always use high-resolution bump maps for more detailed and smoother surface effects. This will make the texture appear more realistic and less blocky.
2. Combine Bump Maps with Other Maps
Bump maps work best when combined with other texture maps like diffuse, specular, or roughness maps. For example, a roughness map can help determine how glossy or matte a surface looks, while a specular map controls the intensity of reflections. When used together, these maps can create more sophisticated and realistic materials.
3. Avoid Over-Exaggeration
One common mistake when using bump maps is cranking up the bump strength too much. This can lead to exaggerated and unrealistic results. Subtlety is key to making bump maps look natural. Start with a lower strength and gradually increase it to find the sweet spot.
4. Use Normal Maps Instead
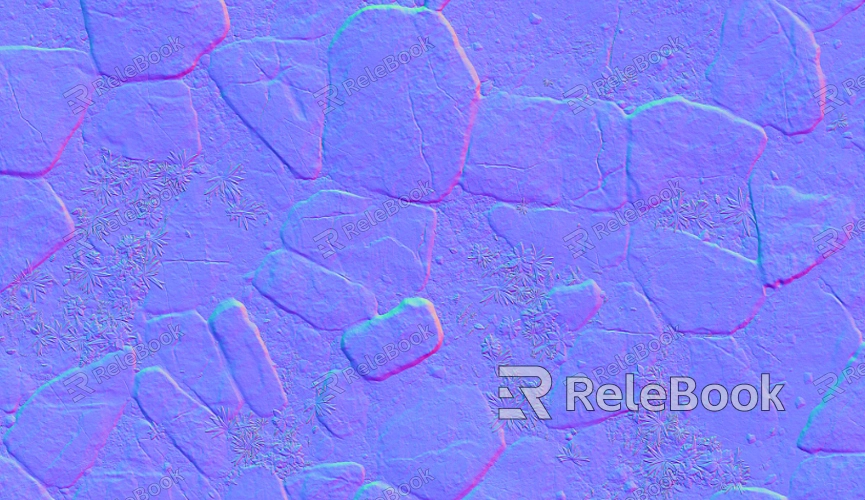
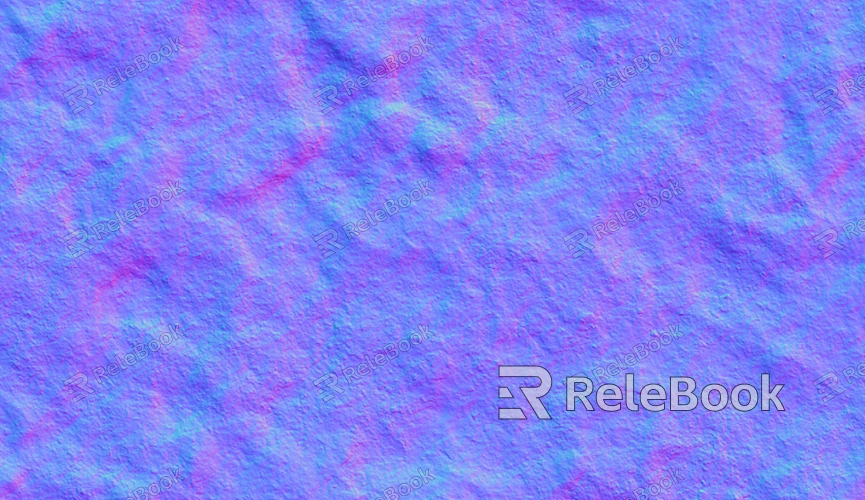
For more complex textures and details, consider using normal maps. While bump maps simulate depth using grayscale values, normal maps use RGB data to represent surface detail in a way that’s more accurate to how light interacts with the surface. Normal maps provide a more realistic result, especially when combined with bump maps in more advanced workflows.
Common Issues and Solutions
When working with bump maps in Blender, you may encounter several common issues. Below are some of the most frequently faced problems and their solutions.
1. Bump Map Not Showing in Render
This issue often occurs when the bump map isn’t properly connected to the shader network or if the material settings are incorrect. Ensure that the bump map is connected to the Bump node and that the Bump node is connected to the Normal input of your shader. Also, check your render settings to make sure you are rendering with the appropriate engine (Cycles or Eevee).
2. The bump map appears blurry.
If your bump map appears blurry or pixelated, make sure that the image resolution is high enough and that the mapping coordinates are correct. You may also need to adjust the scale of the texture or use a higher-resolution image.
3. Lighting Issues with Bump Maps
Sometimes, bump maps don’t look as effective depending on the scene’s lighting. To fix this, try adjusting the strength of your bump and tweaking the lighting setup to highlight the texture details more effectively. Additionally, using HDRi lighting can help produce more realistic light interactions with the surface.
Bump maps are an essential tool for adding surface detail to 3D models without increasing the complexity of your mesh. With Blender’s easy-to-use tools and the ability to create detailed bump maps, you can greatly enhance the realism of your models with minimal impact on performance. By following the steps outlined in this article and paying attention to details like texture resolution and material settings, you’ll be able to master bump mapping in Blender. To further enhance your projects, consider exploring 3D models and textures available on the Relebook website to bring even more depth and realism to your creations.
FAQ
Can bump maps be used with all materials in Blender?
Yes, bump maps can be used with all types of materials in Blender. However, they are most commonly used with diffuse and glossy materials to simulate surface detail.
What is the difference between bump maps and displacement maps?
While both bump maps and displacement maps are used to create the illusion of surface detail, displacement maps modify the geometry of the model, whereas bump maps only affect how light interacts with the surface. Displacement maps are computationally more intensive, while bump maps are faster to render.
Do I need to use high-resolution bump maps for every model?
Not necessarily. For larger objects or those viewed from a distance, lower-resolution bump maps may be sufficient. However, for close-up shots or detailed surfaces, it’s always better to use higher-resolution textures for better quality.
Can I use bump maps in game engines like Unity or Unreal?
Yes, bump maps can be exported and used in game engines like Unity or Unreal Engine. However, note that game engines often use normal maps instead of bump maps for better performance and realism.

