How to render the composited in blender
Blender is a powerful 3D modeling and rendering software that not only excels in creating high-quality 3D models but also handles complex compositing. Compositing involves combining multiple images or render layers to produce the final image. This guide will explain how to render composited images in Blender, covering compositing setup, node usage, and final adjustments, to help you create stunning composited visuals.
Preparation
Before you begin, make sure you have completed the following:
1. Install Blender: Ensure you are using the latest version of Blender to take advantage of the newest features and improvements.
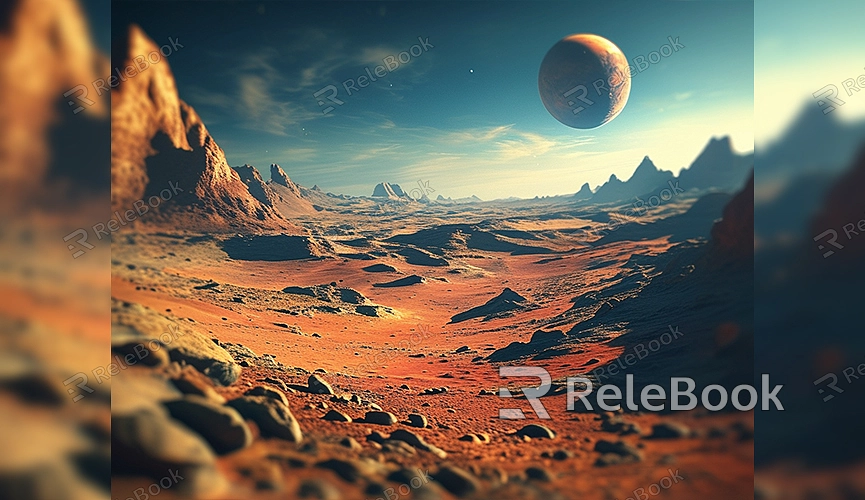
2. Create or Import Models: If you don’t have a model, you can either create one in Blender or download a pre-made model from resource websites. For example, you can download high-quality 3D models from [Relebook](https://3dmodels.relebook.com/) for compositing.
3. Set Up the Scene: Create or import the necessary scene elements in Blender, including backgrounds, light sources, and camera settings. These elements will affect the outcome of your composited image.
Using Compositing Nodes
Blender’s node-based compositing system allows for flexible image processing. Compositing nodes let you combine multiple images or render layers, perform color correction, and apply various effects. Here’s a basic guide to using compositing nodes:
1. Switch to Compositing Workspace: In Blender's top menu, select the “Compositing” workspace to switch to compositing mode. Here, you’ll find the “Node Editor” and “Render Result” panels.
2. Enable Nodes: In the “Node Editor,” check the “Use Nodes” option to enable the compositing node system. Blender will automatically generate a default “Render Layers” node and a “Composite” node.
3. Add Nodes: Add different nodes as needed. For example, use a “Color Correction” node to adjust the color balance of the image, or a “Blur” node to add depth of field effects. Nodes can be added by pressing “Shift + A” and selecting the desired node type.
4. Connect Nodes: Link the nodes together to form a compositing chain. Typically, you need to connect the output of the “Render Layers” node to the input of the “Composite” node, and then process the image through other nodes as required.
5. Adjust Node Settings: Click on each node to adjust its settings to achieve the desired effect. For example, in the “Color Correction” node, you can adjust parameters like brightness, contrast, and hue. Fine-tune these settings until you are satisfied with the final result.
Rendering the Composited Image
After setting up the nodes, you can render the composited image:
1. Set Render Parameters: In the “Render” panel, configure parameters such as resolution and sampling rate. Higher resolution and sampling rates will improve image quality but will increase rendering time.
2. Execute the Render: Click the “Render” button, and Blender will generate the final image according to the compositing node settings. The rendering process may take some time, depending on your settings and computational power.
3. View and Save the Rendered Result: Once rendering is complete, view the final image in the “Render Result” panel. Use the “Image” menu’s “Save As” option to save the rendered image to your computer.
Practical Applications
Blender's compositing capabilities allow you to create a wide range of image effects. Compositing is not only useful for producing high-quality final images but is also widely used in advertising, film, gaming, and other fields. Mastering compositing nodes will enable you to achieve various visual effects, such as special lighting effects, color adjustments, and depth of field blur.
Rendering composited images in Blender involves multiple steps, from setting up compositing nodes and adjusting their parameters to final rendering. Mastering these skills will help you create high-quality, creative 3D images. If you need high-quality 3D textures and HDRI for your models and virtual scenes, you can download them for free from [Relebook](https://textures.relebook.com/). For exquisite 3D models, visit [Relebook](https://3dmodels.relebook.com/). Relebook provides a wide range of premium 3D resources that can enhance your compositing results and overall image quality.
