Best HDR Forest Texture Settings for Realistic Environments
Whether you're working on film, game environments, or architectural visualization, creating realistic natural scenes requires a high level of detail in rendering. HDR images are becoming increasingly popular in enhancing visual effects, especially when handling complex lighting and natural illumination. This article will explore how to select and set up the best HDR forest textures for realistic environments, focusing on lighting, color balance, and detail enhancement.

1. Choosing the Right HDR Image
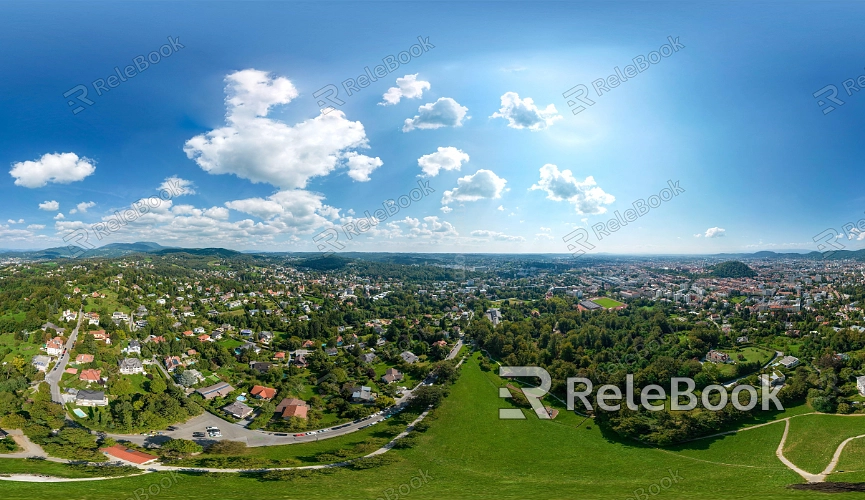
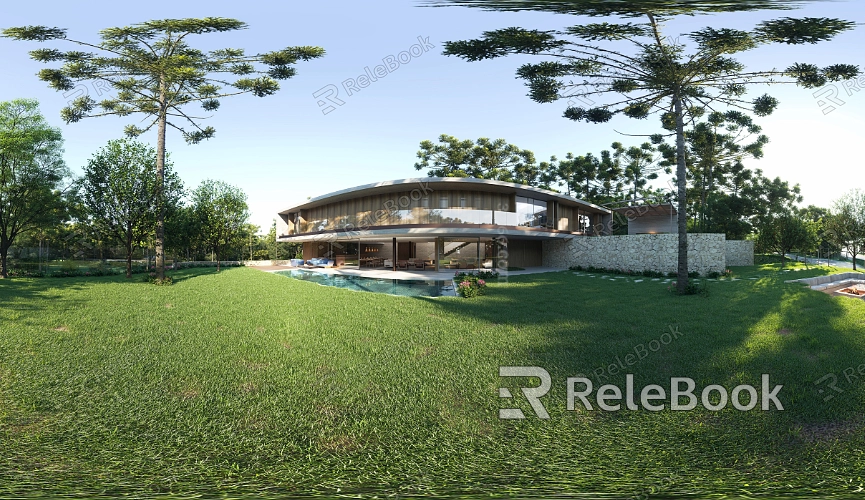
Selecting high-quality HDR images is crucial for building a realistic forest environment. HDR files capture the full range of lighting in a real-world scene and can be effectively applied in 3D software. Here are some key considerations when choosing an HDR image:
Resolution: For large-scale environments, high-resolution HDR images help capture more detail. This ensures smoother lighting transitions between foreground and background elements.
Exposure Range: High-quality HDR images often have a wide exposure range, reflecting smooth transitions from dark to bright areas. This is especially important in forest environments, where shadows and direct sunlight coexist.
Scene Relevance: It's essential to choose HDR images that match the forest environment you're creating. Factors like forest type, climate conditions, and seasonality can all affect the lighting, and using relevant textures enhances the scene's realism.
2. Setting Up Environmental Lighting
HDR textures are often used as environmental lighting sources, simulating natural light and enhancing scene details. Proper lighting settings can help you achieve natural tones and shadows.
Light Direction: Ensure the light direction aligns with the composition of your scene. In forest settings, a strong overhead light source, mimicking sunlight filtering through the canopy, often works well to create shadows and dappled light patterns on the ground.
Brightness Adjustment: In 3D software, adjust the brightness of the HDR light source. Too much brightness can lead to overexposure, while too little can make the scene appear flat. Aim for a balanced range where the lighting feels soft yet dynamic.
Tone Adjustment: Depending on the scene, you may want to adjust the tone of the HDR image. Forests at different times of day offer distinct colors—morning scenes may have golden hues, while evening scenes can feature softer, warmer light. Adjusting the tone accordingly can enhance the atmosphere of your scene.
3. Detail Enhancement and Texture Mapping
Adding realistic details to your forest environment requires careful attention to texture mapping.
Reflections and Refractions: HDR images generate realistic reflections and refractions, adding depth to the scene. For example, subtle reflections on leaves or shimmering water surfaces will change as the viewer’s perspective shifts, making the scene more dynamic.
Bump Mapping: In addition to HDR textures, using bump maps for surfaces like tree trunks and rocks can add more surface detail. The interplay of light and shadow on these textures makes them appear more three-dimensional and realistic.
4. Optimizing Scene Performance
Realistic HDR forest environments can consume significant system resources, potentially slowing down rendering. Optimization during setup is essential for balancing quality and performance.
Sampling Settings: Lowering unnecessary high sample rates can reduce noise during rendering. Most 3D software allows you to customize sampling settings to suit the project’s needs without sacrificing too much detail.
Ray Tracing Optimization: If you're using a ray-tracing engine, adjusting the depth and number of reflections can prevent excessive render times. Finding the right balance of parameters ensures you maintain detail while boosting rendering efficiency.
HDRI Texture Size Optimization: In some cases, high-resolution HDR images can slow down your workflow. Reducing the resolution of the HDR file may improve efficiency without noticeably impacting visual quality.

5. Dynamic Adjustments and Post-Processing
To achieve a more natural final look in your forest environment, dynamic adjustments and post-processing techniques can be used.
Color Correction: After rendering, minor color corrections can significantly enhance the scene. Adjusting contrast and saturation, for instance, can increase visual impact.
Lighting Enhancements: Post-processing software like Photoshop or After Effects can further enhance the scene’s lighting, adding lens flares or sunbeam effects to elevate realism.
Depth of Field: Adding depth of field in post-processing simulates camera focus, making the foreground and background blend more naturally, with subtle blurring to emphasize key areas of the scene.
6. Implementation Across Different Software
Different 3D software platforms may handle HDR images slightly differently. Here's a brief overview of how HDR images can be applied in some of the most commonly used tools:
Blender: In Blender, HDRI textures are typically connected to the render settings through the environment node. You can combine them with the main light source using a Mix Shader node to fine-tune lighting effects.
3ds Max: When using rendering engines like V-Ray, you can load HDRI files into the environment map channel, where you can control the light intensity and direction.
Cinema 4D: HDR files are often combined with a Sky Object to set up environmental lighting and reflections, making lighting more realistic.
By carefully selecting and setting up HDR forest textures, designers can create highly realistic natural environments in various 3D software, adding depth and detail to their projects.
With the insights shared in this article, you're now better equipped to manage HDR textures in forest environments, enhancing the realism and visual impact of your scenes. If you're looking for high-quality HDR images, 3D textures, SketchUp models, or 3ds Max assets to bring your scenes to life, Relebook offers an extensive range of resources to help you achieve outstanding visual results.

