How to Use Textures in 3D Editors?
In modern 3D design, textures play a crucial role. They add detail and richness to models, making virtual objects appear more realistic and interesting. Mastering texture usage is a vital skill for designers. This guide will walk you through the process of effectively using textures in a 3D editor to enhance the quality of your work.
Understanding the Basics of Textures
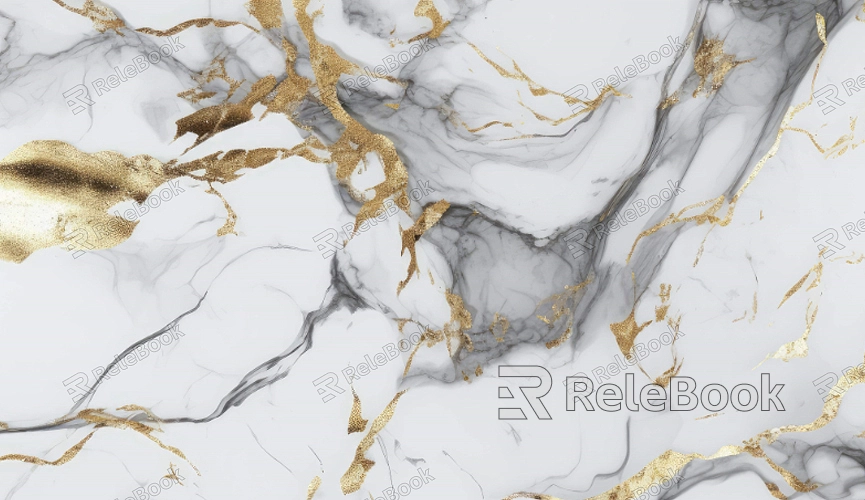
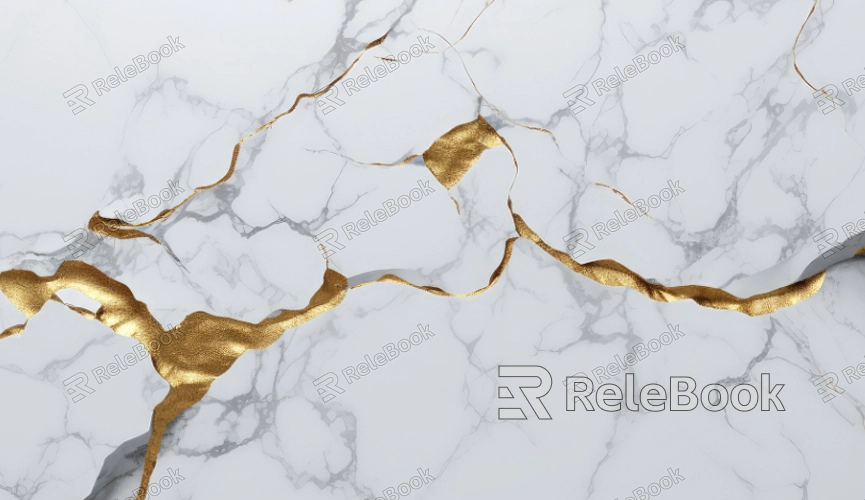
Textures are images or patterns applied to the surface of a 3D model to simulate various surface effects such as wood grain, metal finish, or fabric texture. They are more than just simple images; they often include information about surface glossiness, roughness, and transparency, which contribute to a more vibrant and realistic appearance of the model.
Choosing the Right Texture
The first step in using textures in a 3D editor is to select the appropriate texture. You can download preset textures from various resource libraries or create your own. Make sure the texture matches the design style and purpose of the model. For instance, if you’re creating an old building model, brick textures would be more suitable than metal textures.
Importing Textures into the 3D Editor
Different 3D editors have varying workflows, but the basic steps for importing textures are similar. Typically, you need to find the “import” option in the editor’s asset library and upload the texture file to your project. Ensure the texture’s format and size meet the editor’s requirements for optimal results.
Applying Textures to Models
Applying textures to a model generally involves the following steps:
1. Selecting the Model
Start by selecting the model you want to apply the texture to. This could be a simple geometric shape or a complex character model.
2. Creating a Material
Create new material for the model in the editor. A material is a container that defines the properties and appearance of textures. Assign a name to the material for easier management.
3. Assigning the Texture
In the material settings, allocate the imported texture to the material. Typically, you can drag and drop the texture into specific property slots, such as “diffuse texture” or “normal map.” This step applies the texture to the model’s surface.
4. Adjusting Texture Parameters
Adjust the texture parameters as needed, such as scaling, tiling, and rotation. These adjustments ensure that the texture displays correctly on the model's surface. Some editors offer real-time preview features to help you quickly see the effects of your adjustments.
Editing and Optimizing Textures
After applying the texture, you may need to further edit and optimize it. Common editing tasks include:
1. Scaling and Cropping
If the texture’s size does not match the model, use the editor’s tools to scale and crop the texture. This ensures an even distribution of the texture across the model’s surface.
2. Painting Directly on the Model
Some advanced editors allow you to paint textures directly onto the model’s surface. This method can add details like scratches, dirt, or other effects.
3. Adjusting Material Properties
Besides the texture itself, you can adjust other material properties such as glossiness, transparency, and reflectivity. These settings affect how the texture interacts with light, making the model look more realistic.
Texture Mapping Techniques
Texture mapping is the process of applying 2D textures onto a 3D model’s surface accurately. Common texture mapping techniques include:
1. UV Unwrapping
UV unwrapping is the process of projecting a 3D model’s surface onto a 2D plane. This step helps align the texture precisely on the model. Ensure that the UV unwrap has no overlaps and minimizes seams.
2. Multi-texture Mapping
For complex models, multi-texture mapping techniques may be necessary. You can assign different textures to different parts of the model to create more detailed visual effects.
3. Using Texture Atlases
A texture atlas is a method of packing multiple textures into one file. This can reduce computational overhead during rendering and improve performance.
Using textures effectively in a 3D editor is an essential skill that can significantly enhance the visual quality and realism of your models. From selecting and applying textures to editing and optimizing them, each step requires careful attention and adjustment. By mastering these techniques, you’ll be able to create more vibrant and realistic 3D assets. For high-quality 3D models and textures, visit Relebook to download the resources you need.
FAQ
How do I choose the right texture?
Consider the model’s purpose and style when selecting textures. For building models, choose brick or concrete textures; for character models, consider fabric or skin textures. Ensure the texture resolution is high enough to maintain detail.
Why does the texture not display correctly on the model?
Possible reasons include incorrect texture coordinates, improper UV unwrapping, or incompatible texture file formats. Check the UV mapping of your model and ensure the texture file format matches the editor’s requirements.
How can I fix texture stretching or blurring issues?
Texture stretching often results from uneven UV unwrapping. Adjust the UV coordinates to fix this issue. Blurring may occur if the texture resolution is too low; try using a higher-resolution texture.
How do I adjust texture tiling and scaling in the 3D editor?
In most 3D editors, you can adjust texture tiling and scaling through the material property panel. Locate the relevant settings and adjust them as needed.
