How to Create Marble Texture in Photoshop?
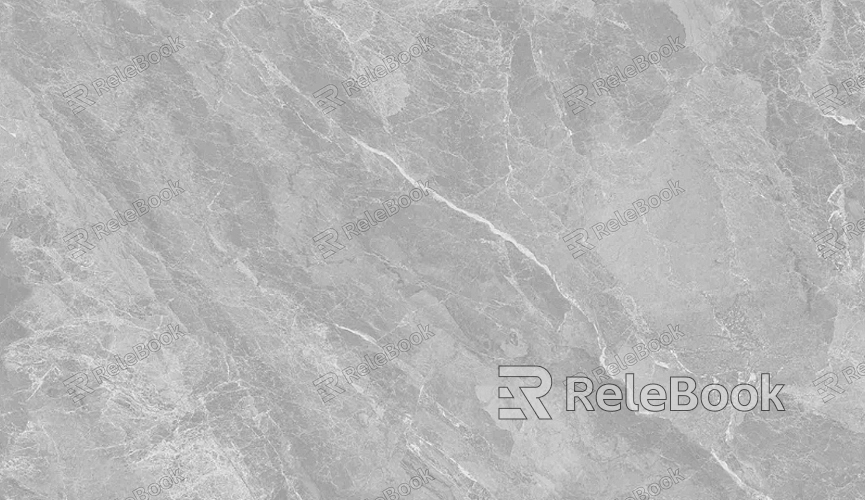
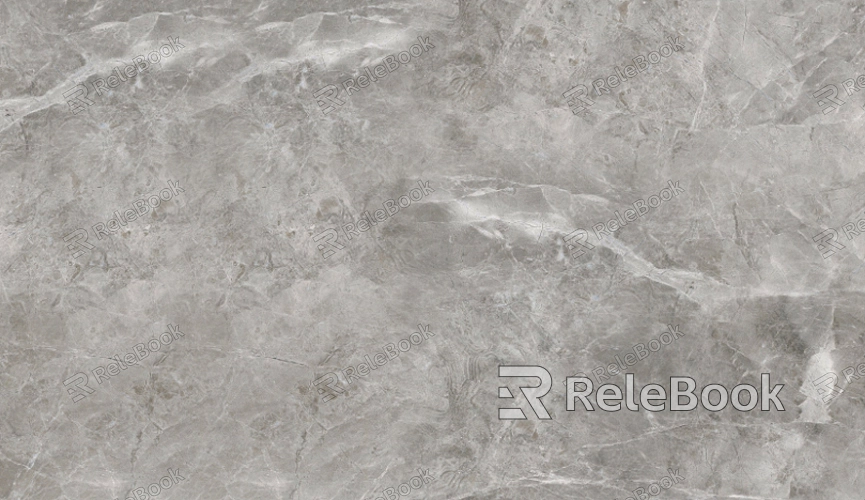
With their elegant and natural beauty, marble textures are commonly used elements in design and art. For interior decoration and graphic design, marble textures have extensive applications. Creating marble textures in Photoshop not only allows you to simulate the appearance of natural marble but also gives you the flexibility to customize them according to your needs. This article will guide you through the process of creating a marble texture in Photoshop, providing a step-by-step approach to help you master this technique.

Preparing the Workspace: Create a New Document
Before starting to create your marble texture, the first step is to set up a new document in Photoshop. Choose an appropriate size and ensure the resolution is suitable—typically, a high resolution (such as 300 dpi) will result in better quality output. You can choose any background color, but it’s recommended to start with a white background, as it will allow the marble texture to stand out better.
Use the Clouds Filter to Generate the Base Texture
The core of marble texture lies in the intricate, layered patterns that naturally occur. In Photoshop, you can achieve this by using the Clouds filter. Start by selecting the background layer, then go to the “Filter” menu and choose the “Clouds” filter. This step will randomly generate a cloud-like pattern that will serve as the foundation for the marble texture.
To make the texture look more realistic, you can apply the Clouds filter multiple times or adjust its intensity until you achieve the desired base texture. You can further refine the effect using layer blending modes and opacity adjustments to fine-tune the look and feel.

Adjust the Texture’s Color and Contrast
Marble textures usually contain a rich variety of color variations, ranging from light grays to darker veins. At this stage, you can enhance the texture’s contrast by using Photoshop's levels or curve adjustment layers to bring out the highlights and shadows. By adjusting the color balance, you can shift the cloud patterns’ gray and white tones to more closely resemble the natural colors found in marble, such as light green, pink, or gold hues.
Additionally, you can use the Color Range tool to select certain parts of the texture and modify their colors. This can help replicate the natural color gradations that marble often displays, enhancing the visual appeal of the texture.
Refine the Texture and Add Depth
To make the marble texture appear more dynamic, you can add additional layers and details. Using the "Wind" filter under the "Filter" menu can simulate the veining and streaks that appear in marble. Apply the wind filter multiple times, adjusting its direction and strength to create a flowing pattern that mimics marble veins.
For added realism, consider introducing subtle noise or grain effects, which will contribute to a more organic and imperfect appearance. Combining these adjustments will help bring out the intricate details of the texture, making it look more like natural marble.
Use Layer Blending Modes to Fine-Tune Details
Layering and blending modes are essential tools when creating marble textures. By adding multiple layers and selecting different blending modes (such as overlay, soft light, or multiply), you can achieve a richer, more complex texture. For example, you can use the "Soft Light" mode to make color transitions smoother or the "Overlay" mode to enhance contrast and highlight details.
By stacking multiple layers with different blending modes, you can fine-tune the texture to create a more sophisticated and realistic marble effect. Experiment with different combinations of opacity and layer types to achieve the perfect look.
Add Cracks and Imperfections
Natural marble often features subtle cracks and imperfections that add to its beauty and authenticity. Adding these details will help make your marble texture more realistic. You can use the "Brush" tool in Photoshop to manually paint cracks and flaws onto the texture, selecting an appropriate brush style (such as a rough or fine-line brush).
Additionally, using the “Layer Mask” function will allow you to blend these imperfections seamlessly into the texture, preventing them from looking too harsh or artificial. This method gives you more control over where and how the cracks appear, allowing for a more natural integration into the overall texture.
Add Highlights and Glossy Effects
Marble surfaces often have a glossy, reflective quality, especially when exposed to light. In Photoshop, you can simulate this effect by adding highlights. Create a new layer and use a soft brush with a light color (such as white or a very light shade of the base color) to paint soft highlights onto the texture. Set this layer to the "Soft Light" blending mode to enhance the glossy appearance.
To make the highlight effect look more natural, you can apply a slight "Gaussian Blur" to the highlight layer, which will soften the edges and blend it more smoothly with the underlying texture. This step will give the marble texture the illusion of light reflection and a shiny surface.
Final Touches and Exporting
Once you’re satisfied with the marble texture, you can finalize the design by making any last adjustments to the color, contrast, and sharpness. After refining the texture to your liking, merge all the layers and save the file in a high-resolution format. Common formats include JPEG, PNG, and TIFF, depending on your needs.
With practice and experimentation, you can create highly realistic marble textures that can be used in a wide range of design projects.
Creating marble textures in Photoshop involves a series of steps, from using the Clouds filter to adjust colors and contrast to adding highlights and imperfections. By layering different textures, applying various blending modes, and refining the details, you can create a marble texture that looks almost indistinguishable from the real thing. Once you master these techniques, you’ll be able to use them in your design projects, whether they involve graphic design or 3D rendering. For more high-quality 3D models and textures, visit Relebook to expand your creative resources.
FAQ
How can I make the marble texture appear more layered?
You can apply the “Clouds” filter multiple times and adjust the blending modes (like overlay or soft light) to add depth and texture. Additionally, using the “Wind” filter can simulate the veins in marble, giving it a more layered appearance. Subtle noise or grain effects can also enhance the depth of the texture.
How do I simulate the glossy effect of marble?
To mimic the glossy look of marble, add a new layer and use a soft brush with a light color to paint highlights. Set the layer to the "Soft Light" blending mode to create a natural shine. You can also apply "Gaussian Blur" to soften the highlights and make the effect more subtle and realistic.
Can I add more colors to the marble texture?
Yes, you can adjust the colors in the texture by using Photoshop’s color adjustment tools like Levels, Curves, or Color Balance. To add more color variation, you can use the Color Range tool to select different parts of the texture and apply new hues, such as soft greens, pinks, or even gold.
How can I add cracks or imperfections to the marble texture?
You can use the "Brush" tool to manually paint cracks and imperfections onto the texture. Select a suitable brush style and paint over the texture. You can also use “Layer Masks” to seamlessly blend these imperfections into the overall texture without making them look too obvious.
How do I export the final marble texture?
Once you’re happy with the marble texture, you can export it in a high-resolution format such as JPEG, PNG, or TIFF. Choose the resolution and file format that best suit your project needs.

