How to Flip UV Maps in Rhino?
In 3D modeling, UV mapping is an essential component that allows textures to be accurately applied to the surface of a 3D model. Rhino, a widely used modeling software, includes UV mapping tools that let designers establish a relationship between textures and model surfaces. However, there are times when you may need to flip a UV map to adjust the texture direction or fix asymmetrical mapping issues. In this article, we'll explore how to flip UV maps in Rhino and go over the steps and techniques necessary for different situations.
Understanding UV Mapping
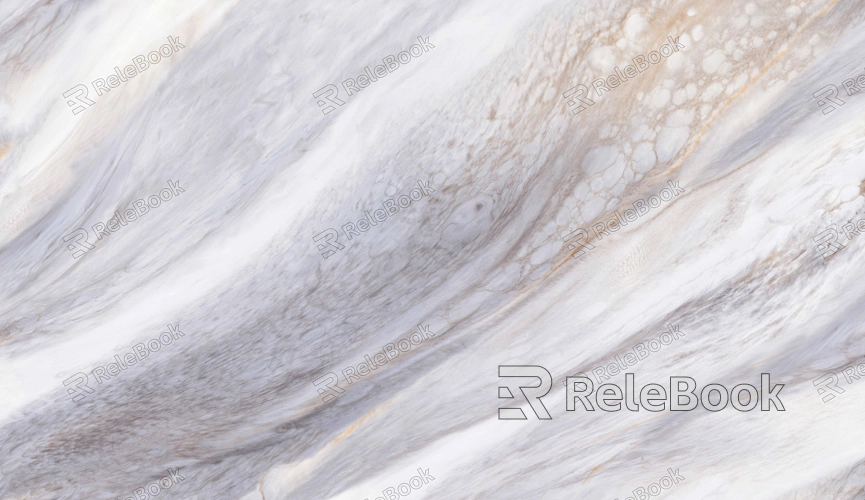
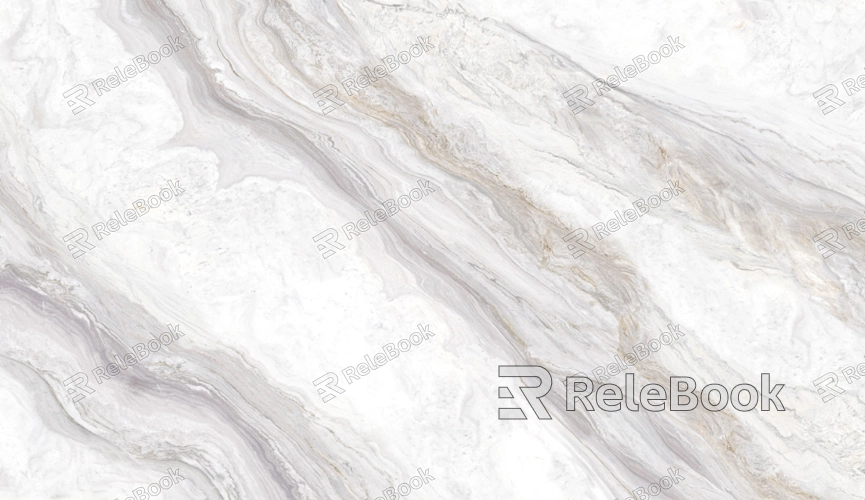
UV mapping is the process of projecting a 2D texture onto a 3D model's surface. It works by flattening the surface of the model into a 2D "UV space," similar to unfolding a 3D object’s packaging. The letters "U" and "V" represent the two axes of the 2D texture image (instead of the typical X, Y, and Z coordinates). UV mapping allows designers to precisely position texture patterns onto the model’s surface.
However, depending on the model’s surface topology in Rhino, the texture direction might not match expectations, which is when flipping the UV map can correct the issue and provide the desired outcome.
Why Flip a UV Map?
Sometimes, after applying texture to a model, you might notice the texture is oriented incorrectly. For instance, a wood texture might have grain lines going in the wrong direction, or the texture may appear mirrored. In such cases, flipping the UV map can adjust the texture direction to meet design requirements. Flipping the UV map not only fixes texture orientation but also helps avoid unwanted distortion on symmetrical models.
How to Flip a UV Map in Rhino
Flipping UV maps in Rhino is relatively straightforward. Here's how to do it:
1. Select the Model
Open Rhino and load or create a 3D model. Ensure that the model already has a texture applied to it. Select the model you want to adjust.
2. Enter the UV Editing Mode
After selecting the model, locate the "UV Editing" tool in Rhino. This can usually be found under the “Texture Mapping” tab in the properties window. Click to enter the UV editor, where you’ll see the UV layout of the model.
3. Flip the UV Directions
Once inside the UV editing mode, you’ll see the orientation of the UVs. You can flip the UV map in two main directions:
Horizontal Flip (Flip U): This adjusts the texture along the U-axis.
Vertical Flip (Flip V): This adjusts the texture along the V-axis.
In the UV editor, use the flip buttons to change the direction of the UV map in the desired way. You’ll immediately see the texture change on the model.
4. Adjust and Save
After flipping the UV map, check the texture’s appearance. If it looks correct, click "Apply" or "OK" to save your changes. If further adjustments are needed, you can scale, move, or rotate the UV map to fine-tune the result.
Other UV Adjustment Techniques
Besides flipping UV maps, Rhino offers several other handy UV adjustment tools. Knowing how to use these tools can help you fine-tune your texture mapping.
1. Scaling UVs
By scaling the UV map, you can control the size of the texture on the model's surface. If your texture appears too large or too small, scaling the UV map can quickly resolve the issue.
2. Rotating UVs
Sometimes flipping the UV map alone won’t fully solve the texture orientation problem. In this case, rotating the UV map might be necessary to get the texture aligned correctly.
3. Moving UVs
If the texture is misaligned on the model’s surface, moving the UV map can adjust the texture's position, making it fit your design better.
Common UV Mapping Issues and Solutions
There are a few common issues that may arise when working with UV maps. Here are some common scenarios and how to resolve them:
1. The texture looks stretched or distorted
This issue is often caused by uneven UV mapping. Try unwrapping the UV map in the UV editor or manually adjusting the UV proportions to match the model’s actual proportions.
2. The texture is oriented incorrectly
If the texture’s direction isn’t as expected, use the flip or rotate UV tools to adjust the direction, ensuring it matches the model’s structure.
3. Discontinuous textures on the model surface
This happens when the edges of the UV map don’t seamlessly align. You can fix this by adjusting the edges of the UV map or applying edge blur to the texture image to create a smoother transition.
Tips to Prevent UV Mapping Issues
To reduce the likelihood of UV mapping problems, designers can follow a few best practices while modeling and applying textures:
1. Keep the model topology simple
Complex geometry can result in irregular UV unwrapping, so maintaining a simple model topology helps avoid unnecessary UV mapping issues.
2. Plan UV layouts carefully
Planning the UV layout ahead of time when creating UV maps helps minimize distortion and discontinuity.
3. Test different UV mapping methods
Rhino offers multiple mapping methods, such as planar, cylindrical, and spherical mapping. Choosing the right method based on the model’s shape can help prevent many texture mapping problems.
Flipping UV maps in Rhino is a valuable technique, especially when you need to adjust texture orientation or correct texture distortion. With just a few simple steps, you can master flipping UV maps and have greater control over your texture mapping. In addition to flipping, scaling, moving, and rotating UV maps can further refine the appearance of your textures. We hope this article helps you better understand how to flip and adjust UV maps in Rhino. If you need high-quality 3D models and textures for your projects, feel free to download them from the Relebook website!
FAQ
How can I tell if my UV map direction is correct?
After applying the texture, check if the texture’s direction aligns with your model’s design. If it appears incorrect, you can adjust the UV map by flipping or rotating it.
Why is my texture still wrong after flipping the UV map?
Flipping UVs only changes the direction. If the texture still doesn’t look right, you may need to re-unwrap the UV or tweak other UV parameters.
Can I flip both U and V at the same time?
Yes, you can flip both U and V simultaneously, which creates a mirrored effect for the texture in both directions.
