How to Rotate a Sky Texture HDR in V-Ray
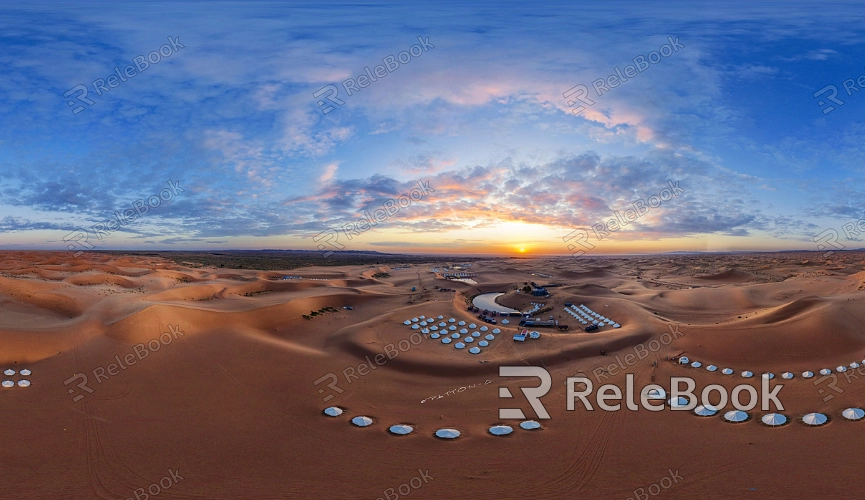
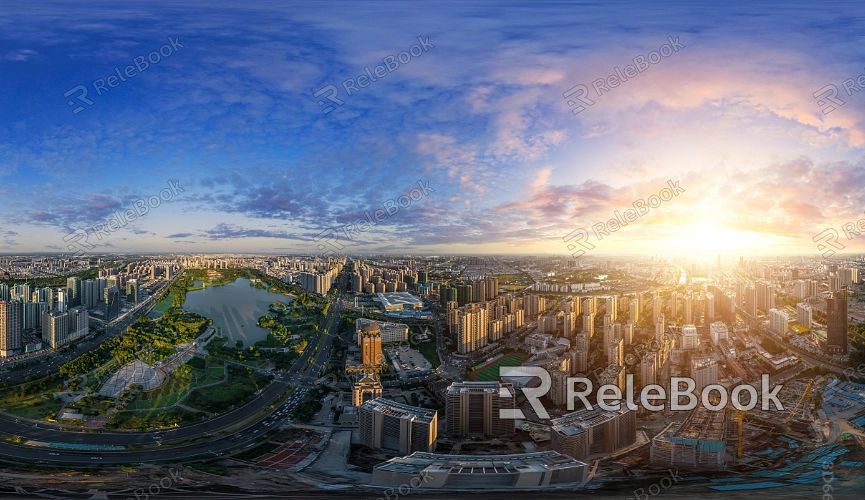
HDR images are often used as background light sources to simulate natural and detailed lighting effects, and they are widely applied in 3D design software such as Maya, 3ds Max, and Blender. V-Ray, as a powerful rendering engine, is frequently paired with these programs, particularly excelling at handling HDR images. This article will guide you through the steps of rotating a sky texture HDR in V-Ray, allowing you to have more control over lighting and enhance the realism and artistic impact of your scene.

1. Importing the HDR Texture
Before rotating a sky texture HDR in V-Ray, ensure that the HDR image is correctly imported into your scene. This is the first step, and it sets the foundation for how lighting will interact with your environment.
Open the V-Ray rendering settings and locate the environment map option.
In the background section, choose the V-Ray HDRI map type.
Import your desired HDR file, typically in .hdr or .exr format. These formats capture more lighting details, making the light in your scene feel more natural.
Make sure the HDR image is properly applied to the sky background so that you can rotate it and alter the lighting direction in the scene.
2. Using V-Ray Dome Light
V-Ray provides a dedicated Dome Light to handle the lighting effects from HDR images. Dome Light is a commonly used tool to create panoramic light sources, especially effective for ambient lighting and sky textures.
In Maya or 3ds Max, add a V-Ray Dome Light.
Link the imported HDR texture to the Dome Light’s texture slot.
In the Dome Light settings, make sure the adaptive dome mode is enabled for more precise light calculations.
Dome Light simulates a seamless panoramic lighting environment, allowing the HDR texture to cover the entire scene and lay the groundwork for subsequent rotation adjustments.
3. Basic Methods for Rotating the HDR Texture
Once the HDR texture is applied to the Dome Light, you can rotate the Dome Light to change the lighting angle. This is the primary method for adjusting the sky texture's orientation.
Open the Dome Light’s property panel and locate the rotation options.
Adjust the Dome Light's rotation angle to control the direction of the HDR light source. The most common adjustment is rotating along the Y-axis (horizontal rotation), as this changes the direction of light across the scene.
Modify the rotation angle to suit your scene’s needs until the lighting effect reaches the desired outcome.
This straightforward rotation method is intuitive and allows you to quickly alter the light source direction in your scene.
4. Fine-Tuning Through the Material Editor
In addition to rotating the Dome Light, you can make more precise adjustments to the HDR texture using the material editor, giving you further control over the lighting effects.
Open the material editor and locate the HDR texture applied to the Dome Light.
In the material node, find the UVW mapping controls. By adjusting the UVW rotation values, you can fine-tune the HDR texture’s rotation angle.
You can modify both the U and V axes separately, which allows for not only horizontal lighting changes but also fine adjustments to the vertical lighting angles.
This approach is ideal for scenes that require higher precision, especially when simulating complex lighting environments. Adjusting the UVW mapping provides more control options for achieving the perfect lighting setup.

5. Adjusting Exposure and Brightness
While rotating the HDR texture, the lighting effect may become too bright or too dim depending on the angle. Therefore, adjusting the exposure and brightness is an essential step.
In the Dome Light or HDR texture settings, locate the exposure control options.
Increasing the exposure value will brighten the entire scene, while decreasing it will reduce the light intensity.
If the lighting still isn’t ideal, you can further refine the brightness by adjusting the color gain and color offset in the HDR texture settings.
By adjusting exposure and brightness, you ensure the rotated lighting seamlessly blends into the scene without overexposure or dark spots.
6. Using Real-Time Rendering to Preview Changes
V-Ray offers real-time rendering previews, which help you instantly see the effects of your HDR texture rotation. This tool saves time and effort during the lighting adjustment process.
Enable V-Ray’s real-time renderer to see lighting changes immediately after adjusting the rotation angle.
Real-time rendering allows you to quickly spot any issues and avoid the need to repeatedly test and render the entire scene.
With this feature, you can efficiently find the most suitable lighting angle and optimize the overall appearance of your scene. Not only does real-time preview enhance your workflow, but it also helps you maintain precise control over the rotation and lighting adjustments.
7. Saving and Outputting the Final Result
After making all the necessary adjustments, you’ll need to save and export a high-quality render. Ensure that your final result meets project requirements and showcases ideal lighting effects.
In the V-Ray render settings, select an appropriate output format such as PNG, JPEG, or EXR. If you need to retain more lighting information for post-processing, EXR is recommended.
Adjust the render settings to ensure that the output image is sharp and detailed.
By following these steps, you can easily rotate a sky texture HDR in V-Ray and optimize the lighting in your scene. If you're looking for high-quality HDR textures or want to improve your lighting setup, Relebook is an excellent resource. On Relebook, you’ll find a wide range of HDR images, 3D models, and materials to help you achieve stunning results in your work.

