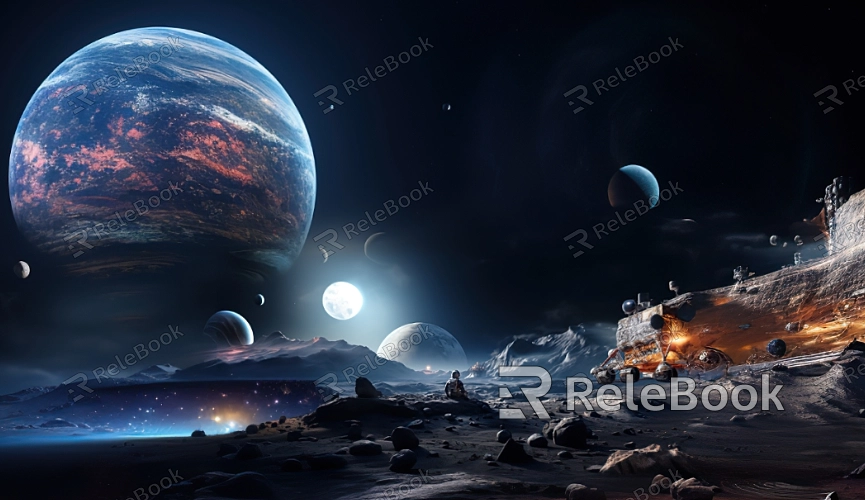
How to Create Realistic HDR Space Textures for Space Environments
Starry skies, planetary surfaces, and deep space scenes frequently appear in sci-fi films, game development, and virtual reality projects, utilizing software like Blender, 3ds Max, and Cinema 4D. This article will explore how to create high dynamic range (HDR) space textures for these environments, covering specific steps and techniques to help designers enhance the visual quality of their work.

1. Choose the Right Reference Material
Seek Inspiration: Before designing space textures, gather high-quality reference images. You can access Relebook to download stunning space HDR textures directly from relebook.com.
Analyze Light Sources: Pay attention to the light sources in space (such as the sun and stars) and understand how they affect color and brightness.
2. Create HDR Images
Utilize HDR Imaging Techniques: Use HDR imaging techniques to capture or composite images, ensuring you capture a broad range of brightness. This can be achieved by blending multiple photos taken at different exposure levels.
Software Tools: Leverage Adobe Photoshop or HDR compositing software (like Photomatix) to blend and process images, achieving the ideal HDR effect.
3. Apply Textures in 3D Software
Import Textures: In Blender or 3ds Max, import the created HDR textures into your project, ensuring the correct texture type is set.
Set Up UV Mapping: Create appropriate UV layouts for your models to ensure accurate texture application. This step is crucial for planets and backgrounds in space environments.
4. Adjust Material Properties
Reflection and Refraction: Adjust reflection and refraction settings in the material properties to simulate realistic space effects, such as water on a planet's surface or gas clouds.
Lighting Adjustments: Use HDR images as environment light sources, adjusting light intensity and color for a more natural lighting effect.

5. Render Settings
Choose a Rendering Engine: Select an appropriate rendering engine, such as Cycles or V-Ray, which supports HDR images well and provides higher detail and realism.
Post-Processing: After rendering, use post-processing software (like After Effects or DaVinci Resolve) for color correction and effect addition to enhance the visual impact of your images.
6. Testing and Tweaking
Test Renders: Conduct multiple test renders to see how the HDR textures perform under different lighting conditions.
Fine-Tune Parameters: Adjust texture and material parameters based on test results to ensure the final appearance meets your expectations.
7. Sharing and Feedback
Showcase Your Work: Upload completed projects to design communities or social media to gather feedback for further improvements.
Continuous Learning: Stay updated on other designers' work and techniques by participating in relevant forums to continually enhance your skills and the quality of your projects.
By following these steps, designers can create convincing HDR space textures for their environments. This not only enhances the realism of the scenes but also improves the overall visual experience, providing viewers with a deeper sense of immersion.
This article discussed key steps in creating realistic HDR textures for space environments, from choosing materials to adjusting parameters, aiming to help designers achieve better results in this area. These tips are intended to provide practical guidance for your 3D modeling and rendering work. If you're looking for high-quality HDR image resources, 3D textures, SketchUp models, or 3ds Max models, downloading from Relebook is a fantastic resource. By importing textures and models from Relebook into 3ds Max, you can significantly enhance the quality of your projects.

