How to Convert Standard Space Textures to HDR Format
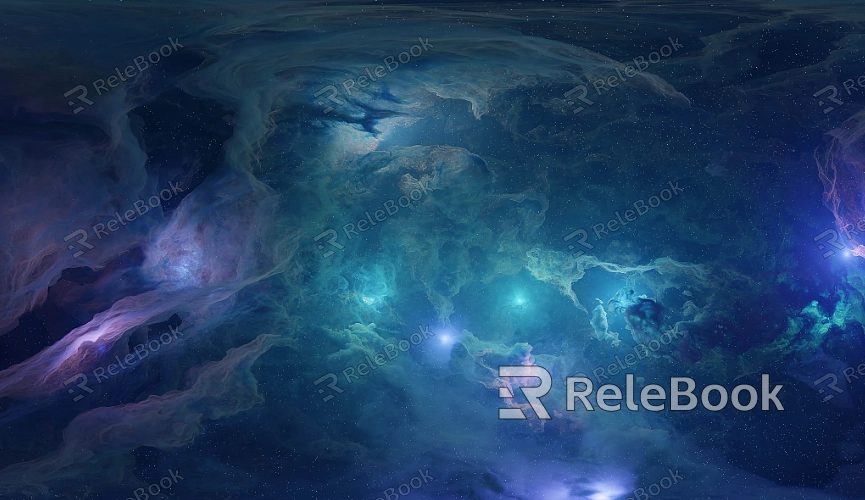
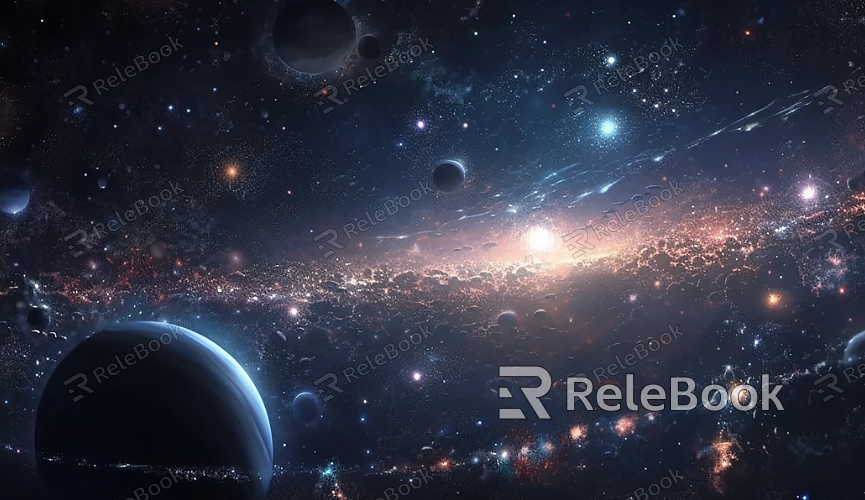
In sci-fi films, game development, and virtual reality, the lighting in space environments plays a critical role in achieving a compelling visual experience. However, standard space textures often struggle to capture the detailed nuances of light, limiting their effectiveness. To address this issue, many designers opt to convert standard space textures into HDR (High Dynamic Range) format, which offers greater control over lighting and more realistic results. This guide will walk you through the steps for converting standard space textures to HDR, along with some key tips and tricks to get the most out of your textures.
1. Understanding the Difference Between HDR and Standard Textures
Dynamic Range: Standard textures are limited in terms of the brightness range they can handle, which makes it difficult to capture details in very bright or dark areas. HDR textures, on the other hand, are capable of displaying a wider range of brightness, allowing for more detail in both highlights and shadows.
Color Depth: HDR textures provide greater color depth, resulting in smoother transitions in lighting and reflections. Standard textures may appear distorted under extreme lighting conditions, while HDR textures can handle these situations more effectively.
2. Preparing Your Standard Space Texture
Choosing the Right Source Material: Before converting space textures to HDR, it’s important to start with high-quality standard textures. Whether you’re using astronomical photographs or digitally created images, ensure the source material has enough resolution and detail to make the conversion worthwhile. Relebook is a great resource for finding professional-grade textures.
Adjusting Size and Proportion: Before you begin the conversion process, check and adjust the image’s size and aspect ratio to ensure that details remain consistent during the HDR conversion. Images that are too small may lose important details, while improper proportions could affect the final visual output.
3. Converting the Texture to HDR
Selecting the Right Tools: Several software options are available for converting standard textures to HDR. Popular choices include Photoshop, Photomatix Pro, and Blender, all of which offer support for HDR image creation. Select the tool that best fits your workflow and project requirements.
Image Blending: HDR images are typically created by combining multiple images with different exposure levels. In software like Photomatix Pro or Photoshop, you can merge these exposure variants into one HDR image. For space textures, you can adjust the exposure and contrast of the original image to create different versions, which will be used to generate a more dynamic final result.
Tone Mapping: After creating the HDR image, tone mapping is usually necessary to optimize how the texture displays on different devices. Use the tone mapping functions available in your software to ensure the HDR image retains detail in both bright and dark areas without becoming overexposed or underexposed.
4. Applying HDR Textures in 3D Software
Importing HDR Textures: Once converted, HDR textures can be imported into 3D modeling software like 3ds Max, Blender, or Maya. Applying these HDR textures to environment lighting or specific surfaces can greatly enhance the realism of your scene. Simply load the HDR file into the material editor, and apply it to the necessary objects in your scene.
Adjusting Lighting Settings: The effectiveness of HDR textures depends on the lighting configuration in your 3D scene. To optimize the results, adjust parameters like light intensity, direction, and color. These settings will directly influence how the HDR texture interacts with your scene’s lighting and help achieve a more lifelike effect.
5. Testing and Fine-Tuning
Checking Lighting Effects: After applying the HDR texture, perform test renders to evaluate how it behaves under different lighting conditions. HDR textures are especially adept at capturing reflections and refractions, so pay close attention to these details to ensure the final result matches your expectations.
Making Adjustments: Based on your test renders, fine-tune the brightness, contrast, and other settings of the HDR texture. This will help optimize the lighting in every part of the scene. For space environments, an imbalance in light—whether too much or too little—can detract from the immersive experience.
6. Post-Processing and Optimization
Post-Render Processing: Once you’ve completed your initial render, you can enhance the HDR texture further using post-processing software like After Effects or Photoshop. This might involve tweaking the color balance, contrast, or brightness to ensure the final image has the desired look.
Ongoing Optimization: Converting and applying HDR textures is an iterative process. Designers should continually test and refine the texture settings to ensure each element of the scene is optimized for the best possible visual outcome.
By following these steps, you’ll be able to convert standard space textures to HDR and integrate them into your 3D scenes effectively. This method not only enhances lighting but also adds depth and realism to your projects. Using HDR textures for space environments allows you to capture the complex interplay of light in outer space, creating more immersive visual experiences. If you're looking for high-quality HDR texture resources, Relebook offers a wide variety of textures that can elevate the quality of your 3D projects and unlock new creative possibilities.
