How to Cut a Model in SketchUp
In modern architectural design and 3D modeling, SketchUp is widely popular for its user-friendly interface. Whether you're an architect, interior designer, or hobbyist, SketchUp is an excellent choice. Sometimes, during the modeling process, you may need to cut the model to showcase details or meet design requirements. This article will detail how to effectively cut a model in SketchUp, including practical tips and tool usage.

The Importance of Cutting Models
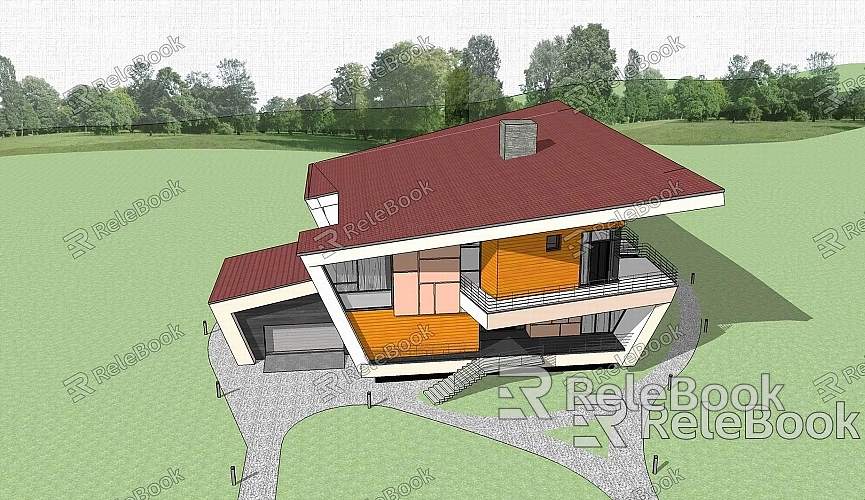
First, it’s crucial to understand the purpose of cutting a model. Cutting not only allows for better control over the model's structure but also helps create more complex shapes. For instance, when you need to showcase the internal structure of a building, cutting can provide a clearer view of your design intent. Additionally, cutting models can enhance rendering results, making the final presentation more vivid.
Using the Push/Pull Tool
The Push/Pull tool is one of the most basic tools in SketchUp, enabling you to create 3D shapes from 2D graphics. To cut a model, start by drawing a cutting line on the model's surface. Use the Line tool to draw a line, select the area you want to cut, and then use the Push/Pull tool to push the selected part inward, achieving the cutting effect.
For example, if you want to remove a section from a cube, you can draw a rectangle on the cube's surface and then push that rectangle into the cube, easily cutting away that portion. By using the Push/Pull tool multiple times, you can achieve more complex cutting effects.
Using the Cut Tool
In SketchUp, the Cut tool is another highly useful feature. It allows you to divide an object into multiple parts. To use this tool, select the part of the model you want to cut, right-click, and choose the “Cut” option. You can then move the cut part to a new location or delete it entirely.
The advantage of the Cut tool is that it quickly segments the model, particularly when dealing with complex shapes, significantly improving workflow efficiency. For instance, if you have a complicated building model and need to remove an unnecessary section, the Cut tool can greatly reduce the time spent on this task.
Utilizing the Line Tool
The Line tool is equally important in the model cutting process. By drawing lines on the model, you can define the cutting area. After selecting the lines, use the Push/Pull tool or Cut tool for precise control over the cutting effect. Moreover, outlines created with the Line tool can help you design more intricate and interesting geometric shapes.
Grouping and Combining Functions
When cutting a model, the grouping and combining functions are very important. Grouping multiple parts into a single group makes it easier to perform cutting operations. After selecting multiple objects, right-click and choose “Create Group,” allowing you to operate on them as a whole. When you need to cut, enter the group first, then use the Push/Pull tool or Cut tool.
For example, if you’re working on an interior model, you can group walls, doors, and windows, maintaining the integrity of the overall structure during cutting. Additionally, if you need to modify a specific part, you can easily enter the group for editing.
Using Plugins for Advanced Cutting
For users needing more complex cutting functions, the SketchUp Extension Warehouse offers many excellent options. For instance, the “Solid Tools” plugin can help you perform more intricate cutting operations. This toolset includes various cutting functions, allowing you to choose objects of any shape for cutting, providing greater flexibility and convenience.
After installing the plugin, you can select the object you want to cut and access the Solid Tools cutting options for more complex operations. This is particularly useful for professional designers who require high precision and detailed work.
Saving and Exporting Your Model
After cutting the model, don’t forget to save your work promptly. SketchUp supports various file format export options, so choose the appropriate format for your needs. Whether you plan to continue editing or share it with others, timely saving is crucial.
Furthermore, when exporting your model, selecting the right file format and settings can affect the model's presentation. You can adjust the export parameters based on the rendering software you plan to use for optimal results.
Accessing High-Quality 3D Resources
When creating models and virtual scenes, many designers need high-quality 3D textures and HDRI. If you have such needs, you can download a wealth of resources for free from [Relebook Textures](https://textures.relebook.com/). Additionally, for exquisite 3D models, visit [Relebook Models](https://3dmodels.relebook.com/), where you’ll find a vast array of quality 3D resources. These assets can help enhance your designs, making your models more vibrant and realistic.
Cutting models in SketchUp isn’t complicated; once you master the basic tools and techniques, you can create freely. Whether using the Push/Pull tool, Cut tool, or plugins for more advanced operations, with practice, you’ll quickly become proficient. I hope this article helps you in cutting models in SketchUp effectively.
