How to geolocate sketchup model
Geolocation is a crucial step in fields such as architectural design, urban planning, and landscape architecture. By integrating SketchUp models with real-world geographic locations, designers can better understand the project's environment and effectively showcase it in the real world. So, how do you geolocate a model in SketchUp? This article will provide a detailed guide to help you master the skills of geolocation.
What is Geolocation?
Geolocation is the process of linking a 3D model with a real-world coordinate system. This not only helps in understanding the position of a building within its surrounding environment but also allows for the assessment of sunlight, sightlines, and the impact of surrounding landscapes. By geolocating a model, designers can present their projects more intuitively, providing clients and stakeholders with compelling visuals.
Preparation
Before starting the geolocation process, ensure that you have the latest version of SketchUp installed and that you have your 3D model ready. Geolocation primarily involves terrain data, so you may also need to acquire terrain information for the area. You can find public topographic maps online or use tools like Google Earth to obtain terrain data for specific locations.
Accessing the Geolocation Tool
Open your SketchUp software and navigate to the model you want to geolocate. Find the "Window" menu and select the "Geolocation" option. A new dialog box will pop up, allowing you to make the necessary geolocation settings.
Obtaining the Geolocation
In the geolocation dialog box, click the "Get Geolocation" button. SketchUp will open a map window displaying a global map. Here, you can enter a specific address or browse the map to locate the area you need to geolocate.
Selecting the Area
Once you've found the desired location, use the rectangle tool to draw a region on the map. SketchUp will import the terrain data for this area into your model. Adjust the size and shape of the area as needed based on your project's requirements, ensuring it covers the main site for your design work.
Importing Terrain Data
After selecting the area, click the "Get Geolocation" button again. SketchUp will automatically download and import the terrain data for the region. This data includes elevation information, allowing your model to accurately reflect the terrain's contours. Additionally, SketchUp will import some basic terrain layers to facilitate subsequent design work.
Setting the Model's Orientation
After importing the terrain data, the next step is to set the orientation of your model. In the "Model Info" section, find the "Geolocation" option and enter the orientation angle for the building. Correctly setting the orientation ensures that your model aligns accurately with the real geographic location, which is vital for assessing sunlight and the relationship to the surrounding environment.
Adjusting Model Height
To ensure that your model matches the terrain height, you may need to adjust its elevation. Use the "Move" tool to position the model along the Z-axis so that it aligns with the ground. This will help your model blend naturally with the terrain, avoiding any visual discrepancies.
Completing the Geolocation
Once you’ve completed the above steps, your model will be successfully geolocated. You can view the imported terrain data through the "View" menu under "Terrain" to ensure the model fits perfectly with the actual terrain. From there, you can proceed to render and present the design or export it for further processing.
Using High-Quality Textures
Appropriate textures can greatly enhance the realism of your model. If you need high-quality 3D textures and HDRIs while creating your models and virtual scenes, you can download them for free from [Relebook Textures](https://textures.relebook.com/). These resources will help make your model more vivid. Additionally, if you require exquisite 3D models, you can find them at [Relebook Models](https://3dmodels.relebook.com/), which offers a vast collection of high-quality 3D resources to support your design work.
Practical Application Example
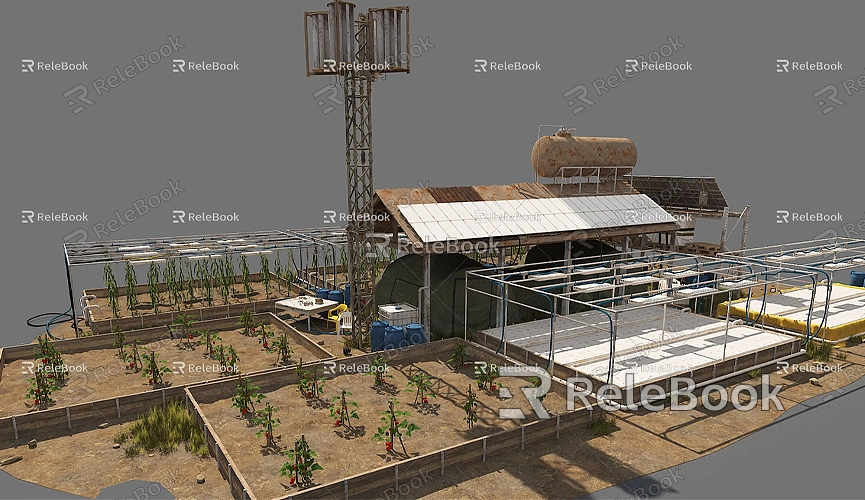
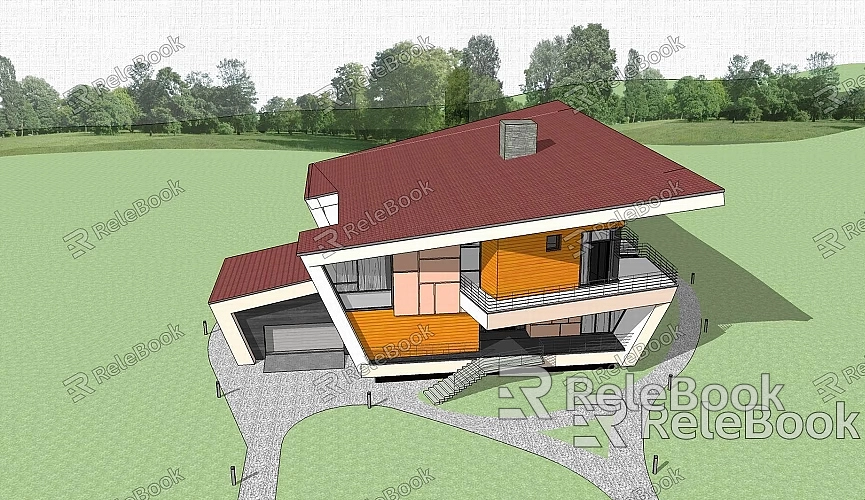
In real projects, many architects and designers utilize geolocation for environmental analysis. For instance, if a new project is situated on a hillside, designers can import terrain data to assess the building's views, lighting, and wind protection. This proactive analysis is crucial for optimizing design proposals and can significantly reduce costs related to later construction and adjustments.
Tips
- Regularly Update Terrain Data: As cities evolve, terrain data may change. Regular updates will ensure the accuracy of your designs.
- Evaluate from Multiple Angles: After geolocating, observe your model from various perspectives to identify potential issues or shortcomings.
Geolocation is an essential skill in SketchUp modeling that helps designers showcase their ideas in real environments. By acquiring geolocation, importing terrain data, and setting the model's orientation and height, you can seamlessly integrate your designs with the real world. We hope this article helps you master the methods of geolocation in SketchUp, enhancing your design efficiency and quality.
