How to 3d model house sketchup
In the fields of architectural and interior design, 3D modeling has become an indispensable tool. With its intuitive interface and powerful features, SketchUp is a preferred software for many designers. Whether you're a beginner or an experienced user, knowing how to create a house model in SketchUp can help you better realize your design ideas. This article will detail the steps and tips for modeling a house in SketchUp, making your model more vivid and realistic.
Choose the Right Version
Before starting, ensure you are using the appropriate version of SketchUp. There are several versions, including a free version and a professional version. While the free version has limited features, it is sufficient for basic modeling. If you need more advanced capabilities, such as exporting high-quality renderings, consider purchasing the professional version.
Set Up Your Workspace
Before modeling, it’s essential to set up a suitable workspace. After opening SketchUp, adjust the views and toolbars to fit your working style. You can select the necessary toolbars through the "Window" menu, ensuring easy access during modeling. Additionally, set the units to meters or centimeters to make it easier to maintain scale while modeling.
Draw the Basic Floor Plan
The first step in creating a house model is to draw the basic floor plan. In SketchUp, use the "Rectangle Tool" to create a rectangle that represents the footprint of the house. You can input precise dimensions, such as length and width, to ensure the model is correctly scaled.
When drawing the rectangle, you can control the dimensions by typing numbers. For example, entering “10, 8” will create a rectangle that is 10 meters by 8 meters. Once completed, use the "Push/Pull Tool" to extrude the rectangle upwards, forming the base walls of the house.
Add Walls and Windows
Next, add the walls. Based on the base walls, use the "Push/Pull Tool" to adjust the height of the walls to a suitable size, generally between 2.5 to 3 meters for residential structures.
To add windows, draw a rectangle on the wall and use the "Push/Pull Tool" to push it in, creating the window opening. For realism, consider adding window frames around the openings. You can use the "Line Tool" to draw the frame's shape and then extrude it with the "Push/Pull Tool."
Create the Roof
The roof design is another essential aspect of house modeling. You can choose a flat or sloped roof. For a sloped roof, first draw a rectangle at the top of the walls, then use the "Move Tool" to raise the sides of the rectangle, creating the slope. If you need more complex roof shapes, you can use the "Polygon Tool" from the drawing tools.
When designing the roof, pay attention to its pitch and drainage features to ensure the model is visually and functionally sound.
Add Interior Partitions
Adding interior partitions is a crucial step for enhancing the model's detail. Use the "Line Tool" to outline the boundaries of each room on the floor. Once finished, use the "Push/Pull Tool" again to raise the walls, forming the interior walls of the rooms.
You can add doors and other partitions as needed. The method for creating doors is similar to that for windows—draw a rectangle on the wall and push it in.
Detail Decoration
To make your house model more realistic, adding detail decoration is essential. In SketchUp, you can use various tools and components to add details like window sills, balconies, and railings. You can choose components from SketchUp’s built-in "Components" library or download components created by other users online.
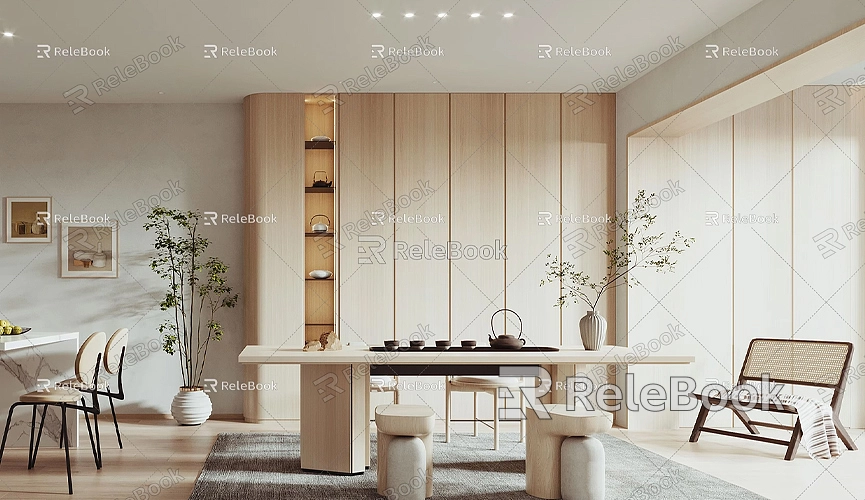
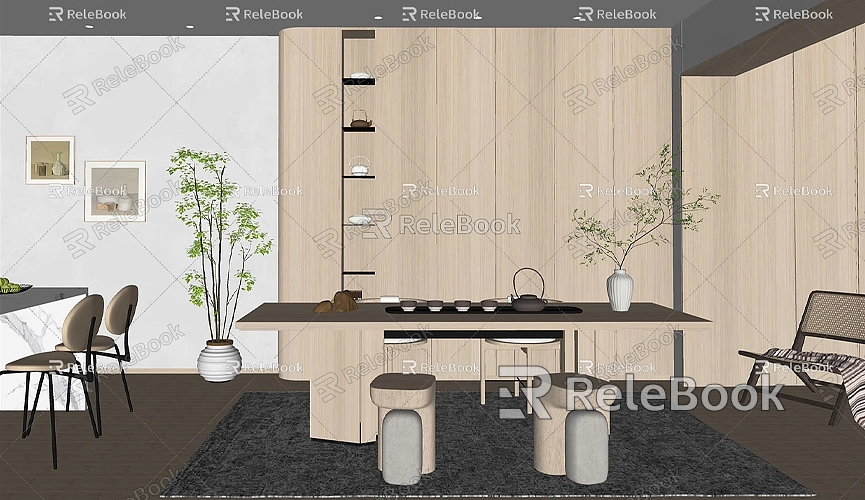
If you need high-quality 3D textures and HDRIs while creating models and virtual scenes, you can download them for free from [Relebook](https://textures.relebook.com/). If you need exquisite 3D models, visit [Relebook](https://3dmodels.relebook.com/) for a wide range of quality 3D resources.
Add Materials and Textures
Adding materials and textures is an important step to make the model appear more realistic. In SketchUp, you can use the "Materials Tool" to select different materials for surfaces such as walls, floors, and roofs. You can quickly apply materials by dragging them onto the corresponding surfaces.
Adjusting properties such as transparency and reflectivity can further enhance the model's realism. For complex textures, you can download high-quality texture images from the internet and import them into SketchUp for use.
Export and Render
Once your model is complete, you may want to export it as an image or render it. In SketchUp, you can select the “Export” feature from the “File” menu to export as a 2D image or 3D model. For high-quality rendering, it’s recommended to use third-party rendering plugins like V-Ray or Lumion. These plugins can provide more realistic rendering effects, making your model visually impactful.
Creating a 3D house model in SketchUp is not overly complicated; the key lies in mastering the tools and design concepts. From the basic floor plan to walls, roofs, interior partitions, and detail decoration, each step requires patience and creativity. As you gain experience, you will find enjoyment and fulfillment in modeling.
We hope this guide helps you model houses more effectively in SketchUp. If you need high-quality 3D textures and model resources, consider visiting Relebook for more premium design assets. Through continuous practice and learning, your 3D modeling skills will improve significantly.
