How to Make a 3D Model on SketchUp
SketchUp is a very popular 3D modeling software, known for its intuitive interface and powerful features, making it suitable for beginners and professional designers alike. Whether it’s for architectural design, landscape design, interior design, or product design, SketchUp can meet a variety of needs. Today, let’s discuss how to create a 3D model in SketchUp.
Understanding the SketchUp Interface and Tools
Before you start creating a model, it’s important to familiarize yourself with SketchUp’s interface and tools. Upon opening the software, you'll see a clean workspace with a toolbar on the left, a menu bar at the top, and additional features on the right, such as styles, materials, and shadows. These tools enable you to get started quickly.
- Select Tool: SketchUp's select tool is used to choose and edit elements in your model, such as lines, faces, and volumes. Mastering the select tool helps you adjust your model more efficiently.
- Push/Pull Tool: This is one of the most commonly used tools in SketchUp, allowing you to stretch a 2D plane into a 3D shape. Simply draw a plane and use the Push/Pull tool to elevate it into a solid model.
- Move and Rotate Tools: During modeling, moving and rotating objects is essential. The move tool helps you precisely adjust different parts of the model, while the rotate tool allows you to change angles as needed.
Starting the Modeling Process
Now that we understand the basic tools, let’s dive into the actual modeling process.
First, you can use the Line Tool to draw a basic 2D shape. For example, to create a cube, start by drawing a square on the ground. Then, use the Push/Pull tool to "pull" this plane up into a 3D cube.
If you're looking to create more complex models, such as a house or furniture, you can combine simple geometric shapes. In SketchUp, complex 3D models are often made up of multiple simple solids.
- Adding Details: You can enhance the appearance of your model by adding windows, door frames, or other details. SketchUp provides precise drawing tools that make it easy to create various shapes. For instance, using the Rectangle Tool, you can quickly outline the shapes of doors and windows, then use the Push/Pull tool to inset them for realism.
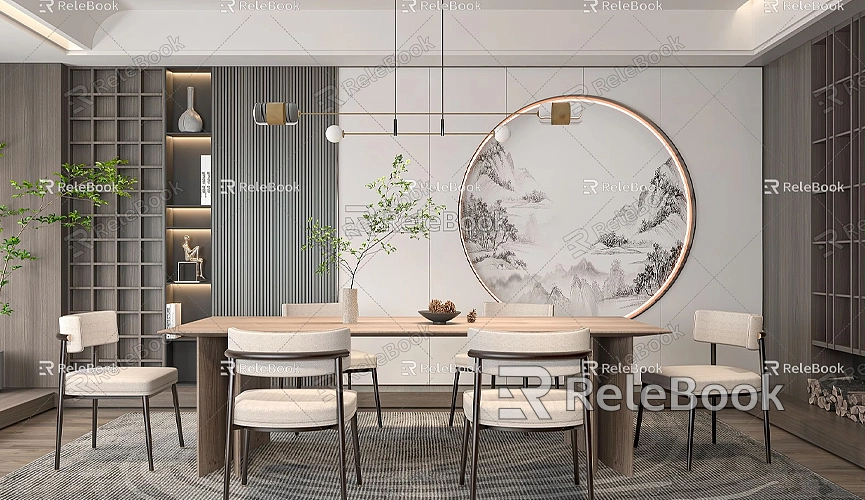
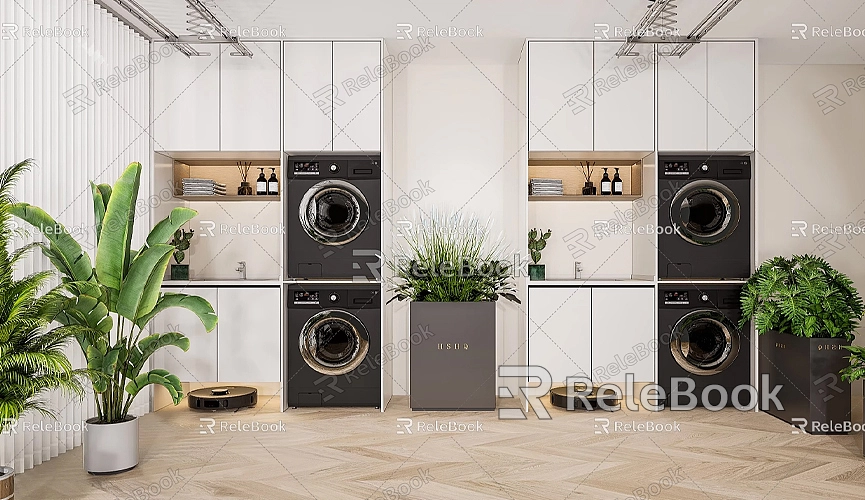
- Applying Materials: Once modeling is complete, applying materials is a crucial step. SketchUp includes a basic materials library, but for more refined textures, you can download from external resource libraries. To make your model more realistic, you can download high-quality 3D textures and HDRIs for free from Relebook. The website offers a wide range of resources to help you find suitable materials for your projects.
Using Components and Groups
Components and groups are very useful features in SketchUp, especially as your model grows more complex. Components allow you to make changes in one place that automatically apply to all identical components, saving time and ensuring design consistency.
For example, if you're designing a building with the same windows used in different locations, you can create each window as a component. When you modify one component, all other instances will update simultaneously.
Creating Components or Groups:
1. Select the objects you want to group or create a component from.
2. Right-click and choose “Create Component” or “Create Group.”
3. The main difference is that components can be copied and reused, and modifying one instance affects all, while groups are used to separate specific parts of a model to avoid unintended edits.
Adjusting Views and Camera
To better view and edit your model, mastering SketchUp’s view adjustments is important. SketchUp offers various view modes, including perspective view, parallel projection, top view, and side view. Using these different perspectives helps you inspect every detail of the model and ensure its accuracy.
Additionally, SketchUp's camera tools allow you to observe the model from various angles, simulating real-world observation perspectives. This is especially useful in architectural or interior design, where adjusting the right angle can better showcase your design.
Rendering and Output
After completing your model, you can choose to render the 3D model in SketchUp for more realistic visual effects. While SketchUp’s built-in rendering is quite good, for more professional results, you might consider using third-party rendering plugins like V-Ray or Enscape.
Moreover, SketchUp can output 2D floor plans or directly export models for use in other 3D software, such as Lumion or Unreal Engine. SketchUp supports various output formats, allowing you to choose according to project requirements.
With this guide, you should now grasp the basic steps for creating a 3D model in SketchUp. Starting with simple shapes, using components, applying materials, and rendering, SketchUp offers powerful tools and flexible modeling methods for designers. If you wish to further enhance your model’s quality, consider utilizing high-quality 3D materials and models. For instance, if you need high-quality 3D textures and HDRIs while creating models and virtual scenes, you can download them for free from [Relebook](https://textures.relebook.com/). If you need exquisite 3D models, you can find a plethora of quality resources at [Relebook](https://3dmodels.relebook.com/).
By effectively using these resources and techniques, you can quickly create high-quality 3D models that present a more realistic and impressive effect in your projects. We hope these methods help you achieve a better experience in modeling with SketchUp.
