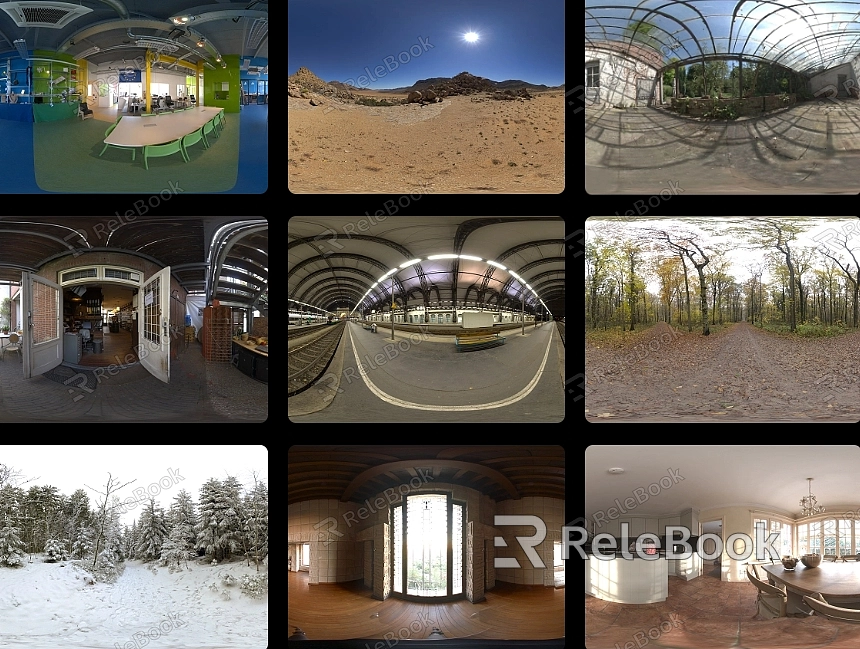
How to add hdri in blender?
To add HDRI (High Dynamic Range Imaging) in Blender, you can follow these steps:
Open Blender: Launch Blender and open the project you want to work on or create a new one.
Set up the scene: Ensure that you have a scene set up with objects and lighting ready.
Switch to the “World” tab: In the Properties panel, locate the tabs on the right side and click on the one labeled "World".

Enable "Use Nodes": Under the Surface section, check the box next to "Use Nodes". This will enable the use of nodes for the world material.
Add an Environment Texture node: Click on the “Add” button and select “Environment Texture” from the dropdown menu. This will add an Environment Texture node to the node editor.
Load the HDRI image: In the Environment Texture node, click on the “Open” button and navigate to the location where your HDRI image is saved. Select the image file and click “Open” to load it into Blender.
Connect the nodes: Connect the “Color” output of the Environment Texture node to the “Color” input of the Background node. This will link the HDRI image to the background of your scene.
Adjust the HDRI settings: You can adjust the strength of the HDRI by changing the “Strength” value in the Environment Texture node. Additionally, you can rotate the HDRI by adjusting the “Rotation” values in the Mapping node.
Preview the HDRI: To see how the HDRI affects your scene, switch to the “Rendered” view mode or press Shift+Z to enter the rendered preview mode.
Fine-tune the HDRI settings: Depending on your scene and desired look, you may need to further adjust the HDRI settings, such as exposure, color balance, or other post-processing options.If you need it, I recommend downloading 3D textures from Relebook. There is no better choice than this.

