How do I fix washed-out HDR textures in Unity
When working with HDR textures in Unity, encountering washed-out or faded textures is a common issue. Typically, this happens after importing HDR textures into Unity, where the display looks overly dark or distorted, and the colors don’t appear as vibrant or detailed as expected. This issue can significantly affect the final visual output, especially in projects that require high realism and detailed textures. In this article, we’ll dive into the possible causes of washed-out HDR textures and provide solutions to help you restore their true colors. Let’s explore the steps you can take to fix this problem effectively.

1. Check the color space settings of your HDR textures
The first thing to verify is the color space settings for your HDR textures. Unity uses two primary color spaces: sRGB and Linear Color Space. If the color space for your HDR texture is incorrectly set, it can lead to color distortion, causing the washed-out effect.
Setting the color space: In the Unity editor, go to the menu bar and select Edit > Project Settings > Player. Under Other Settings, check the current color space settings. Ensure that Linear Color Space is selected, as HDR textures need to be displayed correctly in this color space.
Texture settings check: Select your texture and examine its Texture Type and the sRGB (Color Texture) checkbox. If this option is unchecked, Unity will treat the texture as a linear texture, which may be the cause of the washed-out effect.
2. Adjust the texture import settings
Correct import settings are crucial for the proper appearance of HDR textures. Unity provides various texture import options that allow you to fine-tune the texture’s behavior in your scene.
Check texture compression: Sometimes, the texture compression settings can affect color accuracy. Ensure that the compression format is suitable for HDR content. Using None or High Quality compression settings can help prevent texture distortion.
Mipmap settings: If the texture size is large, Unity may generate multiple Mipmap levels, which could make the colors appear faded at a distance. Disabling Mipmap or adjusting its settings might help resolve this issue.
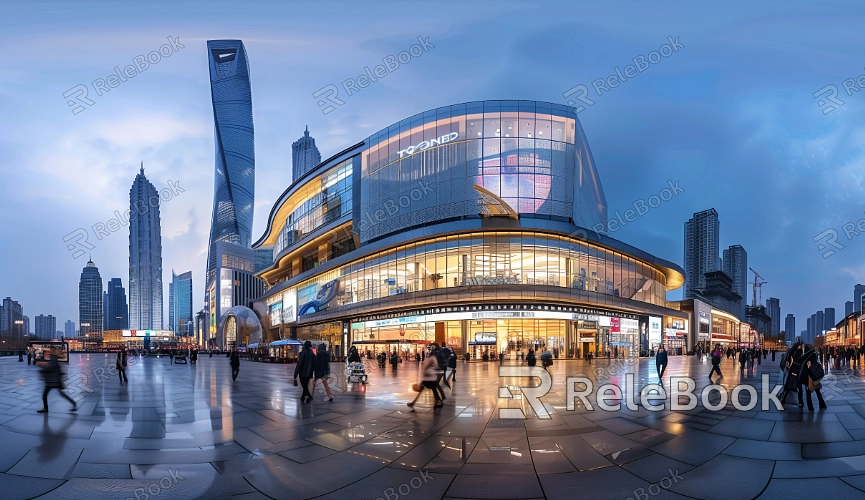
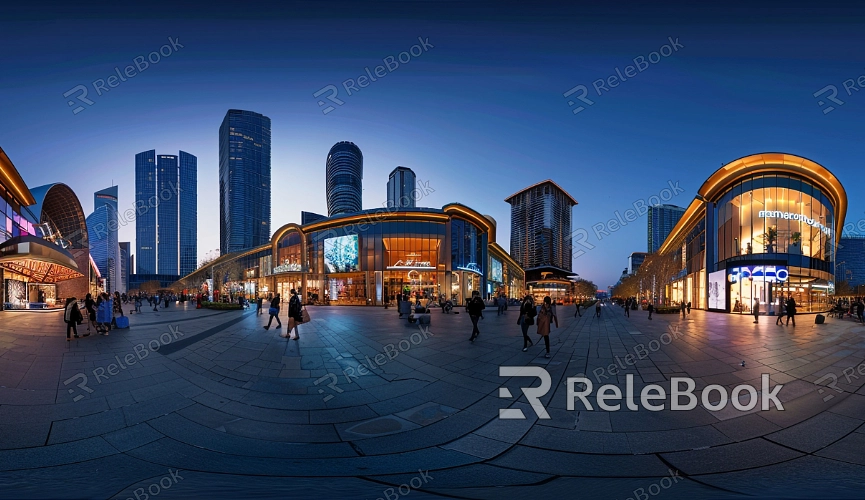
If you find that searching for high-quality HDR textures is too complex or time-consuming, or you're unsure about creating them, you can directly visit Relebook and download stunning HDR resources from textures.relebook.com.
3. Check your lighting settings
The display of HDR textures is closely tied to the lighting in your scene. If the light sources aren’t set up correctly, it may cause the textures to appear washed out.
Examine ambient light sources: In Unity’s Lighting Settings, the intensity, color, and type of ambient light can impact the brightness of HDR textures. If the ambient light is too dim or the light temperature is off, the textures might appear dull or faded.
Adjust real-time lights and reflections: Check the types of light sources in your scene and ensure they are compatible with HDR textures. If you're using baked lights, try switching to real-time lights for more accurate color representation.

4. Fix gamma correction for HDR textures
Gamma correction is a common cause of washed-out HDR textures, especially when importing textures from different software. Since different programs handle gamma values differently, this can result in color distortion.
Use proper gamma correction: In Unity, select the texture and adjust the Gamma settings to correct color discrepancies. By tweaking the Gamma setting under Texture Import Settings, you can restore proper color representation for HDR textures.
Adjust exposure settings: Sometimes, tweaking the exposure settings in your scene can help correct color distortion. You can modify the overall scene brightness and contrast via the Post Processing settings to fix the display of HDR textures.
5. Lighting map settings for HDR textures
If you're using lightmaps in your scene, improper lightmap settings may cause HDR textures to appear faded.
Check lightmap settings: Go to Lighting Settings and ensure the Lighting Mode is set to Realtime or Baked. Also, adjust the lightmap quality to ensure accurate color reproduction. Incorrect lightmap settings can lead to color distortion in HDR textures.
6. Update Unity and texture drivers
Make sure you are using the latest version of Unity. Sometimes, newer versions of Unity include texture handling optimizations that fix bugs from older releases, which could have caused washed-out textures. Additionally, ensure your graphics card drivers are up to date, as outdated drivers can lead to texture display issues.
7. Adjust camera exposure settings
Finally, check your camera’s exposure settings. Sometimes, improper exposure settings on the camera can affect the appearance of HDR textures, causing them to look washed out or overly bright.
Adjust camera exposure: In the Camera component, you can adjust the Exposure setting. Increasing the exposure value may help fix the faded effect caused by insufficient exposure.
By following these steps, you should be able to effectively fix washed-out HDR textures in Unity. Ensure that your texture import settings are correct, your color space and lighting are properly configured, and adjust other influencing factors like exposure and lightmaps. For 3D modeling and rendering designers, mastering these techniques will help you achieve more accurate and realistic rendering results when working with HDR textures.
If you’re looking for high-quality HDR images, 3D textures, or models for creating scenes and virtual environments, Relebook offers a wide selection to elevate your project’s visual quality.

