How to Create a 3D Model of a Village?
Creating a realistic 3D model of a village not only challenges a designer’s creativity but also requires a solid understanding of the necessary tools and techniques. This article will guide you step-by-step through the process of building a 3D village model—from initial concept to final rendering. Whether you're a beginner or an experienced 3D designer, this guide will provide a clear path to help you complete your project.
Concept Design and Planning
The first step in creating a 3D model of a village is to define the concept and design approach. This stage is like an architect drawing up blueprints—it's the foundation of the entire creation process. By clearly defining the style, function, and layout of the village, you'll make the subsequent modeling steps more organized and consistent.
1. Defining the Village Style
Before starting the design, think about the style of the village you want to create. This can be based on historical periods, geographical environments, or your creative vision. For example:
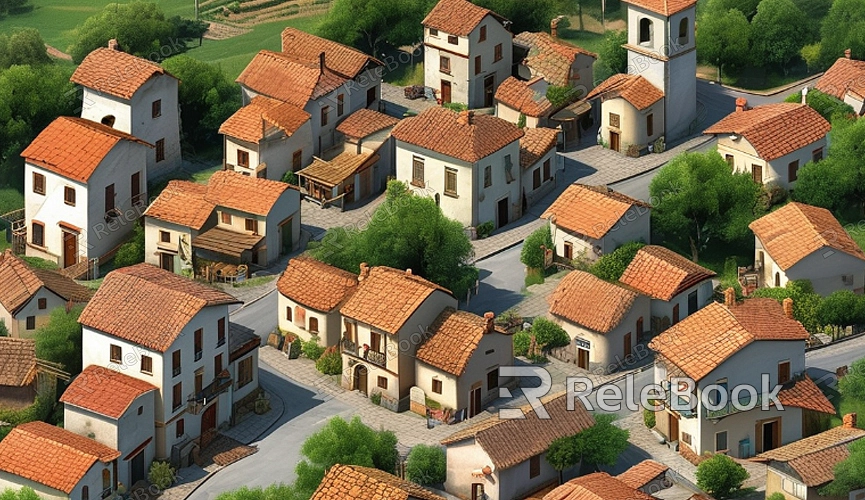
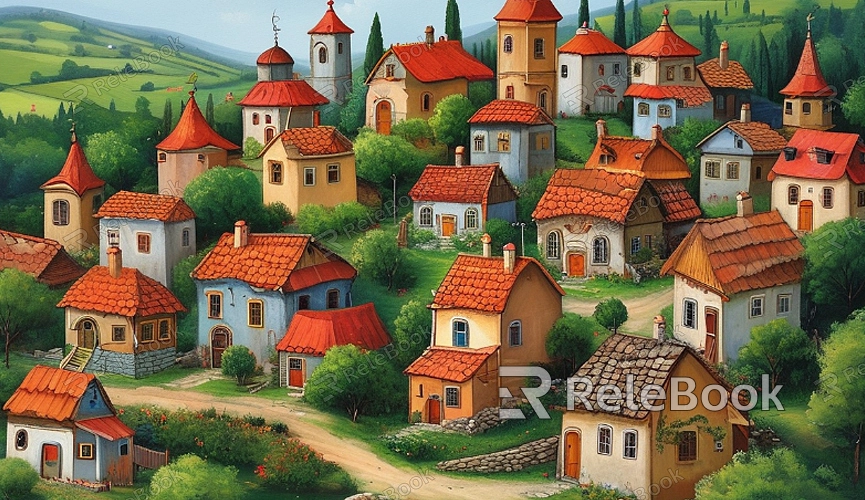
Medieval style: Villages built from stone or wood, with steep rooftops, rough walls, and possibly a moat or fortifications.
Countryside style: Cozy wooden houses, large green fields, winding paths, and a serene atmosphere.
Modern rural style: Buildings with simple structures, featuring modern infrastructure like power lines and paved roads.
Once you have a clear vision for the style, you can start sketching or gathering reference images to help shape the overall design. Reference materials can come from movies, photographs, video games, or even real-life villages.
2. Layout and Building Planning
Planning the layout of the village is a critical part of the 3D modeling process. You’ll need to decide on key elements and how they’re positioned relative to each other:
Main buildings: These might include houses, a church, shops, or barns. The design of these buildings will determine the scale and style of the village.
Roads and paths: Design a network of roads and pathways that connect the buildings. These can range from muddy rural paths to cobblestone streets.
Natural features: Adding rivers, hills, forests, and other natural elements can make the village feel more alive.
By making detailed plans at this stage, you’ll establish a strong foundation for the 3D modeling work that follows.
Choosing the Right 3D Modeling Software
To start modeling, you’ll need to choose the right 3D modeling software. There are many tools available, each with its own strengths, designed for different project types and user levels. Below are some popular options:
Blender: A free, open-source software that is powerful and versatile, ideal for individual creators or small teams. It supports a wide range of modeling, sculpting, animation, and rendering functions.
Autodesk Maya: A professional-grade software widely used in the film and gaming industry. It's feature-rich but comes with a higher price tag.
SketchUp: A simpler, easy-to-learn tool, particularly good for architectural design. It's great for beginners.
Choose the software that fits your budget and project needs. If you're just starting, Blender is an excellent choice due to its active community and wealth of tutorials.
1. Learning the Basic Tools
No matter which software you choose, understanding some basic modeling tools and concepts is essential.
Vertices, edges, and faces: These are the building blocks of any 3D model. Manipulating them allows you to create complex shapes.
Extrusion, scaling, and rotation: These basic operations help you modify the size and shape of objects.
Sculpting and subdivision: These tools help in creating detailed and intricate structures or natural landscapes.
Once you're comfortable with these fundamentals, you can begin creating individual components of the village.
Building the Terrain and Structures
The first step in creating the 3D model of a village is constructing the base terrain and buildings. Follow these steps to create the village's foundation.
1. Designing the Terrain
The terrain is the foundation of the village. In your 3D modeling software, you can start by creating a plane to represent the ground, then use sculpting tools or shape modification to add hills, rivers, and other natural features. You can also import real-world terrain data for added realism.
Sculpting tools: Use these to create elevation changes like hills and valleys.
Material application: Apply different ground materials such as dirt, gravel, or grass to enhance the realism of the terrain.
2. Designing Buildings
The village's buildings are key elements. Start with simple geometric shapes like cubes or cylinders to form the basic structure of the buildings, then gradually add more details. Common steps for building modeling include:
Create a basic framework: Use basic shapes to lay out the building’s foundation and structure.
Refine the building: Gradually add details such as roofs, windows, doors, and balconies.
Materials and textures: Apply appropriate textures, like brick, wood, or stone, to make the buildings more realistic.
Adding Details and Props
To make your village more realistic, you can add various smaller details and props. These elements not only enhance the visual appeal but also add a sense of life and story to the scene.
1. Vegetation and Natural Elements
Natural surroundings are essential in a village environment. Adding trees, grass, rivers, and other elements will help make your village feel more alive.
Trees and shrubs: Use preset models or procedural tools to generate realistic vegetation.
Water bodies: Create streams, ponds, or rivers using water materials or fluid simulation tools for added realism.
2. Man-made Props
In addition to natural elements, a village often contains man-made objects such as fences around farms, street lamps, bridges, or market stalls. These small details can be modeled manually or imported from an asset library.
Setting Up Lighting and Rendering
Lighting plays a crucial role in 3D scenes. By using proper lighting techniques, you can set the mood of your village, whether it’s a sunny afternoon or a quiet night scene.
1. Lighting Setup
Your lighting choices will define the atmosphere of the entire scene.
Sunlight: Use a directional light to simulate sunlight for daytime scenes.
Point lights: Create localized light sources like street lamps or interior lights for houses.
Global lighting: Use environmental lighting to create a soft, overall light that mimics natural daylight or moonlight.
2. Rendering
Once your lighting and materials are set up, it’s time to render the scene. Rendering is the process of producing the final image or animation, showcasing your model’s lighting, textures, and colors. Most 3D modeling software offers different rendering options, including real-time rendering and offline rendering. Choose the appropriate method based on your project needs.
Optimization and Export
After completing the village model, optimizing the size and detail level is crucial, especially if the model will be used in games or animations.
1. Optimizing the Model
Too many polygons can affect performance, so it’s important to optimize the model.
Reduce polygon count: Simplify the geometry by lowering the number of faces on less detailed parts of the model.
Use LOD (Level of Detail): Display low-polygon models for distant objects and high-polygon models for close-ups.
2. Exporting the Model
Finally, export your model in a common format such as OBJ, FBX, or STL, depending on your project requirements. These formats are widely supported by game engines, animation software, and 3D printers.
Creating a 3D model of a village is a multi-step process that involves concept design, modeling, adding details, lighting, and rendering. By planning carefully, selecting the right tools, and paying attention to details, you can build a realistic and engaging 3D village scene. For more 3D model resources and textures to accelerate your project, visit Relebook to download high-quality assets.
FAQ
What basic skills do I need to create a 3D model of a village?
You need to understand the basics of manipulating vertices, edges, and faces in a 3D modeling program. Additionally, knowledge of applying textures, lighting, and rendering will help.
Which 3D modeling software is best for creating a village model?
Blender is an excellent choice for both beginners and professionals. It's free and offers a wide range of features. Maya is also highly recommended for those working on larger, more professional projects.
How can I make my village model more realistic?
To create a more realistic model, focus on detailed building designs, natural elements like trees and rivers, and proper lighting. Applying high-quality textures can also enhance realism.
How do I plan the layout of buildings and natural elements in my village?
Start by determining the style of your village and sketching a rough layout. Consider the relationships between buildings, roads, and natural features to create a cohesive scene.
What are some ways to add more detail to a village model?
You can add small props like fences, market stalls, street lamps, or other decor. Use detailed textures and carefully place natural elements like trees and rivers to enhance the overall scene.
