In Revit How to Bring SketchUp Models
In the fields of architectural and interior design, SketchUp and Revit are two highly popular design software programs. Known for its simplicity and fast modeling capabilities, SketchUp is ideal for quickly conceptualizing models in the early stages of design. On the other hand, Revit excels at Building Information Modeling (BIM), making it suitable for handling more complex projects and construction drawings. By importing SketchUp models into Revit, designers can effectively combine the strengths of both software programs, enhancing design efficiency and precision in project management. This article will explain how to import SketchUp models into Revit, along with tips and methods to keep in mind during the process.
Interaction Between SketchUp and Revit
To import a SketchUp model into Revit, it’s important to understand how these two programs interact. SketchUp is primarily used for quickly creating 3D models, allowing for easy adjustments and iterations during the early design phase. Revit, however, is a more comprehensive BIM tool that not only creates 3D models but also manages information throughout the building lifecycle. By importing SketchUp models into Revit, designers can further refine details, add construction information, and ultimately create more complete and efficient projects.
Exporting SketchUp Models to Revit-Compatible Formats
To successfully import SketchUp models into Revit, you need to export the model in a format that Revit supports. The most commonly used formats are DWG and IFC. Here’s a detailed guide on how to do it:
Steps:
- Open the SketchUp Model: First, open the model you want to import into Revit in SketchUp. Make sure the model is well-structured without redundant geometry or errors to minimize issues during the import.
- Choose Export Format: Click the "File" menu in SketchUp, select "Export," and then choose "3D Model."
- Select DWG Format: Choose "DWG" as the export format, which is AutoCAD's file format and directly readable by Revit. If you need more detailed information, you can also opt for the "IFC" format, which is a more universal BIM file format.
- Adjust Export Settings: You can adjust the unit settings and layer information based on your needs in the export options, which helps in maintaining proper scale and position when imported into Revit.
- Save the Exported File: After completing the settings, select the location to save the file, and click the "Export" button.
Following these steps will allow you to convert your SketchUp model into a format that Revit can read. Once exported, you can proceed to the next step in Revit.
Importing SketchUp Models into Revit
With the DWG or IFC file exported from SketchUp, you can now import these models into Revit. The following are the detailed steps:
Steps:
- Open a Revit Project: First, open an existing project in Revit or create a new one.
- Insert CAD File: Click the "Insert" tab, and select "Import CAD" from the toolbar. A file selection dialog box will pop up.
- Select the DWG File to Import: Locate the DWG file you just exported from SketchUp, select it, and click "Open."
- Adjust Import Settings: Before importing, you can choose options for "Colors," "Import Units," and "Layer Visibility" in Revit's settings. Make sure the "Import Units" match the units used in SketchUp to avoid scale issues. It is usually recommended to use "Origin to Origin" or "Center to Center" alignment.
- Check the Import Result: After the import is complete, verify that the model is displayed correctly in Revit’s workspace. If there are any misalignments or display errors, you may need to return to SketchUp to make adjustments, re-export, and re-import.
Optimizing the Imported Model
Although the model is successfully imported into Revit, further optimization may be required to ensure the model is usable and operable within Revit.
- Convert to Revit Families: Imported SketchUp models are usually treated as a single entity, which makes direct editing in Revit difficult. It is advisable to convert the imported model into Revit "Families" to facilitate easier separation and editing of different components. Use Revit’s "Create Family" tool to redefine the components of the model.
- Add Materials and Textures: After import, material and texture information from SketchUp might be lost. You can reassign materials within Revit to make the model look more realistic. Revit has its own material library, and you can also import custom materials if needed.
- Check Geometric Precision: Carefully inspect the imported model to ensure that the geometry and details are accurately displayed. Compatibility issues during the import process may lead to missing or distorted geometry. If needed, go back to SketchUp, edit the model, and try exporting and importing again.
Common Issues and Solutions During Import
You may encounter some problems when importing SketchUp models into Revit. Here are a few common issues and their solutions:
- Scale Errors: The imported model’s dimensions do not match expectations. This could be due to different unit settings during export. Ensure consistent units during both export and import to fix this issue.
- Missing or Distorted Geometry: If the imported model has incomplete geometry, check for any unclosed faces in the SketchUp model or see if you selected optimization options during export.
- Lost Materials: When importing a DWG file, material information is typically not retained. You can use Revit’s material editor to reassign materials, or try exporting in IFC format to preserve more details.
Enhancing Model Quality with Relebook Resources
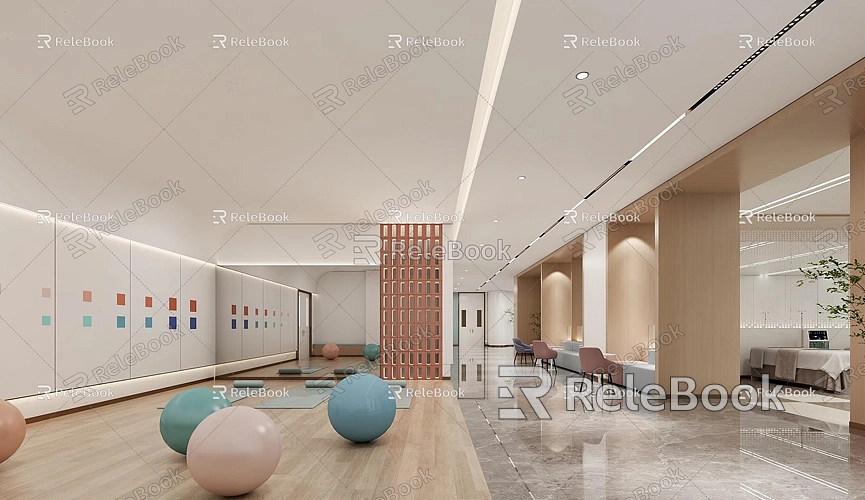
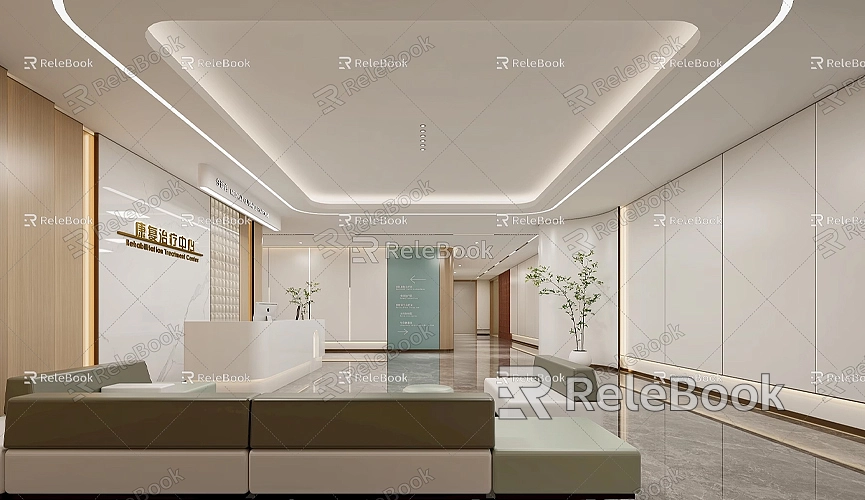
To create high-quality models in both SketchUp and Revit, having access to a rich resource library is essential. If you need high-quality 3D textures and HDRI for creating models and virtual scenes, you can download them for free from [https://textures.relebook.com](https://textures.relebook.com). For beautiful 3D models, visit [https://3dmodels.relebook.com](https://3dmodels.relebook.com), where Relebook offers a vast array of premium 3D resources. These resources can significantly improve your design projects, helping you work more efficiently.
Conclusion
Importing SketchUp models into Revit is a very useful skill, especially for projects that require a smooth transition from conceptual design to Building Information Modeling. By following the steps outlined above, you can efficiently complete this conversion process, taking advantage of SketchUp’s rapid modeling and Revit’s detailed processing capabilities. Every step, from exporting the correct format to optimizing the model in Revit, requires careful operation. If you encounter any issues, refer to the solutions provided to troubleshoot effectively.
We hope this article has helped you better understand how to import SketchUp models into Revit and how to further enhance your design quality by utilizing resources from Relebook. This will make your design process more efficient and your projects more successful.
How to Bring SketchUp Models into Revit
In the fields of architectural and interior design, SketchUp and Revit are two highly popular design software programs. Known for its simplicity and fast modeling capabilities, SketchUp is ideal for quickly conceptualizing models in the early stages of design. On the other hand, Revit excels at Building Information Modeling (BIM), making it suitable for handling more complex projects and construction drawings. By importing SketchUp models into Revit, designers can effectively combine the strengths of both software programs, enhancing design efficiency and precision in project management. This article will explain how to import SketchUp models into Revit, along with tips and methods to keep in mind during the process.
Interaction Between SketchUp and Revit
To import a SketchUp model into Revit, it’s important to understand how these two programs interact. SketchUp is primarily used for quickly creating 3D models, allowing for easy adjustments and iterations during the early design phase. Revit, however, is a more comprehensive BIM tool that not only creates 3D models but also manages information throughout the building lifecycle. By importing SketchUp models into Revit, designers can further refine details, add construction information, and ultimately create more complete and efficient projects.
Exporting SketchUp Models to Revit-Compatible Formats
To successfully import SketchUp models into Revit, you need to export the model in a format that Revit supports. The most commonly used formats are DWG and IFC. Here’s a detailed guide on how to do it:
Steps:
- Open the SketchUp Model: First, open the model you want to import into Revit in SketchUp. Make sure the model is well-structured without redundant geometry or errors to minimize issues during the import.
- Choose Export Format: Click the "File" menu in SketchUp, select "Export," and then choose "3D Model."
- Select DWG Format: Choose "DWG" as the export format, which is AutoCAD's file format and directly readable by Revit. If you need more detailed information, you can also opt for the "IFC" format, which is a more universal BIM file format.
- Adjust Export Settings: You can adjust the unit settings and layer information based on your needs in the export options, which helps in maintaining proper scale and position when imported into Revit.
- Save the Exported File: After completing the settings, select the location to save the file, and click the "Export" button.
Following these steps will allow you to convert your SketchUp model into a format that Revit can read. Once exported, you can proceed to the next step in Revit.
Importing SketchUp Models into Revit
With the DWG or IFC file exported from SketchUp, you can now import these models into Revit. The following are the detailed steps:
Steps:
- Open a Revit Project: First, open an existing project in Revit or create a new one.
- Insert CAD File: Click the "Insert" tab, and select "Import CAD" from the toolbar. A file selection dialog box will pop up.
- Select the DWG File to Import: Locate the DWG file you just exported from SketchUp, select it, and click "Open."
- Adjust Import Settings: Before importing, you can choose options for "Colors," "Import Units," and "Layer Visibility" in Revit's settings. Make sure the "Import Units" match the units used in SketchUp to avoid scale issues. It is usually recommended to use "Origin to Origin" or "Center to Center" alignment.
- Check the Import Result: After the import is complete, verify that the model is displayed correctly in Revit’s workspace. If there are any misalignments or display errors, you may need to return to SketchUp to make adjustments, re-export, and re-import.
Optimizing the Imported Model
Although the model is successfully imported into Revit, further optimization may be required to ensure the model is usable and operable within Revit.
- Convert to Revit Families: Imported SketchUp models are usually treated as a single entity, which makes direct editing in Revit difficult. It is advisable to convert the imported model into Revit "Families" to facilitate easier separation and editing of different components. Use Revit’s "Create Family" tool to redefine the components of the model.
- Add Materials and Textures: After import, material and texture information from SketchUp might be lost. You can reassign materials within Revit to make the model look more realistic. Revit has its own material library, and you can also import custom materials if needed.
- Check Geometric Precision: Carefully inspect the imported model to ensure that the geometry and details are accurately displayed. Compatibility issues during the import process may lead to missing or distorted geometry. If needed, go back to SketchUp, edit the model, and try exporting and importing again.
Common Issues and Solutions During Import
You may encounter some problems when importing SketchUp models into Revit. Here are a few common issues and their solutions:
- Scale Errors: The imported model’s dimensions do not match expectations. This could be due to different unit settings during export. Ensure consistent units during both export and import to fix this issue.
- Missing or Distorted Geometry: If the imported model has incomplete geometry, check for any unclosed faces in the SketchUp model or see if you selected optimization options during export.
- Lost Materials: When importing a DWG file, material information is typically not retained. You can use Revit’s material editor to reassign materials, or try exporting in IFC format to preserve more details.
Enhancing Model Quality with Relebook Resources
To create high-quality models in both SketchUp and Revit, having access to a rich resource library is essential. If you need high-quality 3D textures and HDRI for creating models and virtual scenes, you can download them for free from [https://textures.relebook.com](https://textures.relebook.com). For beautiful 3D models, visit [https://3dmodels.relebook.com](https://3dmodels.relebook.com), where Relebook offers a vast array of premium 3D resources. These resources can significantly improve your design projects, helping you work more efficiently.
Conclusion
Importing SketchUp models into Revit is a very useful skill, especially for projects that require a smooth transition from conceptual design to Building Information Modeling. By following the steps outlined above, you can efficiently complete this conversion process, taking advantage of SketchUp’s rapid modeling and Revit’s detailed processing capabilities. Every step, from exporting the correct format to optimizing the model in Revit, requires careful operation. If you encounter any issues, refer to the solutions provided to troubleshoot effectively.
We hope this article has helped you better understand how to import SketchUp models into Revit and how to further enhance your design quality by utilizing resources from Relebook. This will make your design process more efficient and your projects more successful.
