How to Begin Creating a 3D Model in SketchUp
SketchUp is a highly popular 3D modeling software, widely used in architectural design, interior design, landscape planning, and various creative projects due to its user-friendly interface and powerful features. For beginners, starting to learn how to create 3D models in SketchUp can feel overwhelming. This article will detail the steps for creating 3D models in SketchUp along with some practical tips to help you quickly get started and embark on your 3D design journey.
Why Choose SketchUp for 3D Modeling?
Before diving into the steps, let's discuss why SketchUp has become the tool of choice for many designers. First, SketchUp features a clean interface and intuitive operational logic, making it accessible for newcomers to 3D modeling. Secondly, SketchUp has a rich ecosystem of plugins and community support that can extend its functionality to meet more professional modeling and rendering needs. For designers looking to quickly create high-quality models, SketchUp is undoubtedly a great option.
Installing and Familiarizing Yourself with the SketchUp Interface
To start using SketchUp for 3D modeling, you first need to download and install the software. After installation, it’s advisable to take some time to familiarize yourself with the interface. The layout of SketchUp is very intuitive, with the toolbar on the left side, and the tool properties and layer management area on the right. The top menu bar provides access to more advanced features, allowing you to access various editing and viewing options.
Beginners should start by getting comfortable with basic tools like “Push/Pull,” “Rotate,” and “Move,” gradually learning how to use each one. These tools form the foundation for building 3D models and are essential for design in SketchUp.
Defining Your Model's Design Concept and Planning
Before you start modeling in SketchUp, it’s important to have a clear design concept. Whether you're designing a building, a piece of furniture, or a landscape, you should first plan your model and visualize what it will look like. This step is crucial, as it will influence your subsequent actions and the overall design outcome.
Before diving into the design, you can sketch a simple draft or mentally outline a rough model profile. This will help you translate your ideas into actual 3D models more efficiently in SketchUp. During this ideation phase, consider the model's proportions, dimensions, and basic shapes that will make up your model.
Starting to Create Your Model: From 2D to 3D
Once you’re familiar with the basic tools and have a design concept, you can begin modeling. The modeling process in SketchUp typically starts with 2D shapes, which you can convert into 3D models using tools like “Push/Pull.”
Drawing Basic 2D Shapes
Regardless of the 3D model you wish to create, you can start with simple 2D shapes. In SketchUp, you can use tools like “Line,” “Rectangle,” and “Circle” to draw various basic 2D shapes. For example, if you want to build a simple house model, you can start by using the “Rectangle” tool to draw a rectangle on the ground to represent the foundation of the house.
Using the "Push/Pull" Tool to Convert to 3D
One of SketchUp’s most powerful features is the “Push/Pull” tool, which can instantly turn flat 2D shapes into 3D models. Move your mouse over the drawn rectangle, click on the “Push/Pull” tool, and then drag the rectangle upwards. You’ll see a cube emerge. This allows you to quickly build various basic 3D shapes.
Adding Details and Complex Structures
Once you’ve established the basic structure of your model using the “Push/Pull” tool, you can use tools like “Offset,” “Rotate,” and “Scale” to adjust and add details. For instance, in a simple house model, you could use the “Offset” tool to create windows and doors, and use the “Push/Pull” tool to cut out sections of the walls, forming openings for windows and doors.
Learning to Use Layers and Groups to Manage Your Model
As you progress in modeling, you’ll find that your model becomes increasingly complex. This is where learning to use layers and groups will help you manage your model more effectively. By placing different components on separate layers, you can easily show or hide these components, making model editing more convenient.
Groups and components are two essential concepts in SketchUp. Grouping different parts of your model can prevent accidental modifications to other parts while working on one. Components are suitable for elements that need to be reused multiple times in the model, such as windows and furniture. When you modify one component, all identical components automatically update, significantly enhancing modeling efficiency.
Importing Assets and Model Resources
Sometimes, you may not need to start from scratch to build every model. SketchUp supports importing various formats of 3D models and assets. You can search for the models you need in SketchUp’s built-in 3D Warehouse and import them directly into your project, saving modeling time. If you're looking for more diverse assets and model resources, you can find additional options online.
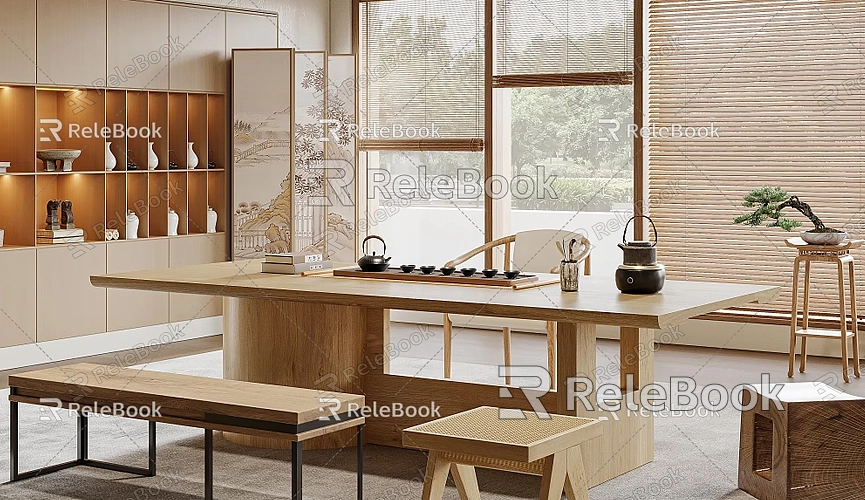
If you need high-quality 3D textures and HDRI resources while creating models and virtual scenes, you can download them for free from [https://textures.relebook.com](https://textures.relebook.com). For exquisite 3D models, visit [https://3dmodels.relebook.com](https://3dmodels.relebook.com), where Relebook offers a wealth of premium 3D resources. These resources not only enhance your model's quality but also improve the final rendering effect.
Adding Materials and Colors to Your Model
A good 3D model is not just about geometric shapes; it also needs appropriate materials and colors to enhance its visual appeal. SketchUp provides a variety of preset materials that you can apply directly to your model. If the default materials don’t meet your needs, you can also import the material images you require from external sources.
When adding materials to your model, try to choose textures that correspond to actual materials, as this will enhance the realism of your model. For example, if you’re creating a wooden furniture model, you might select a wood grain texture and apply it to the model's surface. While adjusting materials, you can also tweak attributes like color and transparency to further optimize the effect.
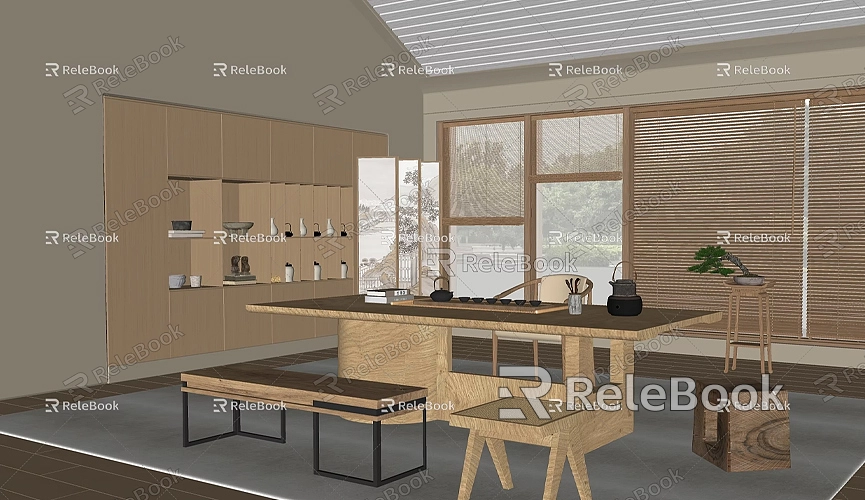
Optimization and Rendering: Making Your Model More Lifelike
After you’ve constructed the basic model, you can perform some optimization tasks. For instance, adjusting the number of faces to reduce model complexity or merging similar components to decrease file size can be helpful. An optimized model is not only easier to work with but also enhances response speed in SketchUp.
To make your model appear more realistic, you can also render it. SketchUp supports various rendering plugins like V-Ray and Enscape, which can add realistic lighting effects, making your model look more vibrant and natural. If you're a beginner, you can start with some simple rendering settings and gradually learn more advanced rendering techniques.
Creating 3D models in SketchUp is not complicated. Once you master the basic tools and methods, anyone can easily get started. From drawing basic 2D shapes to generating 3D models, and then adjusting details and adding materials, each step is crucial for achieving the final design effect. With continuous practice and experimentation with different tool combinations, you can quickly master SketchUp modeling skills.
If you want your models to look more realistic and dynamic, having access to rich asset resources and high-quality 3D models is essential. For high-quality 3D textures and HDRI resources, feel free to download from [https://textures.relebook.com](https://textures.relebook.com), and for exquisite 3D models, check out [https://3dmodels.relebook.com](https://3dmodels.relebook.com). Relebook offers a wealth of premium 3D resources. These resources can save you time during the design process while also enhancing the professionalism of your work.
