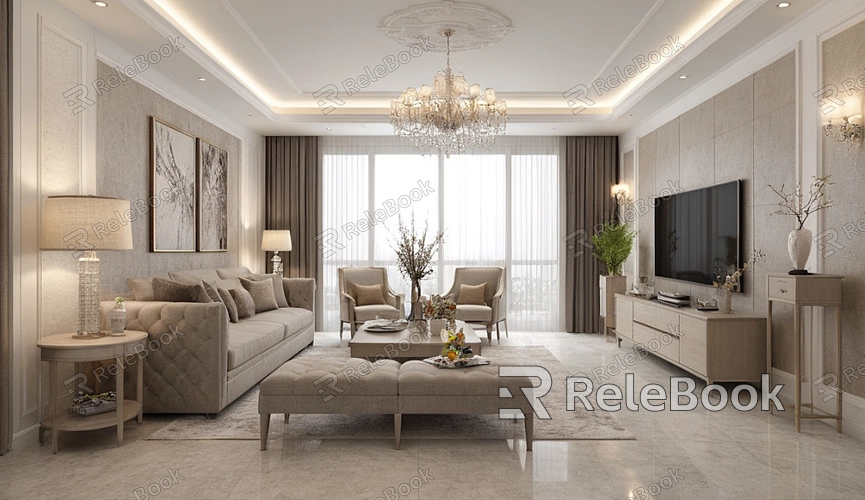
How to Properly Illuminate 3D Models?
In today's design landscape, the effectiveness of a 3D model is inextricably linked to its lighting. Proper lighting not only enhances the model's realism but also enriches the viewer's visual experience. This article will explore how to effectively illuminate 3D models through appropriate light source settings, shadow handling, and material adjustments to achieve the desired visual effects.

Choosing the Right Type of Light Source
In 3D design, selecting the right light source is crucial. Different types of light sources can produce various lighting effects. Common types include point lights, directional lights, and spotlights.
1. Point Lights
Point lights emit light from a single point outward, similar to a light bulb. They can create even illumination in the surrounding area, but the intensity decreases with distance. Point lights are ideal for localized lighting, such as on a character's face or the details of an object.
2. Directional Lights
Directional lights emit parallel rays of light uniformly, typically used to simulate sunlight. They can create pronounced shadow effects in a scene, making the contours of objects more defined. Directional lights are well-suited for large-area illumination, especially in outdoor scenes.
3. Spotlights
Spotlights can focus light on specific areas, creating intense lighting effects. They are perfect for stage lighting or emphasizing particular objects. Spotlights can adjust the angle and intensity of the beam, allowing for versatile lighting effects.
The Interaction of Light and Shadow
The relationship between light and shadow is key to creating a sense of realism. Proper shadows enhance a model's depth and spatial awareness, while improper shadows can lead to visual confusion.
1. Types of Shadows
Common shadow types include soft shadows and hard shadows. Soft shadows have blurred edges, suitable for simulating natural light conditions, while hard shadows have clear edges, typically used under artificial lighting. In practice, you can choose based on the scene's needs.
2. Shadow Intensity and Direction
The intensity and direction of shadows also impact the overall effect. Stronger shadows make the object appear more voluminous, while the direction of shadows determines the light source's position. During design, consider the height and angle of the light source to ensure shadows and light work in harmony.
Material Interaction with Lighting
In 3D models, the properties of materials also affect lighting effects. Different materials will react differently to light, producing various reflections and refractions.
1. Reflection and Refraction
The interaction between light and material can be achieved through reflection and refraction. Reflective materials can bounce light back, giving surfaces a smoother, shinier appearance, while refractive materials can change the light's path, ideal for representing water or glass.
2. Material Glossiness
The glossiness of a material is also a significant factor in lighting effects. Highly glossy materials create strong highlights under lighting, enhancing the object's texture, while low-gloss materials produce softer light effects. Adjust material glossiness according to the design requirements.
Arranging Lighting in the Scene
In addition to light sources, shadows, and materials, the overall arrangement of the scene also affects lighting effects. A well-organized layout allows light to be distributed more effectively around the model.
1. Positioning Key Light Sources
Determining the position of key light sources in the scene is crucial. Placing the light source at an appropriate height and angle can effectively create the desired lighting effects. For instance, placing the light source to the side of a character can enhance facial depth.
2. Setting Ambient Light
Ambient light is a basic source of illumination in a scene, filling in shadowed areas and increasing overall brightness. In design, adjusting the intensity of ambient light can make the scene appear more lively.
Practical Adjustments and Optimizations
In the process of illuminate 3D models, practice and optimization are essential. Through repeated testing and adjustments, ideal lighting effects can be achieved.
1. Rendering Previews
After each adjustment to the lighting settings, rendering a preview provides a direct way to observe the effects. This step helps designers quickly identify issues and make changes, saving time in the process.
2. Feedback and Corrections
Obtaining feedback is also an important way to optimize lighting effects. Through team discussions or user testing, you can understand others' perspectives on the lighting effects, allowing for targeted corrections.
By utilizing the right light sources, managing shadows, and adjusting materials, you can effectively illuminate 3D models and enhance their visual impact and realism. Mastering these techniques not only helps designers convey richer emotions in their works but also provides viewers with a superior viewing experience. To access more high-quality 3D models and textures, visit the Relebook website for easy downloads to boost your creative projects.
FAQ
How do I choose the right type of light source?
Choose different types of light sources based on scene needs and object characteristics; for example, point lights are good for localized lighting, while directional lights simulate natural light.
What is the importance of shadows for 3D models?
Shadows enhance the model's depth and spatial awareness, making it appear more realistic.
How do material properties affect lighting effects?
Different materials react differently to light; reflective materials produce noticeable highlights, while low-gloss materials appear softer.
How can I effectively adjust lighting?
By continually rendering previews and obtaining feedback, designers can quickly adjust and optimize lighting settings.
What is the role of ambient light?
Ambient light fills in shadowed areas and increases overall brightness, making the scene appear more vibrant.
