How to Combine SketchUp Models with Video
In modern architectural design and product presentations, relying solely on static 3D models is no longer enough to capture the audience's attention. By combining SketchUp models with video, you can create a more vibrant visual experience that not only better showcases design details but also enhances audience immersion and interactivity. So, how can you seamlessly integrate SketchUp models with video? This article will introduce practical methods and tips from various perspectives to help you achieve this goal.
Why Combine SketchUp Models with Video?
The demand for combining 3D models with video is increasing in the design field. Whether it's architectural design, interior decoration, or product presentations, using video to showcase models allows viewers to gain a more comprehensive understanding of design intentions from different angles. For instance, in architectural displays, incorporating videos of the surrounding environment enables audiences to see how a building changes from day to night and how it looks under different weather conditions. This dynamic form of expression is clearly more lively and realistic than static images.

Additionally, in product design, showcasing a video can simulate product usage scenarios and functionalities, giving potential customers a more intuitive understanding of product features and advantages. Therefore, combining 3D models with video has become an important trend in modern design presentations.
How to Combine SketchUp Models with Video
When integrating SketchUp models with video, there are several key steps to master, including model preparation, video selection, compositing, and rendering. Below, we will detail each step.
Prepare Your SketchUp Model
Before you start, ensure that your SketchUp model is complete and detailed. The handling of materials and details is crucial for achieving the final effect. Keep in mind that overly complex models may lead to lengthy rendering times. Therefore, optimize your model by removing unnecessary details to reduce computational load.
An optimized model not only improves loading speed but also ensures that there are no lags when combined with video. You can use SketchUp's built-in simplification tools or leverage plugins to optimize your model.
Choose Suitable Video Material
Selecting the right video is also critical. Choose video footage based on your presentation needs; for example, when showcasing a building, you could select natural landscape videos or scenes of people moving through the area to integrate the architectural design with the real environment. In product design presentations, you can select video material that shows the product in use, helping viewers intuitively understand how it performs in different settings.
The quality of the video material directly impacts the final result, so be sure to choose high-definition, stable footage. If you can’t find suitable video material, consider purchasing it from online platforms or capturing your own.
Use Video Editing Software for Compositing
To combine SketchUp models with video, common tools include video editing software like Adobe Premiere Pro, After Effects, or DaVinci Resolve. These applications support importing 3D models and compositing them with video.
First, export your SketchUp model in a format compatible with video editing software, such as OBJ or FBX. When exporting, ensure you select an appropriate resolution and material to guarantee the quality of the final render.
Next, import the video footage and 3D model into the video editing software and composite them together. Adjust the position, scale, and other parameters of the model to perfectly integrate it with the video. You can also add animation effects to the model to make it look more natural. Additionally, many video editing software options support adding effects like lighting and filters, enhancing the realism of the integration.
Render and Output
After completing all compositing work, the final step is to render the output. During the rendering process, adjust the output format and resolution based on the intended use of the video. If it’s for online sharing, you can choose a smaller file format, but ensure the resolution isn’t too low to avoid degrading the viewing experience. For display screens or projections, ensure the video has a sufficiently high resolution.
Rendering may take some time, especially if the model and video files are large. Before rendering, it’s advisable to preview everything to ensure all effects are properly adjusted, avoiding the need for rework after rendering.
Common Scenarios for Combining 3D Models with Video
The technology for integrating 3D models with video has wide applications in practice. Here are a few common scenarios:
Architectural Design and Landscape Presentation
Combining architectural models with videos of natural environments can effectively showcase how a building performs under various conditions. For example, demonstrating the lighting effects of a building during the day, dusk, and night, or simulating seasonal landscape changes. This dynamic presentation style is more engaging than traditional static images.
Interior Design and Decoration
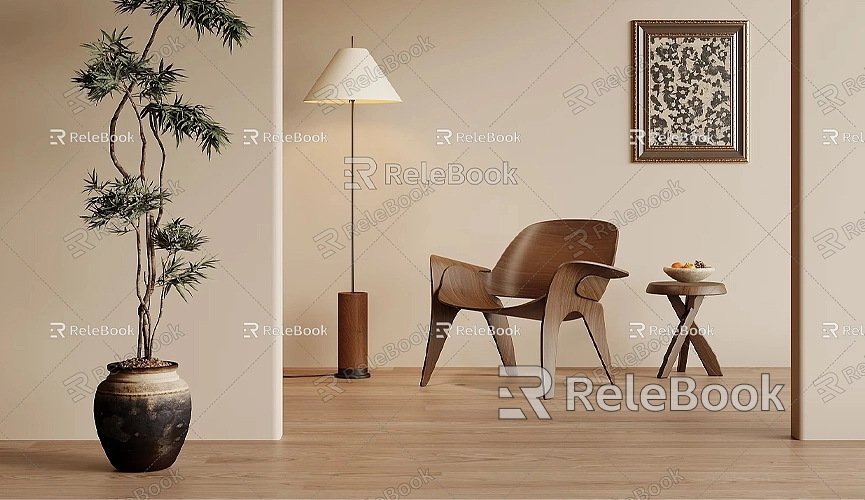
In interior design, merging furniture models with video can simulate a real living experience. For instance, combining a sofa model with video footage of a living room can create a scene of people interacting in the space, allowing clients to intuitively feel the design's comfort and spatial layout.
Product Design and Promotion
For product design, combining a 3D model of the product with videos of its actual use can help customers better understand its features and advantages. This method is especially suited for creating product promotional videos, making the demonstration of functionalities more vivid and impactful.
Practical Tips and Considerations
- Optimize 3D Models: Avoid overly complex models, as this complicates compositing and affects rendering speed. You can optimize the model by reducing the polygon count.
- Sync Model and Video: Ensure that the model's movements and the video’s timeline are synchronized for a smoother effect.
- Choose Appropriate Lighting and Background: During compositing, adjust the lighting and materials of the model according to the lighting and colors in the video to create a cohesive atmosphere.
Choosing High-Quality 3D Resources
Using high-quality 3D resources can enhance the overall effect when creating 3D models and virtual scenes. If you need high-quality 3D textures and HDRIs for your models and virtual environments, you can download them for free from [Relebook](https://textures.relebook.com). If you need stunning 3D models, you can find a wide selection at [Relebook](https://3dmodels.relebook.com). Utilizing these resources allows you to quickly build high-quality 3D scenes, making the integration with video even more realistic.
Combining SketchUp models with video not only enhances presentation quality but also provides a better visual experience for audiences. By selecting appropriate video material, optimizing 3D models, and using professional video editing tools for compositing, you can achieve this goal. During the process, be sure to maintain synchronization between the model and video, as well as the overall harmony of the final output.
We hope this article helps you effectively combine 3D models and video in your design projects, presenting more vibrant and creative showcases to your audience.
