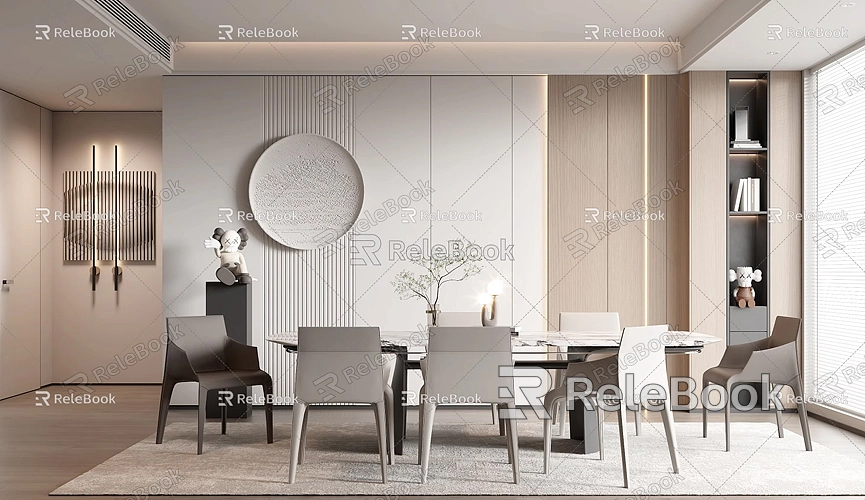
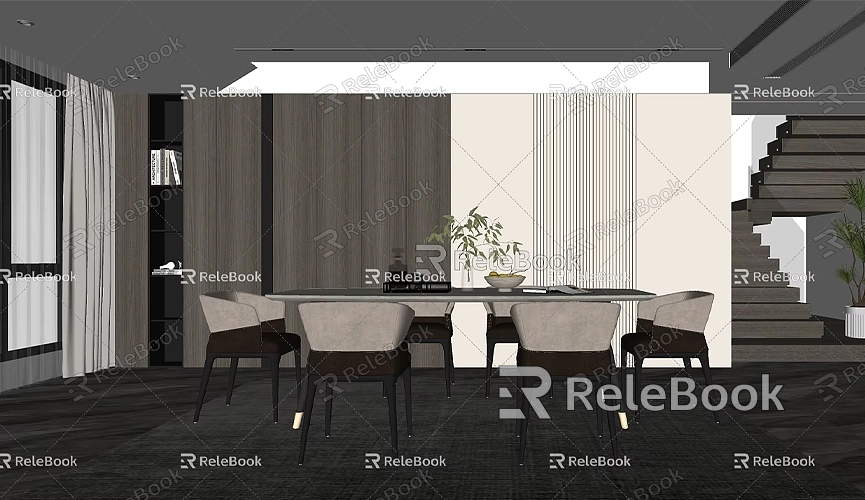
How to Match a Photo in an Existing SketchUp Model
In modern architectural design, interior design, landscape architecture, and other fields, an increasing number of designers and modelers are combining photos with 3D models to achieve more accurate visualizations. By matching real-life photos with SketchUp models, designers can not only verify whether their designs align with the actual environment but also create more realistic renderings. This process enhances the immersive experience of the design, allowing clients and collaborators to better understand the proposed ideas.
Matching a photo in SketchUp, however, is not as simple as placing an image as a background. It involves adjusting the model's angles, proportions, and details, as well as using lighting and materials effectively to enhance realism. In this article, we will explain how to match a photo with a SketchUp model, helping you improve your design and create more visually compelling works.

1. Understanding the Concept of Photo Matching
The process of photo matching involves visually integrating a real-world photograph with a 3D model in SketchUp. The goal is to make the model appear as though it is part of the actual environment, ensuring accurate perspective alignment and scale adjustments. Designers often need to adjust the model’s position and size based on elements in the photo, such as the ground, buildings, background, and shadows, so that the model blends seamlessly with the photographed scene.
Whether in architectural renderings or interior design visualizations, accurately matching a model to a real photo can greatly enhance the credibility of the design. Precise photo matching helps foster better communication between the designer and the client, as it allows for clearer discussions and decision-making.
2. Choosing the Right Photo
Choosing the right photo is one of the key steps in the matching process. A high-quality photo taken from the appropriate angle forms the foundation for the entire process. The quality of the photo directly affects the matching results—blurry images, overexposure, or inaccurate angles will all hinder the success of the photo matching. Therefore, when taking the photo, ensure that it is high resolution and that the camera is level, avoiding large angle distortions.
The ideal photo should avoid obstructions and extreme lighting contrasts. Even lighting conditions allow for better blending of the model’s lighting and shadows with those in the photo. Additionally, the photo should highlight the key design features of the model, especially in architectural and landscape design, where composition is crucial.
3. Adjusting the SketchUp View and Model Settings
After importing the photo, the first step is to adjust the view in SketchUp to match the angle from which the photo was taken. SketchUp offers powerful view control tools that allow you to adjust the model's perspective, direction, and camera position to align with the photo’s viewpoint.
To avoid issues with scale due to perspective differences, it’s best to first adjust the camera angle in SketchUp to align as closely as possible with the photo. You can adjust the camera height, use wide-angle or standard views, and so on. Pay special attention to the ground lines and building lines in the photo to ensure they align with the perspective in SketchUp.
4. Importing and Adjusting the Photo as a Background or Texture
Once the view is set, the next step is to import the photo into SketchUp. There are several ways to do this, with the most common method being to add the photo as a background image or a texture to the model.
To import the photo, open your SketchUp model, select File > Import, and choose the photo you wish to use. When importing, you can choose to place it as a background image or apply it as a texture to certain surfaces of the model. If you use the background option, the photo will serve as a reference behind your model, allowing you to adjust the model further. If you use the texture option, the photo can be applied directly to the model’s surfaces, enhancing realism.
Whichever method you choose, be sure to adjust the size and position of the photo to ensure that it is proportionally and spatially aligned with the model’s elements.
5. Aligning the Model with the Photo
Once the photo is imported, the next step is aligning the model to the photo. This is the most critical part of the process, especially in architectural and interior design, where the accuracy of alignment directly affects the final outcome. In SketchUp, you can use the Move tool to adjust the model, ensuring it aligns with the position in the photo.
At this stage, carefully observe the details in the photo, ensuring that each object in the model corresponds to its counterpart in the photo. Pay special attention to the relative size of the objects in the photo, and make sure the proportions match the model. For example, the ground, buildings, and other objects in the photo should match the model's scale and perspective.
6. Fine-Tuning and Optimizing
Even after the initial alignment, there may still be subtle differences between the model and the photo. Fine-tuning the alignment is essential. This step focuses on adjusting the view, size, proportions, and the precise location of objects.

At this stage, you may need to further adjust the camera's viewpoint or the model’s size to ensure it perfectly matches the proportions and placement of elements in the photo. The Scale tool in SketchUp can help adjust the size of specific objects to ensure they visually align with those in the photo.
7. Adjusting Lighting and Shadows
To make the model even more realistic, adjusting the lighting and shadows is key. You need to match the light direction and intensity from the photo with the lighting settings in SketchUp.
In SketchUp, you can adjust the Shadows panel's time and location settings to simulate the lighting conditions in the photo. You can also adjust the position of the Light source to control the direction of the light and achieve the ideal shadow effects. During this process, detailed control over light sources—whether simulating natural or artificial light—can enhance the model’s realism.
8. Using Advanced Plugins
For more precise photo matching, SketchUp also offers professional tools and plugins, such as the Match Photo feature. These tools help automate the alignment process and improve workflow efficiency.
The Match Photo tool allows you to mark key points in the photo, which automatically helps adjust the model’s perspective and scale. This tool can also automatically align the model’s construction direction based on the photo’s lines and geometric features, making it easier to integrate the model with the real-world scene.
In addition, several third-party plugins and external resources can further enhance the photo matching process. Post-processing techniques, for example, can help adjust the photo’s color, contrast, and saturation, making it blend more seamlessly with the model. After processing the photo, you can re-import it into SketchUp to further refine the match.
9. Using High-Quality Textures and HDRI Resources to Enhance the Effect
To further enhance the visual realism of your model, using high-quality textures and HDRI (High Dynamic Range Imaging) environment maps can significantly improve the overall effect. If you need high-quality 3D textures and HDRI images for your projects, you can download them for free from Relebook Texture Library. For beautiful 3D models, visit Relebook 3D Models to access a large selection of premium 3D assets. These resources can provide more detailed and refined materials for your design, making the combination of your model and photo even more realistic.
By matching photos in SketchUp, you can not only improve your design’s realism but also create more accurate visual representations of architectural, interior, or landscape projects. From selecting the right photo to precisely adjusting angles, proportions, and optimizing lighting and shadows, the entire process requires careful attention to detail and patience. With the help of SketchUp’s powerful tools and plugins, designers can create models that more closely align with real-world scenes, helping clients better understand the design and how it will function in actual projects.
If you need high-quality 3D textures and HDRI images for your models, you can download them from Relebook Texture Library, and for exquisite 3D models, visit Relebook 3D Models. By using these resources, you can enhance your SketchUp project’s details, ensuring that the final design is flawless.

