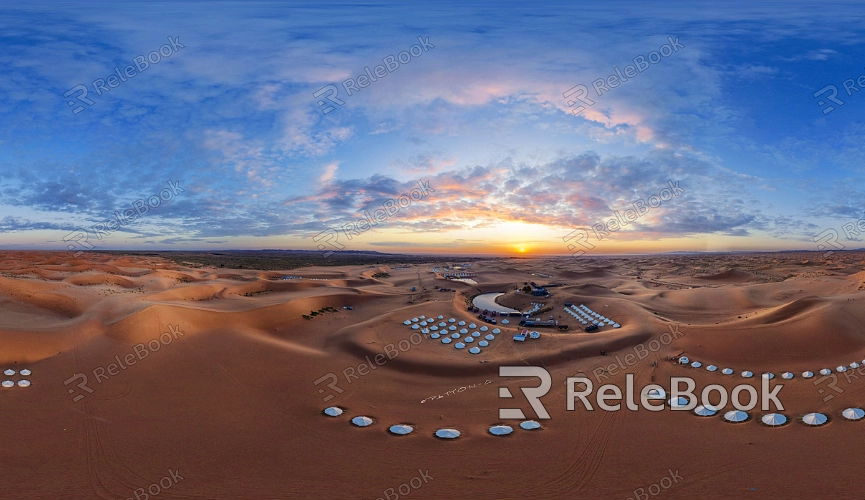
How Do I Adjust the Brightness of an HDR Texture Background in Unity
Many designers utilize HDR textures in Unity to achieve more realistic lighting and visual effects. However, adjusting the brightness of an HDR texture background can often be challenging. This issue is particularly tricky when working with various scenes, as brightness discrepancies can impact the overall look of a project. Whether it's game development, architectural visualization, or virtual reality experiences, adjusting the brightness of an HDR texture background is essential to creating an immersive and visually appealing environment. This article will guide you through the steps to fine-tune the brightness of an HDR texture background in Unity, helping you achieve better control over the visual outcome of your scene.

1. Verify the Correct HDR Texture Format and Settings
First and foremost, ensure that the HDR texture you’ve imported is in the correct format. Unity supports several file formats such as EXR and HDR, which are capable of storing a wide range of brightness information for later adjustments. In the texture import settings, make sure to set the texture type to either “Skybox” or “Environment,” and enable the “sRGB” option. This directly affects how the HDR texture renders in your scene. Also, check if “Generate Mip Maps” is enabled, as this helps create smooth brightness transitions across different distances and resolutions.
2. Adjust Brightness Using the Exposure Setting
You can modify the brightness of your HDR texture directly by adjusting the Exposure setting in Unity’s Lighting options. Go to “Window” > “Rendering” > “Lighting Settings” and find the “Environment Lighting” section. Here, you’ll be able to increase or decrease the exposure level to change the environment’s overall brightness without altering the texture itself.
If the HDR texture appears too bright, lower the exposure value.
If the background looks too dark, raise the exposure to bring out more details.
3. Modify Light Source Intensity in the Scene
HDR textures don’t just influence the background—they also affect overall lighting in the scene. Adjusting the intensity of light sources can indirectly impact the brightness of the HDR texture. For example, changing the intensity of a Directional Light in your scene will influence how bright the environment appears.
Increasing the intensity of the light source can make the HDR texture brighter, but beware of overexposure.
Reducing light intensity can help tone down an overly bright background, allowing finer details to emerge.
4. Use Post-Processing Effects to Fine-Tune Brightness
Unity’s post-processing tools offer a powerful way to adjust the brightness of HDR textures. By using the Post-Processing Stack, you can control various aspects such as brightness and contrast. Once you’ve added the post-processing component, fine-tune the brightness under “Exposure” or “Tone Mapping.”
“Tone Mapping” can help compress the brightness of an HDR texture into a more manageable range, avoiding overexposure and visual distortion.
The “Exposure” setting directly alters the scene’s brightness, making it an effective way to adjust HDR textures.

5. Control Brightness with Skybox Material Settings
Skyboxes are often used to display HDR texture backgrounds in Unity. You can adjust the brightness of an HDR texture by modifying properties in the Skybox material. After selecting your Skybox material, find the “Exposure” property and tweak the value to adjust the brightness. Additionally, the “Tint Color” property allows you to subtly alter the brightness and color balance. By lowering the tint’s brightness, you can indirectly control the overall darkness of the background.
6. Correct the Color Space Settings
Unity’s color space settings, which include “Gamma” and “Linear” options, play a significant role in how HDR textures appear. Generally, Linear color space provides more accurate lighting effects. If your HDR texture background looks too bright or too dark, switch to Linear space by navigating to “Project Settings” > “Player” > “Other Settings” and choosing Linear under the color space options. This change can significantly improve brightness control and enhance the visual quality of complex lighting scenes.
7. Preview and Adjust Dynamic Range
To ensure your HDR texture brightness adjustments are on point, it's a good idea to preview the scene under different lighting conditions. In Unity’s Scene View, try experimenting with different camera angles and light sources to see how the HDR texture performs. Based on your observations, continue fine-tuning the exposure, light intensity, or Skybox settings. By testing and adjusting multiple times, you can achieve a balance where the HDR texture's brightness is neither too overpowering nor too dull.
8. Control Lens Effects for Enhanced Brightness
Finally, controlling lens effects such as glare or bloom can help you further manage the appearance of HDR texture brightness. Sometimes, intense lighting in a scene can cause unwanted lens flares, making the background appear overly bright. Unity’s post-processing tools can help you minimize these effects, giving the HDR texture a more natural and comfortable brightness level.
By following these steps, you’ll be able to adjust the brightness of HDR texture backgrounds in Unity with precision, ensuring every detail in your scene is displayed at its best. For designers working with HDR textures, mastering brightness adjustments is a key skill for enhancing the overall quality of your projects.
If you’re looking for high-quality HDR texture resources, 3D models, or design tools to create stunning visual environments, explore the wide variety of options available at Relebook.

