How can I create custom HDR skybox textures in Blender?
Using HDR skyboxes can significantly enhance visual effects in game development, animation, and virtual reality applications. Blender, a popular open-source software, offers powerful tools for creating and customizing HDR skybox textures. This article will delve into the process in Blender, helping 3D designers elevate their work's quality and professionalism.

Preparing Materials
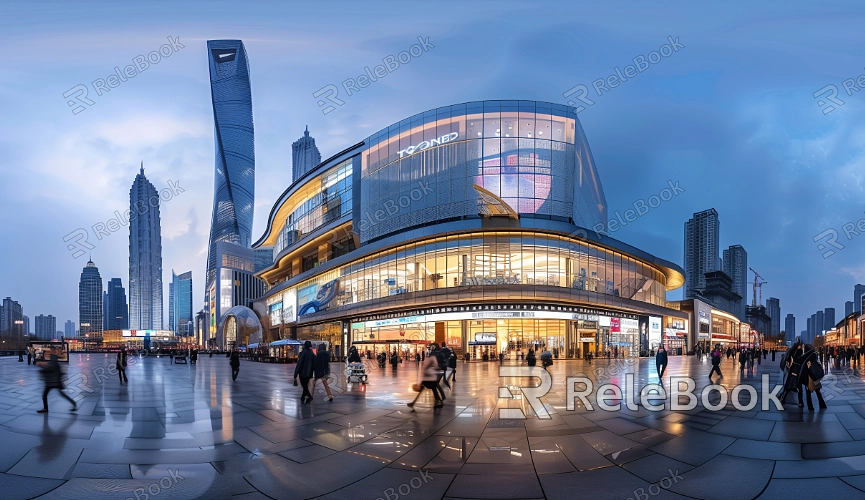
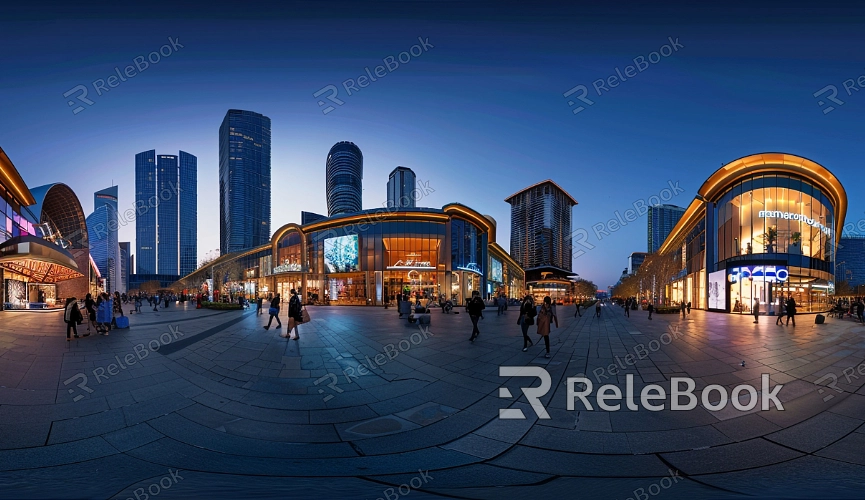
Select high-quality image resources, which can often be found online or taken through photography. Ensure the images have sufficient resolution to avoid losing detail in larger scenes. If finding quality HDR textures feels complex or time-consuming, consider visiting Relebook to download exquisite HDR assets from https://textures.relebook.com/.
Creating a New HDR Environment
Open Blender and start a new project. In the “World Properties” panel, find the “Color” option and set it to “Environment Texture.” This allows the new texture to serve as the background environment.
Importing Images
Click “Open” and select the prepared HDR image. Blender will automatically apply it to the scene. This step is crucial, as a good base image is essential for creating a custom skybox.
Adjusting Texture Settings
Enter the “Shader Editor” and ensure the “World” option is selected. Here, you can adjust the texture’s strength and exposure to better match the scene's needs. Proper lighting and shadow settings will make the skybox more vibrant.
Creating the Skybox Model
Use a cube to create the skybox. Make sure it’s large enough to surround the entire scene. After selecting the cube, enter edit mode to adjust the vertex positions to achieve the desired skybox effect.

UV Unwrapping
Perform UV unwrapping on the cube to ensure the image maps correctly. Use the “UV Editor” to fine-tune the UV layout, minimizing stretching and distortion.
Adding Materials
Add a new material to the cube and connect the “Image Texture” node to the “Surface” port of the “Material Output” in the Shader Editor. Choose the previously imported HDR image to ensure the skybox seamlessly integrates with the scene.
Adjusting Lighting and Shadows
Add light sources in the scene to enhance effects. Ensure the light direction aligns with the brightness of the skybox for a more natural visual outcome.
Rendering Tests
In the “Render Settings,” select an appropriate rendering engine (like Cycles or Eevee) and perform a preview render. Observe the performance of the skybox and adjust parameters as needed.
Exporting Settings
Finally, go to the “File” menu and choose “Export” to save the created skybox in your desired format for future projects.
By following these steps, 3D modeling and rendering designers can create custom HDR skybox textures in Blender, greatly enhancing their work's visual appeal. This process not only improves rendering quality but also offers designers greater creative freedom. I hope this article helps you advance your creative journey in Blender.
If you're looking for high-quality HDR images, 3D textures, or 3ds Max models, Relebook offers an excellent resource. Downloading these assets and importing them into 3ds Max can greatly enhance the quality of your work.

