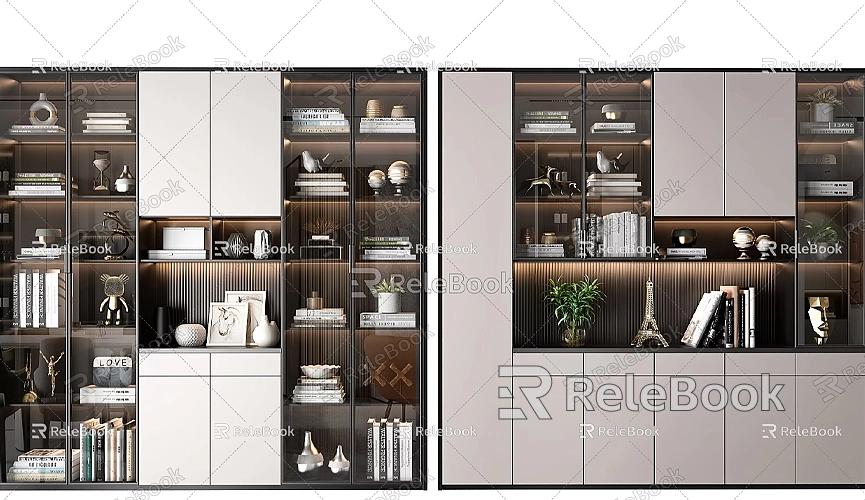
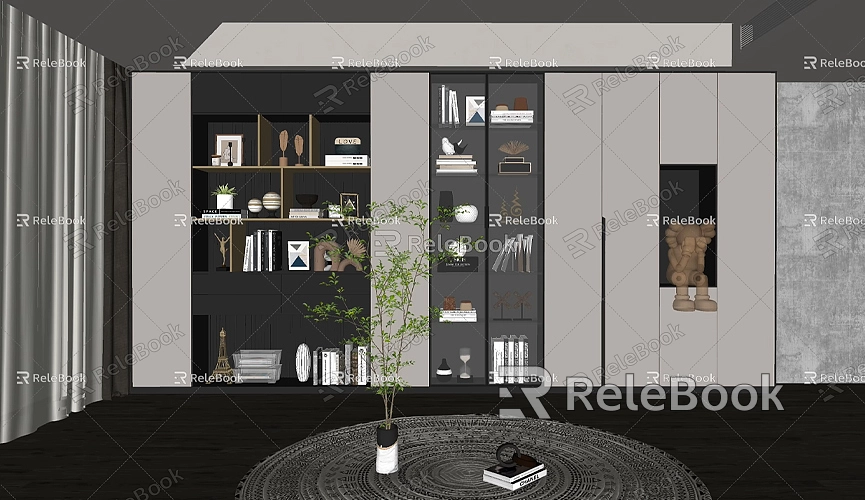
How to Draw 3D Models in SketchUp
In modern architecture, interior design, and product development, 3D modeling has become an essential part of the process. SketchUp, as an easy-to-use yet powerful 3D modeling software, is favored by designers worldwide. Whether you're a beginner just starting out or an experienced professional, learning how to draw 3D models in SketchUp is a valuable skill.
Today, we’ll detail the steps and techniques for creating 3D models from scratch in SketchUp, helping you quickly master this tool. By understanding the basic operations, you can create any architectural structure, furniture, objects, or even more complex 3D scenes you can imagine.

Understanding the SketchUp Interface
First, open SketchUp and familiarize yourself with its interface layout. The interface is intuitive, with a toolbar on the left side containing various drawing tools like the Line tool, Rectangle tool, and Push/Pull tool, while the top menu bar provides more advanced options. With these basic tools, you can easily draw and adjust different shapes.
For beginners, the most commonly used tools are:
- Select Tool: Used to select objects or parts within the model.
- Push/Pull Tool: Can stretch 2D shapes into 3D forms.
- Rotate Tool: Helps adjust the orientation of objects.
- Scale Tool: Changes the size of objects.
Once you're familiar with these tools, you can start creating your own 3D models.
Drawing Simple Geometric Shapes
To create a 3D model, start with basic geometric shapes. For example, draw a simple rectangle and then use the Push/Pull tool to turn it into a cube. This is the fundamental approach to creating 3D models in SketchUp—beginning with a 2D shape and "lifting" it into three dimensions.
If you want to create a simple table model, start by drawing a rectangular plane for the tabletop, then use the Push/Pull tool to give it thickness. Next, draw the four legs of the table, adjust their positions, and assemble them into a complete 3D model.
For those looking to model more efficiently, once you’ve mastered these basic operations, you can utilize SketchUp’s built-in model library or import other 3D resource files to speed up your modeling process.

Using Groups and Components in Modeling
A good modeling practice is to use the "Groups" and "Components" features. By grouping different parts independently, you can avoid unintentionally modifying other parts while editing the model. For instance, when modeling a chair, you can group the backrest, seat, and legs separately so that changes to one part won’t affect the others.
The key difference between “Components” and “Groups” is that if you set a part as a component, modifying one instance of that component will also change all other identical components. This is particularly useful when modeling multiple identical objects, such as windows or chairs.
Applying Materials and Textures
After creating basic 3D shapes, adding materials and textures can make your model look more realistic. SketchUp comes with a basic material library, but to enhance the quality of your model, you can import custom material files.
For example, if you're designing a wooden table, you can apply a wood grain texture to the model’s surface, making it appear more lifelike. The “Materials” panel in SketchUp allows you to easily assign various colors and materials to model surfaces—just select the surface and choose the appropriate material.
If you need high-quality 3D textures and HDRI for your models and virtual scenes, you can download them for free from [Relebook](https://textures.relebook.com/). For exquisite 3D models, visit [Relebook](https://3dmodels.relebook.com/) for a wide selection of quality resources.
Fine-Tuning and Detail Work
Attention to detail is crucial in SketchUp modeling. Minor adjustments can elevate your model to a more professional level. For instance, when designing a building, you might need to add details like door frames, window sills, and columns. While these details may seem trivial, they can greatly enhance the model's realism.
Using SketchUp's "Tape Measure Tool" and "Dimension Tool," you can precisely adjust the position and size of each detail to ensure accurate proportions and structures. Additionally, SketchUp provides a "Slice Tool" to help you check the internal structure of your design, making it easier to view details and make modifications.
Importing External 3D Models
Sometimes, drawing all models from scratch can be very time-consuming. In such cases, consider importing external 3D models. The 3D Warehouse is a highly useful online resource library that contains a wide variety of model resources. You can directly select suitable models and import them into your SketchUp project. Whether it's furniture, vehicles, or building components, you'll find the resources you need.
The steps to import external models are straightforward: open 3D Warehouse, find a model you like, click the download button, and choose to add it directly to your SketchUp scene. This way, you can quickly add various details to your project without starting from scratch.
Using Shortcuts and Plugins
To enhance modeling efficiency, it’s important to learn some SketchUp shortcuts. For example, pressing the “P” key quickly activates the Push/Pull tool, while the “R” key activates the Rectangle tool. These shortcuts can save you time by reducing the need to frequently click on the toolbar.
Additionally, SketchUp has a rich plugin ecosystem, with many powerful plugins that can assist you in completing more complex modeling tasks. For instance, RoundCorner can help you easily add rounded edges to your models, while Curviloft allows for smooth creation of complex curved shapes. By effectively using these plugins, you can significantly improve your modeling efficiency and results.
Rendering and Output of the Final Model
Once your model is complete, consider using rendering software to make it look more realistic and vibrant. While SketchUp itself lacks high-quality rendering capabilities, you can use rendering plugins like V-Ray or Enscape to add realistic lighting and material effects to your model. By adjusting parameters like lighting, material reflectivity, and transparency, you can achieve a more lifelike presentation of your model.
After rendering, you can export the final model as images, videos, or animation files, making it easy to share with clients, colleagues, or friends. SketchUp also supports exporting models in various 3D file formats, such as OBJ and FBX, allowing you to continue editing in other software.
When drawing 3D models in SketchUp, the key is to start with simple geometric shapes and then enrich your model through continual detail optimization, material adjustments, and external resource imports. By effectively utilizing the various tools and plugins within SketchUp, you can easily create impressive 3D designs.
If you want to enhance your models, consider adding high-quality materials and textures. For high-quality 3D textures and HDRI resources, visit [Relebook](https://textures.relebook.com/) for free downloads. If you need exquisite 3D models, check out [Relebook](https://3dmodels.relebook.com/) for a variety of premium resources.
We hope this article helps you create beautiful 3D models in SketchUp, continually improving your design skills and creative efficiency.

