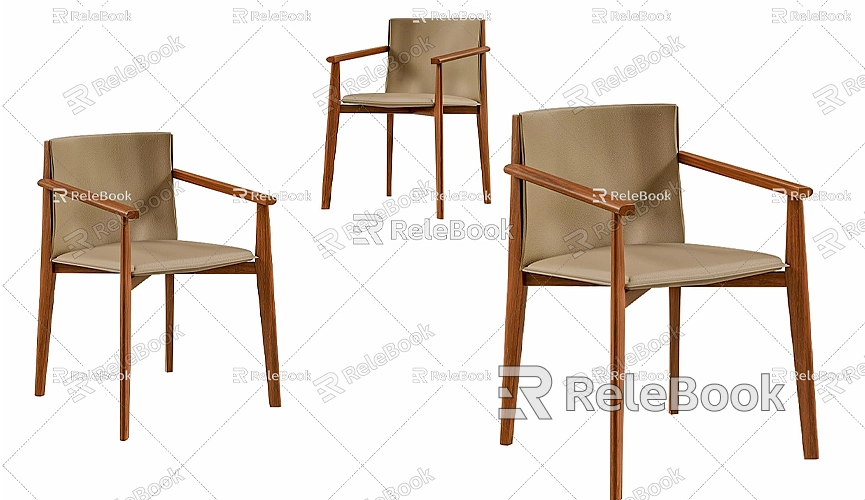
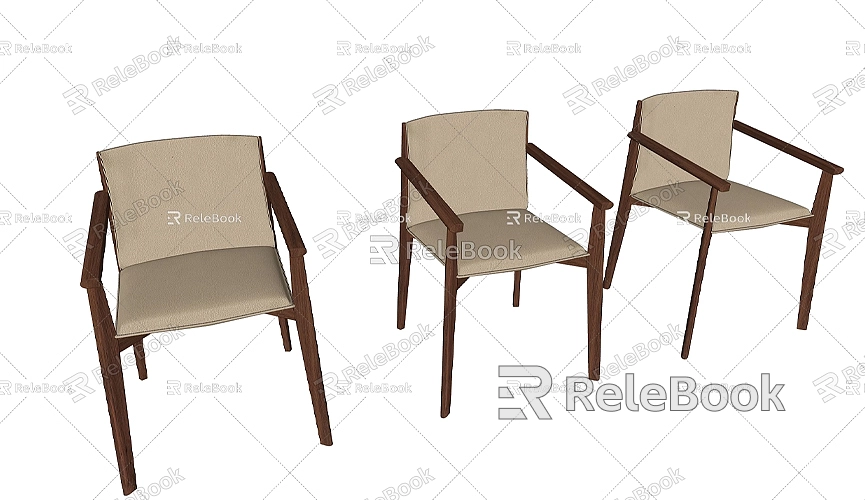
How to Model a Chair in SketchUp
Modeling a chair in SketchUp is both a creative and challenging task. Although the shape of a chair may seem simple, creating a precise and detailed 3D model requires skill and patience. From designing the frame to refining the details and ultimately rendering the final model, the process is both fun and rewarding. This article will walk you through the steps of creating a chair in SketchUp, helping you go from zero to a beautiful and functional 3D model.
Preparation
Before diving into the modeling process, it's important to do some preparation. First, you need to understand the type of chair you want to model. Chairs come in a variety of styles, such as modern, classical, or vintage designs. You can choose your preferred style or select one based on the specific requirements of your project. If you’re modeling a chair for an interior design project, make sure its style aligns with the overall design of the room.

In addition to the design style, the chair's dimensions are crucial. Before you start modeling, it’s best to obtain the chair's measurements. If you don't have these, you can either measure an actual chair or find existing chair design blueprints online. Typically, details such as seat height, thigh support height, armrest positioning, and the overall dimensions are essential to the modeling process. You can refer to three-view diagrams (front, side, and top views) to better understand the chair's shape and structure.
Setting Up the Workspace
Setting the correct units and workspace in SketchUp is an important first step. Most furniture models are based on centimeters or meters, so you need to ensure that your SketchUp units are set accordingly. In SketchUp, go to the "Window" menu, then select "Model Info" and choose the appropriate units (e.g., centimeters). This step will ensure that your model uses standard measurements, avoiding the need for extensive adjustments later.
Additionally, to accurately reproduce the chair's design, you can import reference images or blueprints into SketchUp's workspace. By using these blueprints as a background, you can keep the proportions consistent with the original design as you model. Make sure the blueprints are to scale and adjust them as necessary to ensure that your model matches the dimensions of the blueprints.
Modeling the Chair's Frame
The frame of the chair is the foundation of the model, consisting of the seat, legs, backrest, and armrests. We typically start by modeling the seat.
Seat: Begin by using the Rectangle tool to draw the chair's seat. Based on your reference blueprints or measurements, set the width and depth of the seat. The seat's thickness is another important factor—it should be moderately thick, neither too thin nor too thick. After drawing the base rectangle, use the Push/Pull tool to extrude the seat into a solid shape, giving it the appropriate thickness.
Legs: Modeling the legs can be one of the trickiest parts of the process, especially if the legs have a complex shape or unique design style. The legs can be created by drawing rectangles or polygons. Start by drawing the outline for the four legs at the corners of the seat. Then, use the Push/Pull tool to extrude them to the desired height. The bottoms of the legs may have chamfered edges or may be simple straight lines, depending on the chair's design. Adjust the shape according to your chosen style.
Some chairs may have cross-bracing or support legs that provide additional stability while enhancing the chair's design. If your chair has such features, use the Rectangle and Line tools, along with the Push/Pull tool, to create the cross supports.

Adding the Backrest and Armrests
The backrest is one of the most prominent features of a chair, contributing both to its comfort and aesthetic. Depending on the design, the backrest could be a simple flat board or have a curved shape with intricate details.
Backrest Modeling: Similar to the seat, the backrest can be modeled using the Rectangle tool to create the basic shape. Adjust the height and width of the backrest based on the design specifications. If the backrest has a curved shape, use the Arc or Curviloft tools to shape the edges for a more realistic design. After defining the backrest's outline, use the Push/Pull tool to give it the appropriate thickness.
Armrests Modeling: Armrests tend to be simpler in design, but their shape should still align with the overall chair design. Armrests can be straight or slightly curved. To model the armrests, draw their outlines on both sides of the seat, and after adjusting the angle and height, use the Push/Pull tool to extrude them. Be mindful of the width and height to ensure the armrests coordinate well with the seat and backrest.
Adding Details and Decorations
The finer details and decorative elements are what make the chair truly stand out. These features will enhance the model's realism and aesthetic appeal.
Textures and Materials: The material of the chair significantly affects its overall appearance. Wooden chairs and metal chairs will require different textures. In SketchUp, you can use the built-in material library, or you can download higher-quality textures online. If you need high-quality 3D textures and HDRI for virtual scenes, you can download them for free from Relebook Texture Library. You can also download detailed 3D models from Relebook 3D Models, which offers a vast collection of high-quality 3D resources.
Choose appropriate materials and textures for your chair, such as wood grain for the frame or fabric patterns for cushions. When applying materials, you can adjust properties like glossiness, transparency, and reflection to make the textures more realistic. You can also use different colors for different parts of the chair, such as a fabric texture for the seat and backrest and a wood texture for the legs and armrests.
Detailing the Connections: The different parts of the chair typically need to be connected by joints or fasteners. Add small details such as screws or connecting plates where the seat meets the legs. By including these elements in the model, you not only make the chair appear more realistic but also give it a more complete, functional look.
Finalizing and Rendering
Once the modeling is complete, rendering is an essential step to enhance the model's appearance. Rendering allows you to showcase the textures, lighting, and shadows, making the chair look more realistic. In SketchUp, you can use rendering plugins like V-Ray or Enscape to add light sources and shadow effects, giving the chair a more dimensional and lifelike quality.
After rendering, you can fine-tune the model by removing unnecessary faces and components to make it simpler and more suitable for further use or export. If you plan to 3D print the chair, you can save the model in STL format. Alternatively, if you wish to share your model online, SketchUp’s 3D Warehouse is a great platform to upload your model for global designers and users to access.
Modeling a chair in SketchUp involves multiple steps, including design, modeling, texturing, and rendering. By carefully adjusting dimensions, proportions, and textures, you can create a chair model that meets design requirements while being rich in detail and visual appeal. Whether for personal practice or as part of an architectural or interior design project, learning to model a chair in SketchUp will improve your 3D modeling skills and provide a solid foundation for future design work.

