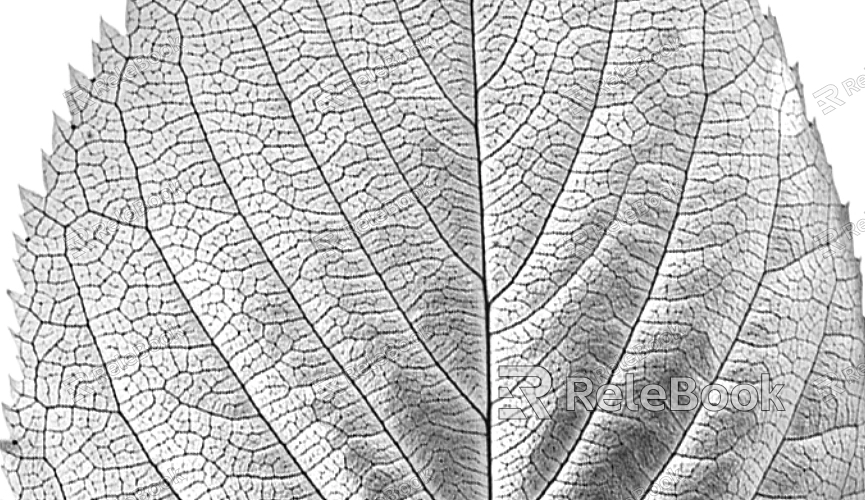
How to Add Texture in Civil 3D
Civil 3D is widely used in civil engineering and architectural design for terrain modeling, road design, and landscape planning. In these projects, applying the right textures not only enhances the realism of the models but also helps designers effectively showcase their ideas and concepts. This article will explore how to add textures to models in Civil 3D for outstanding visual results.

1. Choose the Right Texture Resources
High-Quality Textures: Selecting high-quality textures is fundamental, especially when creating surfaces for terrain, buildings, and roads. High-resolution textures provide clearer details, making your models more appealing.
Diverse Textures: Depending on your project needs, choose various types of textures, such as grass, soil, and concrete, to enrich the visual layers of the scene. If you find it challenging to locate high-quality 3D textures or are unsure how to create them, you can visit Relebook and download beautiful 3D texture resources at https://textures.relebook.com/.
2. Create and Manage Materials
Material Library: Establish a material library in Civil 3D to easily manage and apply different textures. Pre-set frequently used textures as materials for quick access.
Material Property Settings: Adjust the properties of the materials, such as reflection, transparency, and glossiness, to ensure that the textures perform naturally under various lighting conditions.
3. Texture Mapping Techniques
UV Unwrapping: Make sure the UV mapping of the model is well-structured to avoid texture distortion. Use UV editing tools to adjust the coverage and scale of the textures for optimal results.
Projection Mapping: Employ projection mapping techniques to accurately apply textures to complex-shaped models, which is especially useful for roads and buildings.

4. Apply Textures to Terrain
Terrain Surface Textures: In Civil 3D, you can add textures to terrain models through surface styles. Choosing the right surface style enhances the realism of the terrain.
Partition Textures: For larger terrains, consider dividing the area and applying different textures to reflect variations and depth in the landscape.
5. Lighting and Rendering Settings
Light Configuration: Properly configure the light sources in your scene to ensure the textures’ reflections and shadow effects appear natural. Experimenting with different lighting setups can help you see how textures perform under various conditions.
Rendering Engine Selection: When rendering, choose an appropriate rendering engine like V-Ray or Arnold to enhance the detail and realism of the textures.
6. Post-Processing
Post-Effect Enhancements: After rendering, use Photoshop or other post-processing software to make detailed adjustments, such as increasing contrast and brightness, to make the textures more vivid.
Adding Effects: Consider incorporating dynamic effects in post-processing, such as flowing water or moving clouds, to enhance the liveliness of the scene.
By following these steps, adding textures in Civil 3D can significantly improve the quality of your models, giving your projects a more professional touch. This guide provides a range of practical methods and techniques to help you achieve more natural and realistic visual effects in your 3D modeling work.
If you are looking for high-quality texture resources or want to gain more insights into 3D modeling techniques, visit Relebook, where you can find a wealth of materials to help you achieve exceptional visual results in your projects. We hope these methods inspire your designs and elevate your work to the next level.

