How to Add Texture in Unity 3D
Unity 3D is a highly popular game engine widely used in game development, virtual reality, and architectural visualization. For 3D designers, properly applying textures to models not only enhances visual appeal but also boosts the realism and detail of the creations. This article will provide a comprehensive guide on how to add textures to models in Unity 3D for optimal visual results.

1. Choose Suitable Texture Resources
High-Resolution Textures: Selecting high-resolution images is crucial. Quality textures provide richer details, ensuring that models remain clear even when viewed up close.
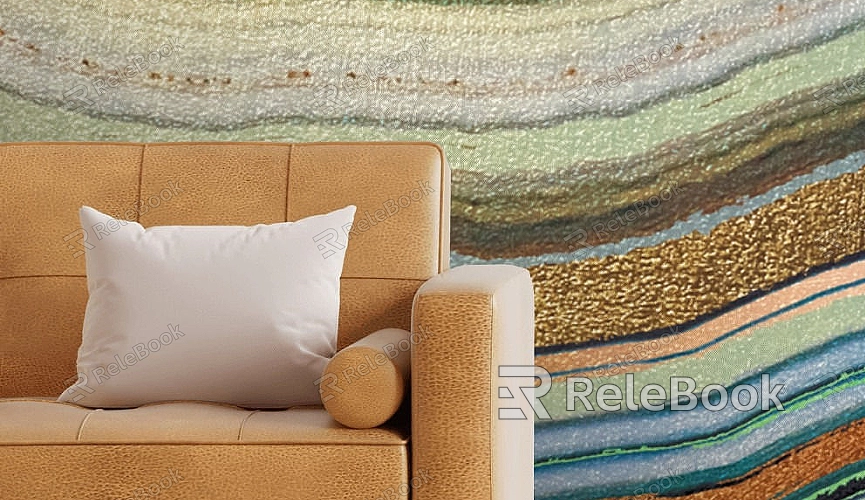
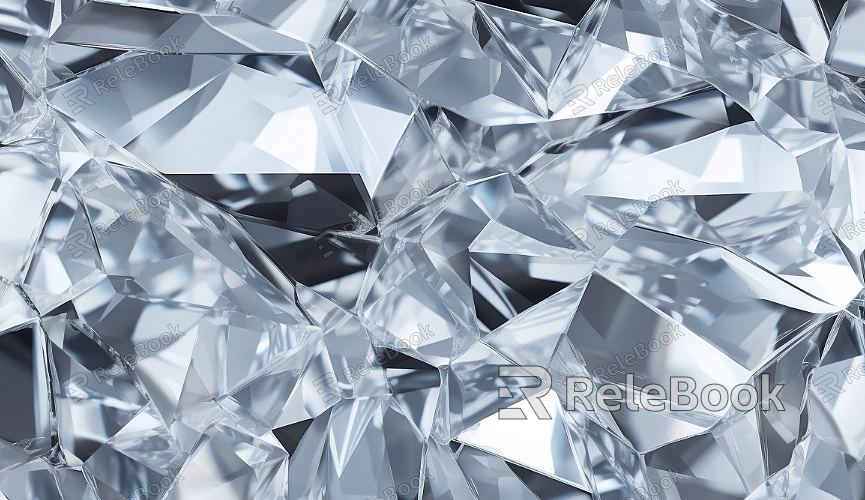
Variety of Texture Types: Depending on the project needs, choose different types of textures, such as wood, metal, stone, and fabric. A well-selected combination of textures can make scenes more dynamic and add visual depth.
If you find it complicated or time-consuming to source high-quality 3D textures, consider visiting Relebook for excellent texture resources at https://textures.relebook.com/.
2. Import Textures into Unity
Import Texture Files: Start by importing texture files into your Unity project. Right-click in the Project window, select “Import New Asset,” and locate the texture files you wish to use, then click Import.
Create a Material: Create a new material in Unity and apply the imported texture to it. Right-click in the Project window, choose “Create” -> “Material,” and then drag the texture into the appropriate field in the Inspector window.
3. Apply Textures to Models
Applying Material to Model: Drag the created material onto the model in the scene. Unity will automatically apply the material and its texture to the model’s surface.
Adjust UV Mapping: Ensure that the model's UV mapping is correct. Proper UV layout prevents texture distortion, allowing the texture to accurately wrap around the model’s surface.

4. Adjust Material Properties
Reflection and Glossiness: Adjust the material's reflection and glossiness properties as needed to ensure the texture appears natural under various lighting conditions. These settings can be found in the material's Inspector window.
Transparency and Detail: If certain parts of the model require transparency, modify the transparency settings in the material. Additionally, ensure that detail settings are optimized to highlight the realism of the texture.
5. Set Up Lighting and Shadows
Lighting Configuration: Properly configure the light sources in your scene to ensure natural reflections and shadow effects on the textures. The position and intensity of the lights directly influence the appearance of the textures, so careful adjustments are essential.
Shadow Settings: In the material settings, choose the appropriate shadow type (e.g., soft or hard shadows) to enhance the scene's depth and realism.
6. Rendering and Post-Processing
Rendering Settings: Set appropriate rendering parameters in Unity to ensure that texture details are preserved. Adjust the rendering quality based on project requirements to enhance the final output.
Post-Processing Effects: After rendering, consider applying post-processing effects such as increasing contrast and saturation to make the textures more vibrant.
By following these steps, you can effectively add textures in Unity 3D, significantly improving the quality of your models and the professionalism of your projects. This article provides a series of specific methods and techniques to help you achieve more natural and realistic visual effects in your 3D modeling and rendering.
If you’re looking for high-quality 3D texture resources, models for SketchUp, or 3ds Max to create your models and virtual scenes, Relebook is an excellent resource. Download textures and models from Relebook and import them into 3D Max to elevate the quality of your work.

