How to Create Orange Peel Texture in 3D
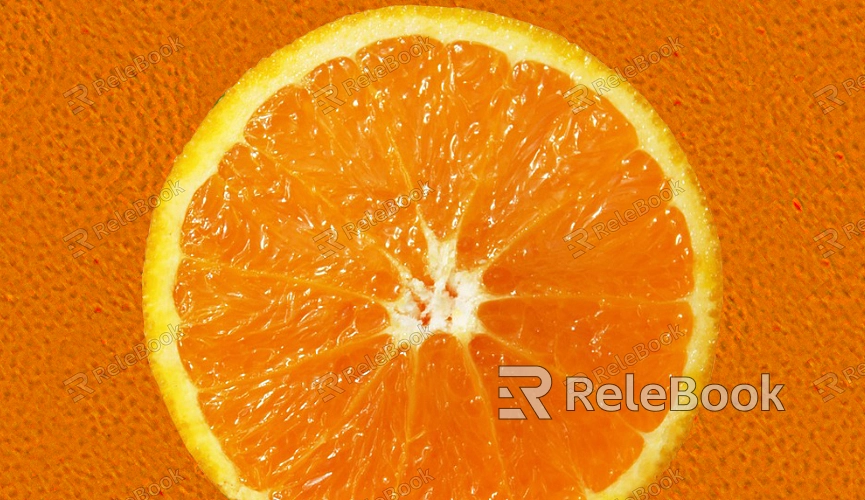
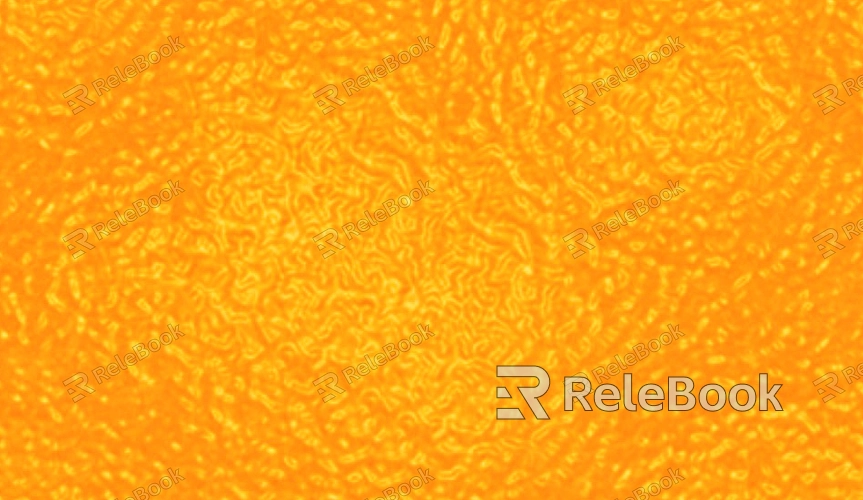
Orange peel texture is commonly used to simulate small, irregular surface bumps that resemble the texture of orange skin. This type of texture is widely used in 3D modeling for character skin, leather, building surfaces, or any object requiring fine surface details. In gaming, virtual reality, and animation, orange peel texture is particularly popular for enhancing material details and realism. In this guide, 3D artists and designers will learn how to create this texture in common 3D software, especially in Blender or 3ds Max.

1. Common Applications and Needs of Orange Peel Texture
Orange peel texture is often used to replicate rough and uneven surfaces. Some common scenarios for using this texture include:
Character Skin: In 3D character modeling, orange peel texture can add subtle details to skin, making it look more natural, especially in hyper-realistic models.
Building Materials: Many architectural surfaces, such as concrete, stone, or weathered exteriors, can benefit from the added realism provided by orange peel texture.
Object Surfaces: Textures for materials like leather or rubber can be enhanced with orange peel effects, simulating the subtle bumps and grooves typical of these surfaces.
2. Basic Setup for Creating Orange Peel Texture
Before creating the orange peel texture, you need to ensure that your 3D model is properly set up to support it. Common settings include:
Base Material Type: PBR (Physically Based Rendering) materials are often used because they more accurately reflect light and surface details. The metalness and roughness settings in PBR materials are crucial for achieving the correct look for orange peel textures.
Texture Maps: It’s important to choose the right normal and roughness maps, which will allow the surface to display realistic detail. The normal map is especially important for simulating small bumps and dips on the surface.
3. Using Procedural Methods to Create Orange Peel Texture
Orange peel textures are often generated procedurally. Some popular methods include:
Using Noise Textures: By applying procedural noise textures like Perlin noise or Voronoi noise, you can create the small, random bumps typical of orange peel surfaces. The random patterns generated by these noises can simulate the natural irregularities found in real-world surfaces.
Displacement Maps: Displacement maps modify the geometry of the surface, adding real 3D detail rather than just simulating it with textures. This can result in a more pronounced orange peel effect.
Refining Texture Details: By adjusting noise intensity, detail level, and roughness, you can ensure that the generated texture looks more natural and meets your project’s needs.
4. Refining the Appearance of Orange Peel Texture
Fine-tuning is essential for enhancing the realism and visual impact of your orange peel texture. Key parameters to adjust include:
Normal Map Adjustment: Adjusting the strength of the normal map will make the bump effect more noticeable. However, it's important to avoid making the effect too strong, as this can lead to unrealistic visual results.
Roughness Control: Roughness is a critical factor in determining the surface's glossiness. Orange peel texture generally has a slightly rough surface, so tweaking the roughness setting can enhance this effect.

Color and Gloss Variations: Subtle color adjustments can simulate the natural shine and variations in the texture of orange peel, improving the overall realism.
5. Applying Orange Peel Texture in Blender
The following steps outline how to create and apply orange peel texture in Blender:
Create the Base Material: Start by setting up a basic PBR material, including appropriate diffuse, gloss, and roughness maps.
Add Noise Textures: Use noise textures, like Voronoi noise, within the material to simulate the surface detail typical of orange peel.
Integrate Displacement Maps: Convert the generated noise texture into a displacement map, allowing it to directly alter the geometry of the model and create the characteristic bumps of orange peel.
Render and Refine: Throughout the rendering process, test and adjust the texture’s details to ensure it behaves naturally under different lighting conditions.
6. Adjusting Texture Details for Different Environments
Depending on your project, you may need to fine-tune the orange peel texture for different environmental factors:
Highlight Adjustment: In high-light environments, you may need to adjust the roughness and reflection properties to make the orange peel texture appear more realistic.
Adapting to Lighting Changes: Adjusting the material’s reflective properties and glossiness helps ensure the texture appears consistent and realistic in varying lighting setups.
7. Post-Processing with External Editing Software
Sometimes, the generated orange peel texture may require additional refinement in external editing software. For example, in Photoshop, you can adjust the color balance, contrast, or remove any imperfections to ensure the texture fits the specific needs of your project.
By following these steps, designers will learn how to create and apply 3D orange peel textures in Blender, from initial setup and noise generation to texture refinement and rendering optimization. Mastering these techniques will allow you to create high-quality orange peel textures that will enhance the visual quality of any project.
If you’re looking for high-quality 3D textures and models, Relebook offers a vast library of assets that can help you add more detail and realism to your projects. Downloading textures and models from Relebook can quickly elevate your rendering results and creative workflow.

