How to Create 3D Character Models in Blender?
Character modeling is a complex and creative process that involves sculpting facial features, body proportions, and intricate details. With Blender’s robust toolset and flexibility, users can build detailed and lifelike character models from scratch. This article will walk you through the basic process of 3D character modeling in Blender, from setting up the initial base structure to the final stages of detail sculpting, helping you create a realistic and well-crafted character model.

Building the Base Structure
Before you begin character modeling, it’s essential to determine your goal: Are you creating a realistic human character or a fictional, stylized one? This decision will influence your modeling approach. We will begin by setting up a basic structure.
1. Setting Up the Workspace
Blender’s interface is highly customizable, allowing you to adjust the workspace based on your needs. Before starting the modeling process, it’s advisable to make some basic adjustments, such as setting up your layout, enabling shortcuts, and organizing your workspace for optimal efficiency. The “Layout” workspace is ideal for general modeling, as it allows you to easily switch between different views to examine your model from various angles.
2. Creating the Base Model
Character modeling typically starts with creating a simple geometry that will serve as the foundation for your character. You can begin with a basic shape, like a sphere, cube, or cylinder, and gradually refine it into the character’s overall form. Once you’ve selected a base shape, you can enter “Edit Mode” to begin manipulating its vertices, edges, and faces. This is where you’ll sculpt the general proportions of the character.
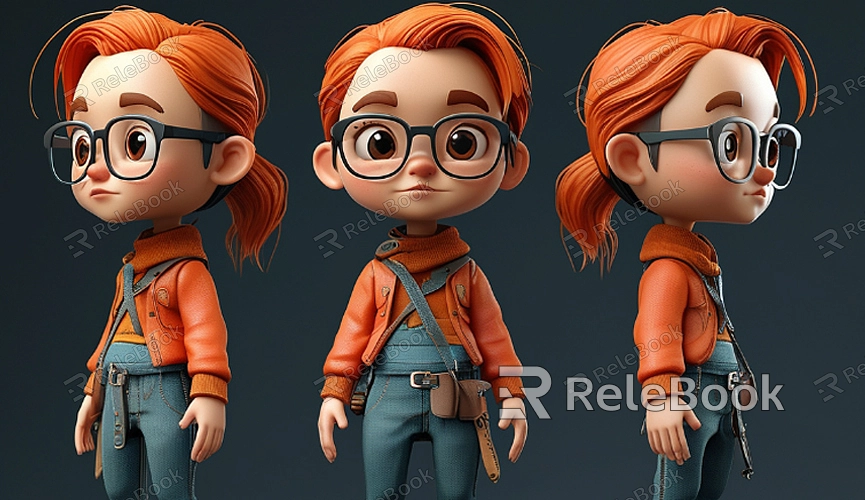
At this stage, it’s helpful to import reference images for the front, side, and back views of the character. These images will guide you in maintaining accurate proportions and shaping as you model. Blender allows you to set up background images so you can easily work in the correct scale and perspective.

Refining Character Features
Once the basic structure is in place, the next step is refining the character’s features, such as the face, limbs, and body.
1. Modeling the Face
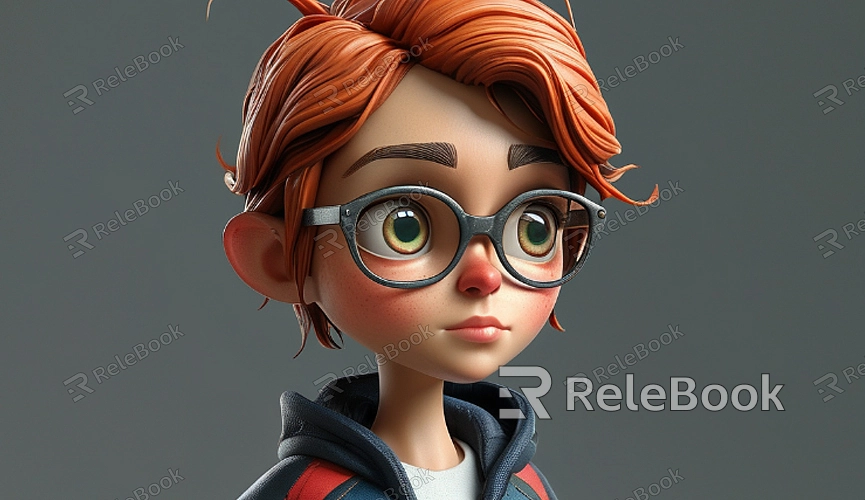
The face is one of the most challenging aspects of character modeling. To achieve a realistic appearance, you’ll need to sculpt facial details like the eyes, nose, mouth, and ears. Blender’s “Sculpt Mode” offers a variety of brushes and tools to help refine these features.
Using the "Subdivide" command can add more detail to the facial area, allowing for finer adjustments. At this stage, you can also use Blender’s "Symmetry" feature to edit the left and right sides of the face simultaneously, ensuring facial symmetry.
2. Modeling the Body and Limbs
After finishing the face, you’ll need to proceed with modeling the body. Body proportions can be tricky, but they are critical to achieving a realistic model. Use reference images and anatomical guides to get the correct proportions for the torso, arms, legs, and hands. In “Edit Mode,” you can use the "Extrude" tool to pull out the arms, legs, and torso, gradually defining the shape of each body part.
Correct body proportions are key to making the character appear lifelike. For the limbs, you can refine the hands and feet in more detail, ensuring that the fingers and toes are well-defined.
3. Adding Clothing and Accessories
After the basic body structure is complete, it’s time to add clothing and accessories. Blender offers tools for simulating fabrics and clothing dynamics, allowing you to create realistic-looking garments with folds, wrinkles, and natural draping effects.
The "Cloth Simulation" feature in Blender is particularly useful for clothing, as it can simulate the behavior of fabric as the character moves. You can also use the “Multiresolution” modifier for further sculpting clothing details like folds, seams, and textures.
Detailing and Surface Finishing
Once the main structure is done, the next phase focuses on detailing and refining the surfaces. The goal is to add fine textures and realistic features, such as skin pores, muscle definition, and clothing wrinkles.
1. Sculpting Muscles and Skin Details
One of the more advanced stages of character modeling is sculpting the muscle definition and skin details. In Blender’s Sculpt Mode, you can use a range of brushes to add muscle definition, skin folds, and other fine details that will make your character appear more lifelike.
The "Dynamic Topology" feature allows you to add finer details by automatically subdividing the mesh as you sculpt, giving you more resolution to work with in areas that require precision, like facial features or muscle contours.
2. Texturing and Shading
Once the model's shape and details are complete, the next step is texturing and shading. Blender offers robust texturing tools, enabling you to paint textures directly onto the model in "Texture Paint" mode. You can create realistic skin, clothing, and hair textures using high-resolution images or hand-painting them.
You can also create UV maps in Blender, which unfolds your 3D model into a flat 2D image for precise texture application. Using these maps, you can apply detailed textures that wrap around your model, giving it a realistic appearance.
Blender’s material system is highly versatile, allowing you to assign different shaders to different parts of the model, such as glossy skin, matte clothing, or reflective accessories. With the right lighting and shading setup, your character will look more lifelike and believable.
3. Adding Final Details and Accessories
At this stage, you can add any final details, such as hair, jewelry, weapons, or any other accessories that will bring the character to life. Blender’s particle system is excellent for creating hair or fur effects, which can be styled to fit the character’s appearance.
You can also add wrinkles, scars, and other small features to enhance the realism of the skin texture. These details will make your character look more authentic and nuanced.
Rigging and Animation
Character modeling isn’t just about creating static figures. It also involves rigging the model with bones and creating animations that bring it to life.
1. Creating the Skeleton (Armature)
To animate the character, you first need to create a skeleton, also known as an armature. Blender’s "Armature" tool lets you build a bone structure for your character. This structure will control how the model deforms and moves.
2. Binding and Weight Painting
Once the bones are in place, the next task is to bind the mesh to the skeleton and define the weight distribution. Weight painting determines how each vertex of the model moves about the bones. You can manually adjust the weights or use automatic weighting tools to speed up this process.
3. Animation Setup
With the skeleton and weight painting complete, it’s time to add animation. Blender supports both keyframe-based animation and motion capture, allowing you to create smooth, realistic movements for your character. You can animate the character's actions, such as walking, running, or performing other actions.
From creating a base structure to refining details, adding textures, and rigging for animation, each step requires patience and precision. By consistently practicing and experimenting with different techniques, you can create impressive 3D characters. For further inspiration and resources, you can download a wide variety of 3D models and textures from the Relebook website, which will help you refine your skills and kickstart your creative journey.
FAQ
How can I quickly learn character modeling?
The fastest way to learn character modeling is through practice. Try following tutorials from experienced artists, and replicate models to understand the process better. Engaging in community forums and seeking feedback from other creators is also a great way to accelerate learning.
Is Blender suitable for beginners in character modeling?
While Blender has a steep learning curve, it’s an excellent choice for beginners due to its comprehensive features and free availability. There are many tutorials and resources available online to help newcomers get started.
How can I make my character model look more realistic?
Adding high-quality textures, shaders, and lighting will significantly improve the realism of your model. Pay particular attention to skin details, clothing wrinkles, and the overall anatomy of your character. Realistic lighting can also make a huge difference in presenting your model.

