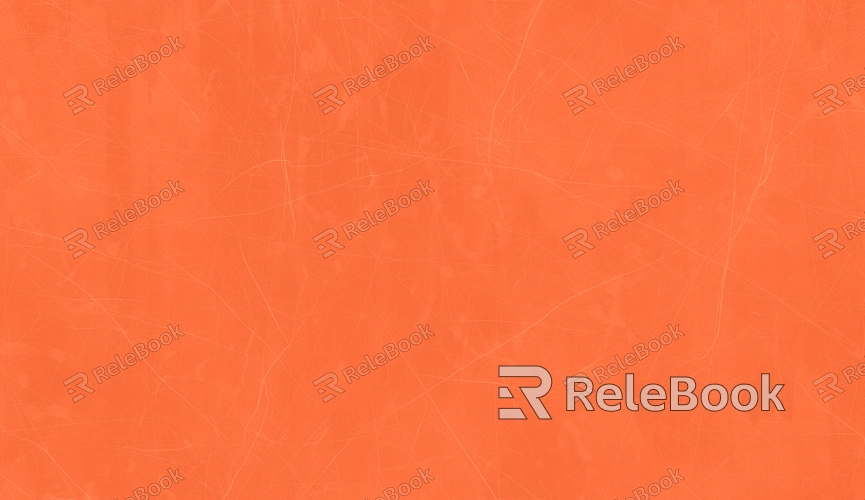
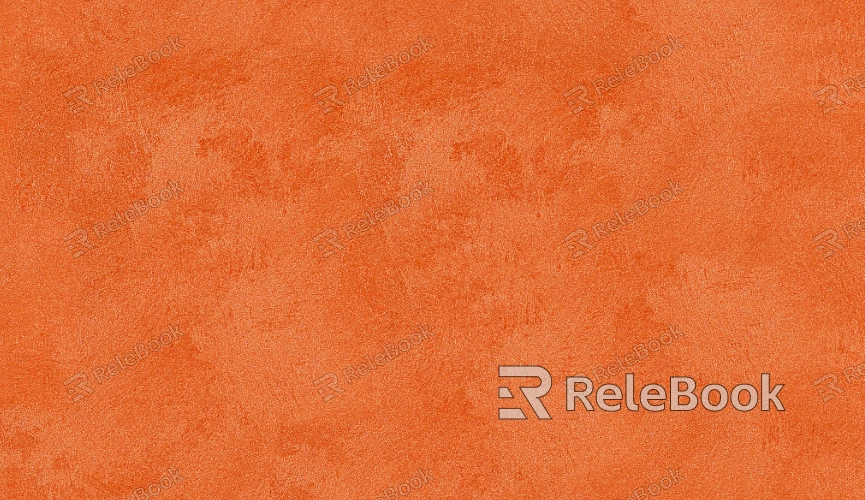
How to Create Orange Texture in 3D
Orange textures are visually striking materials that are frequently used to represent various objects' surfaces, especially for models requiring bold colors like fruits, architecture, industrial products, or decorative items. In 3D rendering, these textures can enhance the realism and detail of a model, providing a deeper sense of immersion in applications such as character modeling, virtual reality, or game development. This guide will explain how to create orange textures in popular 3D software like Blender and 3ds Max, helping designers refine their texture creation process and improve render quality.

1. Common Uses for Orange Textures
Orange textures are not only prevalent in nature but also play a significant role in numerous real-world applications. Here are some typical uses:
Fruit Surfaces: The most iconic orange texture is the peel of an orange. Its detailed surface and unique texture are often replicated in 3D modeling to create lifelike fruit models. By mimicking this detail, 3D artists can achieve a more realistic representation of fruits, improving their visual impact.
Industrial Products: Many modern industrial products, such as appliance housings and plastic decorations, feature vibrant orange surfaces. These surfaces often display fine textures, which can be represented effectively through 3D rendering.
Building Surfaces: The facades of some buildings, wall coverings, and aging effects often include orange textures. Whether simulating ceramic tiles, paint, or weathered walls, these textures add authenticity and artistic flair to architectural designs.
2. Basic Material Setup
Before diving into creating an orange texture, setting up the base material correctly is crucial for achieving a realistic result. The right setup will ensure that the texture looks natural, and lighting effects match the material’s characteristics.
Choosing the Right Material Type: PBR (Physically Based Rendering) materials are commonly used as they reflect light and surface properties realistically. When creating an orange texture, factors like metallicity and roughness will have a direct impact on the final appearance.
Adjusting Material Color: The core of an orange texture is its color. By adjusting the base color’s hue, saturation, and brightness, you can ensure the final result meets your design requirements.
Using Appropriate Texture Maps: Standard texture maps like normal maps, roughness maps, and specular maps are essential for adding finer surface details. These maps help replicate subtle texture variations, such as the small bumps on the orange skin.
3. Using Procedural Techniques to Create Orange Textures
Procedural texture generation methods provide flexibility and efficiency when creating orange textures. Here are some common techniques:
Applying Noise Textures: Noise textures, such as Perlin noise, can simulate the irregularities found on the surface of orange textures. By adjusting the intensity and frequency of the noise, you can create uneven surfaces with natural randomness.
Displacement Maps: Displacement maps allow you to add actual geometric detail to the surface, creating a more pronounced 3D effect. For orange textures, displacement maps can add subtle bumps or grooves to enhance the texture's realism.
Fine-Tuning Texture Detail: By carefully adjusting the layers and details of noise textures, you can achieve a more authentic look. For example, increasing noise detail can simulate the tiny variations on an orange peel, intensifying the visual impact.

4. Refining Orange Texture Details
To make the orange texture look more natural and believable, tweaking details is essential. Depending on your design requirements, you may need to make specific adjustments:
Adjusting Normal Map Intensity: Tweaking the intensity of the normal map allows you to accentuate surface details, such as the ridges and bumps on the orange skin, making them appear more realistic.
Roughness Settings: Roughness affects how glossy or matte the surface looks. Since orange textures are typically somewhat rough, adjusting the roughness parameter can help achieve the desired visual effect.
Color and Glossiness: Orange surfaces often have varying levels of glossiness. Small adjustments to the color can simulate how light reflects differently on the texture depending on the angle, adding more depth and realism.
5. Applying Orange Textures in Blender
Here’s a step-by-step guide for creating and applying an orange texture in Blender:
Create Base Material: Start by creating a suitable base material in Blender. Use PBR rendering settings, and add relevant maps for base color, gloss, and roughness.
Add Noise Texture: Introduce noise textures, such as Voronoi noise, to simulate fine surface details. Adjust the texture's scale, intensity, and other parameters based on the design needs.
Apply Displacement Map: Convert your noise texture into a displacement map. This will directly alter the model’s surface geometry, giving it the natural appearance of an orange texture.
Rendering and Refining: Throughout the rendering process, continually test and refine the texture’s details, ensuring it looks natural and realistic under different lighting conditions.
6. Adjusting Orange Texture for Different Scenes
Orange textures may need some optimization and tweaking depending on the scene they're placed in. Consider the following adjustments:
Adjusting Highlights: In environments with strong highlights, you may need to fine-tune the roughness and reflection settings of the orange texture to enhance its natural glossiness.
Adapting to Lighting Conditions: In different lighting scenarios, such as bright or dim settings, adjusting the material's reflectivity and highlight properties will help the texture look its best under all conditions.
7. Post-Processing with External Software
Sometimes, the orange texture may need further refinement using external software. In Photoshop, designers can adjust the color, contrast, or remove unwanted imperfections to perfect the texture and meet project requirements.
By following these steps, designers can master the art of creating and applying 3D orange textures in Blender, covering everything from basic setup to fine-tuning, displacement adjustments, and scene-specific refinements. With these skills, you’ll be able to create high-quality textures for any project, enhancing both the realism and visual impact of your renders.
If you're looking for high-quality 3D texture resources, SketchUp models, or 3ds Max models to create and populate virtual scenes, Relebook offers a wealth of options to help you achieve exceptional visual results in your projects.

