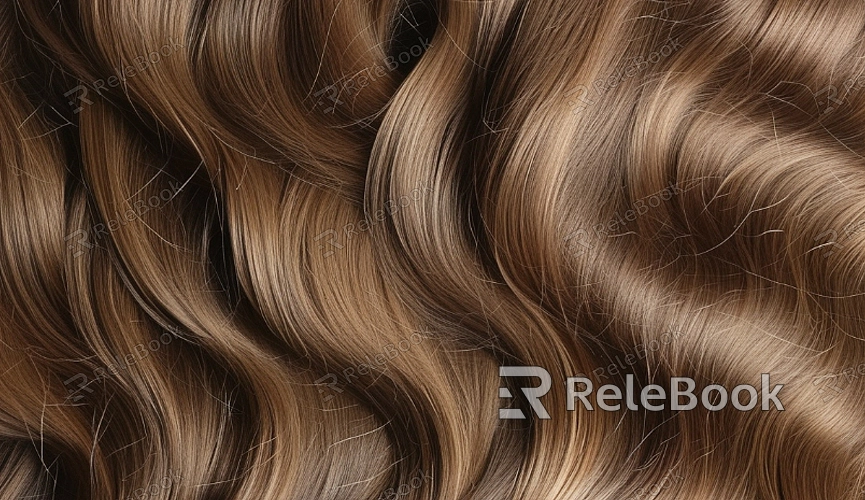
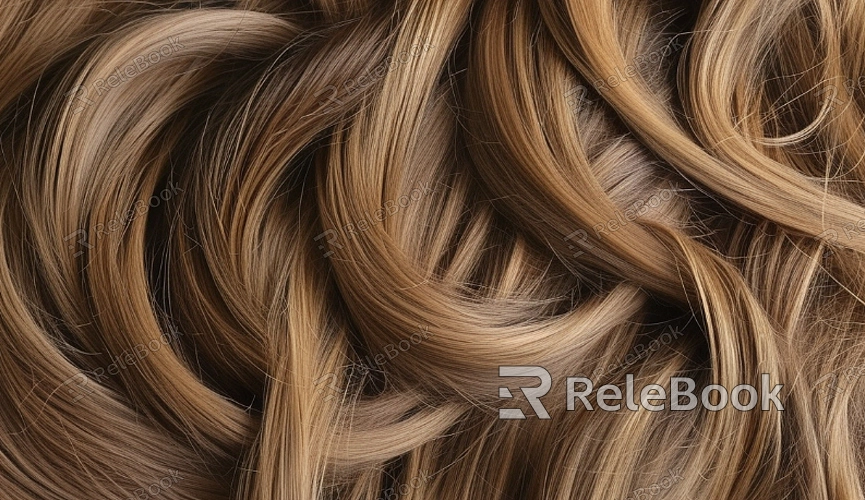
How to Add Hair to 3D Models?
With the rapid advancements in computer graphics technology, hair rendering has become an essential area of research. From character design in animated films to virtual characters in video games, hair effects have become increasingly realistic, providing viewers with more detailed and lifelike visual experiences. When it comes to adding hair to a 3D model, it’s not just about aesthetics, but also about giving the model more life and realism. This article will walk you through the process of adding hair to 3D models, covering the common hair creation techniques, software tools, and practical tips to help you achieve your desired results.

Basic Principles of Adding Hair
Before you start adding hair to a 3D model, it’s essential to understand the basic structure of hair and how it is represented in 3D modeling. Hair is typically composed of numerous small curves or strands that need to be arranged in three-dimensional space to ensure a natural appearance.
Generally, adding hair in 3D can be divided into two major types:
Geometry Hair: This type involves creating small geometric shapes for each strand of hair. It is often used for short hair or when you want to focus on fine details. It is better suited for simpler models but can be resource-intensive.
Curve Hair: This method uses curves or splines to represent hair strands. It is typically used for more complex scenes, as it’s more efficient for rendering large-scale hair effects.

Common 3D Modeling Software and Hair Tools
There are several powerful software tools available today that can help you add hair to your 3D models. Below are some of the most widely used 3D modeling and rendering software that offer robust hair simulation systems:
1. Blender
Blender is an open-source 3D modeling and rendering software with an excellent hair simulation feature. Blender’s hair creation is managed through its "Particle System." By setting up a particle system, you can generate dense hair groups and adjust various parameters like hair length, density, and curvature to control its appearance.
2. Maya
Maya, developed by Autodesk, is a popular 3D modeling and animation software that also provides advanced hair tools. Maya’s hair system, called "XGen," is a highly sophisticated tool for creating and grooming hair. XGen allows for highly detailed hair modeling and integrates seamlessly with Maya’s other animation features, making it particularly well-suited for high-quality film and animation productions.
3. 3ds Max
3ds Max is another 3D modeling and rendering software developed by Autodesk, and it also offers a hair simulation tool. 3ds Max’s “Hair and Fur” tool allows you to create and refine hair on your models. It is similar to Maya in terms of offering high-quality hair simulations, suitable for detailed animations and rendering tasks.
4. Cinema 4D
Cinema 4D, developed by Maxon, is a professional 3D modeling and animation software with a user-friendly interface and a powerful hair system. The "Hair Object" tool in Cinema 4D makes it easy to add hair to your 3D models and fine-tune parameters like hair length, direction, and density for realistic results.
Basic Steps to Create Hair
Regardless of which software you use, the basic process of adding hair to a 3D model is generally the same. Here’s an overview of the typical workflow:
1. Create the Base Model
Before adding hair, you need a 3D model. This can be a simple shape, like a sphere, or a more complex character model. The model’s surface should be refined to ensure the hair will be correctly attached. Some software allows you to select specific regions of the model where you want hair to grow.
2. Apply a Particle System or Hair Object
Once the base model is ready, you can proceed to add hair. Most 3D software uses a particle system or a hair object tool to generate hair. For example, in Blender, you select the particle system and set it to the “Hair” option to generate the hair. In Maya, you use XGen to create and groom hair strands.
3. Adjust Hair Appearance
After generating the hair, the next step is to adjust its appearance. This includes settings like hair length, density, curvature, direction, color, and other texture properties. Each hair system has a set of parameters that you can tweak to achieve the desired effect.
4. Add Hair Textures and Detail
Hair is not just a simple curve; it often requires texture mapping to make it look more realistic. You can use hair texture maps to add varying colors and shininess to the hair. For example, using a gradient texture can simulate the natural color transition from the root to the tip of the hair or a noise texture can create the subtle variation seen in real hair strands.
5. Simulate Hair Dynamics
Many advanced software tools allow you to simulate dynamic effects, so hair moves naturally in response to character motion or environmental factors like wind. For instance, Blender’s cloth simulation system and Maya’s fluid simulation tools can be used to create realistic hair dynamics.
6. Render Hair Effects
Once you’ve finished modeling and adjusting the hair, the final step is rendering. Hair rendering is computationally intensive because it involves simulating complex light interactions and details. Many 3D software tools come with specialized hair rendering engines, such as Arnold or Cycles, which use ray tracing technology to accurately simulate the light and shadow effects on hair.
Common Hair Issues and Solutions
While adding hair to a 3D model, you might encounter some common issues. Here are some solutions to these problems:
1. Hair Density Too High or Too Low
If the hair density is too high, it may cause rendering performance issues; if it's too low, the hair may look sparse. Adjust the density parameter in the particle system to achieve a more balanced look.
2. Hair Not Clinging to the Model’s Surface
If the hair doesn't attach correctly to the model's surface, you can adjust the starting point of the hair strands or use projection tools to ensure the hair conforms to the surface of the model.
3. Unnatural Hair Dynamics
If the hair’s dynamics don’t look natural, tweak the settings for cloth or fluid simulations to optimize how the hair responds to physical forces like gravity and wind. Ensuring proper interaction with the environment is key to creating natural-looking hair movement.
Adding hair to a 3D model is a complex yet highly creative process. By understanding the different tools and techniques available in various software packages, you can effectively create realistic hair effects that enhance the overall quality of your 3D creations. Hair is more than just a cosmetic addition—it breathes life into your models, making them appear more dynamic and lifelike. With practice and experimentation, you’ll be able to master these techniques and apply them to your projects.
If you’re looking to add high-quality models and textures to your 3D creations, visit Relebook, where you can download premium 3D models and textures to take your designs to the next level.
FAQ
Why does hair rendering take so long?
Hair rendering is computationally demanding, especially when rendering detailed hair, dynamic effects, and light interactions. To optimize rendering time, you can reduce hair density or lower the detail level when rendering.
How do I add hair to a model in Blender?
In Blender, you can add hair using the particle system. Select your model, create a new particle system, and then set it to “Hair” mode. From there, you can adjust the length, density, and other properties to style your hair.
How can I make hair interact with wind and gravity?
In 3D software, you can use cloth or fluid simulations to allow hair to react to external forces like wind or gravity. For example, in Maya, you can use NCloth to simulate realistic hair interactions with the environment.

