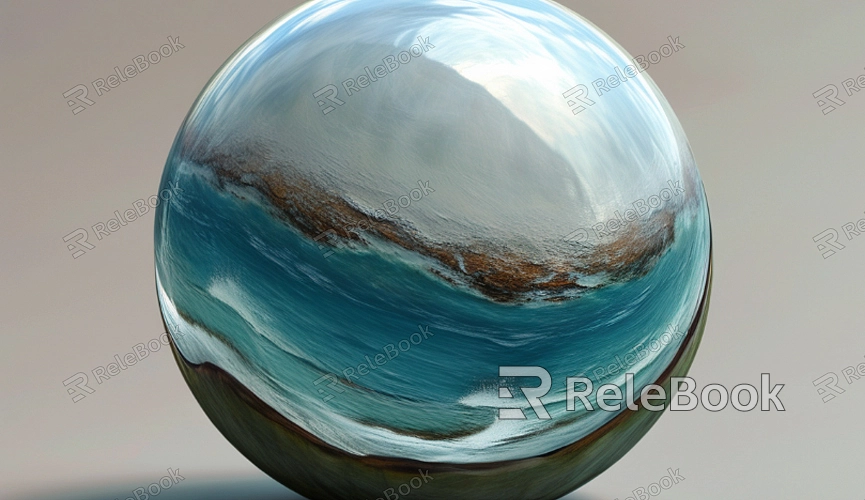
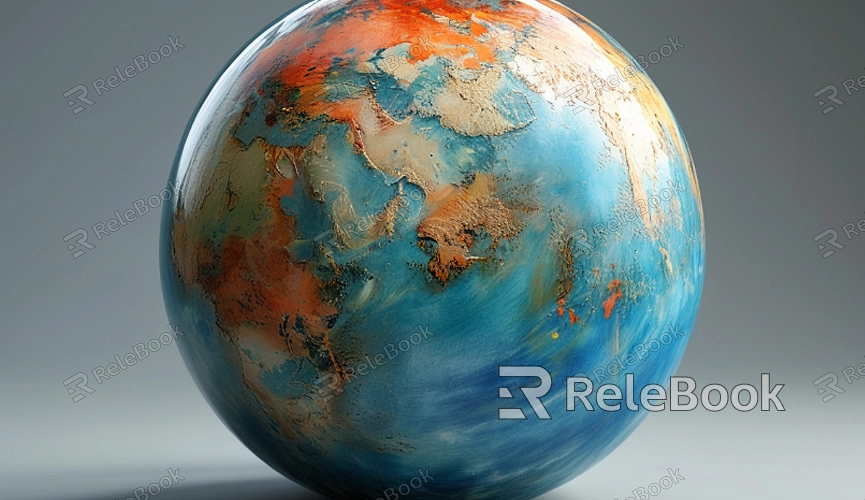
How to Map Textures onto a Sphere?
Texture mapping allows you to apply a 2D image (texture) onto the surface of a 3D object to add detail and realism. The sphere, being a common 3D shape, presents its own set of challenges when it comes to texture mapping. This process involves a series of techniques to ensure that the texture is applied smoothly and naturally onto the spherical surface. In this article, we will delve into how to map textures onto a sphere, exploring the basic principles of mapping, the step-by-step process, and common issues along with their solutions.

Basics of Texture Mapping
Before we dive into the specifics of mapping a texture onto a sphere, it’s important to understand the fundamental concepts behind texture mapping. Texture mapping is the process of applying a 2D image (texture) to the surface of a 3D object. Each pixel in the image corresponds to a specific point on the object’s surface, creating a “mapping.” For a sphere, this mapping involves transforming the 2D image onto the curved surface of the sphere in a way that minimizes distortion.
The key to texture mapping is the use of a coordinate system. In 3D space, the UV coordinate system is typically used to describe how the texture is applied to an object’s surface. The U and V coordinates refer to the horizontal and vertical axes of a 2D plane. Since a sphere is a curved surface, accurately mapping a 2D texture onto the spherical surface can be tricky.
UV Unwrapping the Sphere
To map a texture accurately onto a sphere, the first step is to perform a process called UV unwrapping. UV unwrapping is the technique of converting the 3D surface of an object into a 2D plane. By unwrapping the UVs, each surface on the model is mapped to a specific area of the texture image, ensuring the texture fits correctly.
For spheres, the UV unwrapping process is relatively straightforward, but it does require some technique to make the mapping appear natural. The most common method is to use a system based on latitude and longitude. Longitude refers to the vertical distribution of the sphere, while latitude refers to the horizontal distribution. This method divides the sphere into bands, allowing each section to map accurately to a corresponding area of the 2D texture.
1. Common Methods of UV Unwrapping for Spheres The most commonly used UV unwrapping method for spheres is the “spherical projection.” This involves projecting the sphere's surface from the poles (the top and bottom of the sphere) onto a flat plane. This method minimizes distortion in the texture across the sphere’s surface.
Other methods, such as cube mapping or disk mapping, are also possible, but spherical projection is the most intuitive and widely used approach.

Steps to Map a Texture onto a Sphere
Mapping a texture onto a sphere typically involves several key steps. Below, we’ll outline the process in detail.
1. Create or Select a Texture Image
The first step is to either create or select a 2D texture image that is suitable for mapping onto the sphere. Textures can be anything from simple color maps to complex detail images (e.g., Earth textures, surface detail maps, etc.). When creating or choosing a texture, make sure the resolution is high enough to preserve detail and that the proportions of the texture match the size of the sphere.
2. UV Unwrap the Sphere
Once you’ve chosen the texture image, the next step is to UV unwrap the sphere. Most 3D modeling software (like Blender, Maya, or 3ds Max) comes with UV unwrapping tools. In this step, the surface of the sphere will be mapped to a 2D plane, and the mapping will define which part of the texture image corresponds to each area of the sphere.
When unwrapping, it’s useful to think of the sphere as a globe, with the latitude and longitude lines serving as guides for the unwrapping process. This ensures that the texture is evenly distributed and aligned with the spherical surface. You can adjust the UV seams and islands to minimize stretching or squishing of the texture.
3. Apply the Texture
After unwrapping the sphere, it’s time to apply the texture. At this point, you need to connect the chosen texture image with the UV coordinates of the sphere. Most 3D software provides a "texture mapping" tool that allows you to bind the image to the model’s UV map. The texture will be stretched and adjusted to fit the UV coordinates on the sphere.
4. Adjust and Optimize
Once the texture is applied, you may notice some areas where the texture looks stretched, deformed, or seams are visible. This is quite common and can be fixed by adjusting the UV unwrap or by modifying the texture image itself. Additionally, you can use techniques like decals, detail textures, or normal maps to add more depth and realism to the sphere’s appearance.
Tips and Tricks
There are several techniques and best practices that can help you avoid common issues and ensure a high-quality texture map for your sphere.
1. Maintain Texture Resolution
The resolution of your texture should be chosen based on the needs of your project. A texture with a low resolution may result in a loss of detail, while a very high-resolution texture could place unnecessary strain on your system. Aim for a resolution that strikes a balance between visual fidelity and performance.
2. Avoid Stretching and Compression
When performing UV unwrapping, avoid areas where the texture appears excessively stretched or compressed, especially near the poles and equator of the sphere. One way to mitigate this is to use seamless textures, which help minimize visible seams and distortion.
3. Use Detail Maps
For high-quality sphere textures, consider using additional detail maps like normal maps, roughness maps, or specular maps. These maps simulate finer surface details, improving the appearance of the sphere without requiring more texture space.
4. Adjust Texture Coordinates
If you notice that the texture doesn’t appear natural in certain areas, you can adjust the UV coordinates by scaling or moving parts of the texture image. Small tweaks to the texture placement can go a long way in improving its look on the sphere.
Mapping textures onto a sphere is a multi-step process that involves UV unwrapping, applying the texture, and making adjustments for any distortions or artifacts. By understanding the fundamentals of texture mapping and following a few best practices, you can create high-quality, realistic sphere textures that enhance your 3D models.
If you're looking for more 3D models and textures to use in your projects, be sure to visit Relebook and download a variety of professional resources to elevate your creations.
FAQ
Why does my texture look distorted when mapped to the sphere?
Texture distortion typically occurs due to improper UV unwrapping or mismatched texture proportions. Double-check your UV unwrap to make sure the texture fits the sphere properly, and ensure the image resolution and aspect ratio match the sphere’s size.
How can I avoid visible seams in the texture?
Seams can be minimized by adjusting the UV cuts and ensuring smooth transitions along the seams. Using seamless textures also helps reduce noticeable seams.
How can I optimize the texture for better performance?
To optimize performance, consider lowering the texture resolution, using MIP mapping, or utilizing detail textures instead of large full-texture maps. These techniques can help improve performance without sacrificing too much visual quality.

