How to Make 3D Texture with Felt
Felt textures add a soft, warm, and realistic feel to 3D models, making them ideal for characters, interior decor, or natural elements in rendering. This material is widely supported in modeling software like Blender, 3ds Max, and Maya, and is adaptable for a range of styles. This guide walks through essential steps for creating convincing felt textures to enhance 3D models with realistic detail and depth.

1. Identify Key Characteristics of Felt Material
Felt has a soft, irregular fiber quality and a slightly matte finish. When designing felt textures, focus on representing these unique characteristics.
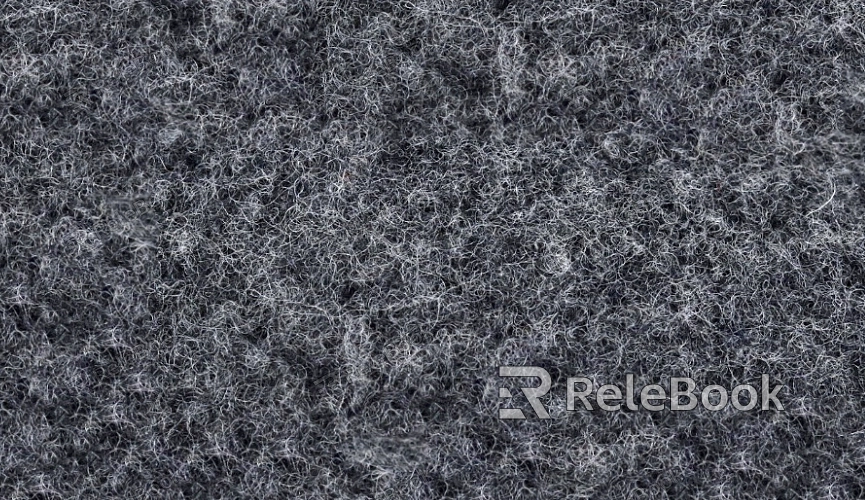
Use high-resolution photos of real felt as reference images. Study its color transitions, fiber patterns, and surface details to inspire the texture design.
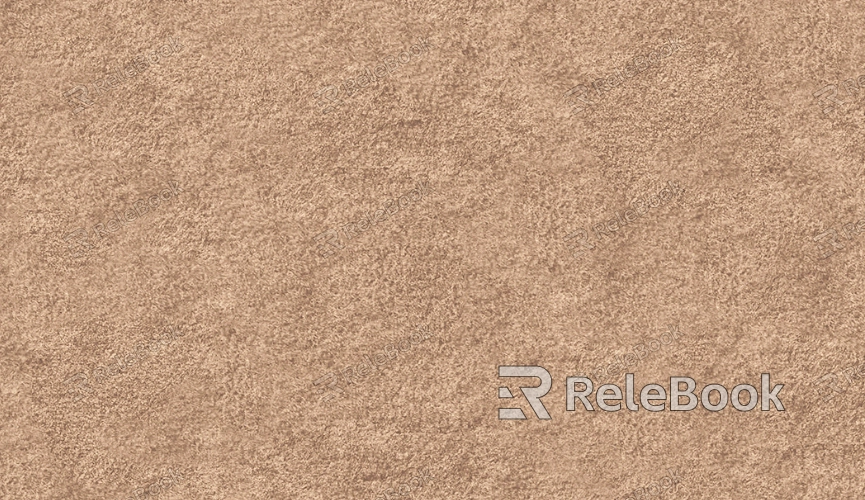
Typical felt colors include light gray, dark gray, beige, and tan. These hues are effective choices for mimicking real felt.
2. Create a Base Texture
To start, open the material editor in Blender (or a similar program) and create a new material, naming it "Felt Material."
Set the base color to a subtle gray or tan, avoiding highly saturated colors. Use either a “Diffuse” or “Subsurface Scattering” shader model to capture felt’s soft, light-diffusing qualities.
Increase the roughness to reduce any glossiness, giving the surface a matte look that avoids excessive reflection.
3. Add Fiber Details
Adding felt fibers through texture mapping is crucial for realism.
Look online for felt fiber textures, or create one in Photoshop with a randomized fiber pattern.
Add this texture to the “Bump” channel, adjusting the bump strength to bring out the fiber details on the surface.
In Blender, you can also use “Noise Texture” or “Cloud Texture” nodes. Experiment with scale and density to emulate felt’s fiber pattern, enhancing the authenticity of the texture.
4. Introduce Roughness Mapping
Roughness maps help convey felt’s uneven surface.
Since felt isn’t perfectly smooth, a roughness map will help bring out this randomness in the texture.
If creating custom 3D textures feels too complex or time-consuming, or if you’re unsure where to start, explore Relebook for a wide variety of high-quality 3D textures that can streamline your process.

5. Add Subsurface Scattering for Light Diffusion
Felt material absorbs and diffuses light slightly, so adding a subtle “Subsurface Scattering” (SSS) effect can enhance realism.
In Blender, adjust the “Subsurface Color” and “Subsurface Radius” values to simulate light diffusion within the material. This can create a soft, warm effect as light penetrates slightly into the texture.
Keep the SSS effect subtle for natural-looking light and shadows on the felt.
6. Refine Texture Detail
Further optimize realism by adding multiple layers of textures, such as a light “Displacement Map” over the base bump texture.
Displacement maps add depth, creating a more dimensional surface.
Set lower intensity for the displacement map to prevent the texture from appearing overly rough.
7. Use Texture Blending Techniques
Layering and blending textures can add complexity and authenticity to felt surfaces.
Use techniques like “Blend Shader” or “Gradient Shader” to add depth in different areas. Slight variation across the surface can bring out a more natural feel.
Combine color, bump, and roughness maps, adjusting opacity as needed to refine the surface detail.
8. Configure Lighting and Render Testing
Lighting setup can dramatically affect felt’s appearance. Soft, angled lighting helps emphasize the fibers’ natural look.
Experiment with multi-angle lighting to see how the material responds under different conditions. In Blender or 3ds Max, soft light can make the fibers appear more realistic.
During rendering, adjust light intensity and angle to highlight texture details and felt’s matte finish.
9. Apply and Test in Different Contexts
Finally, apply the felt material to objects or characters to test its suitability.
Scale the texture to fit the object’s size and level of detail, ensuring it looks convincing at various distances.
Preview the material in different lighting environments to ensure it maintains a consistent quality and appearance.
Through these steps, you can achieve a convincing 3D felt texture, perfect for models that benefit from a soft and realistic aesthetic. With attention to texture layering and lighting, the final result will have depth and character. This guide aims to help designers better understand and apply felt materials, encouraging further exploration into texture design techniques.
If you’re searching for premium 3D textures, SketchUp models, or 3ds Max assets for your scenes, Relebook offers a broad selection to enhance your projects’ visual impact.

