How to Make a Texture for a 3D Character Model
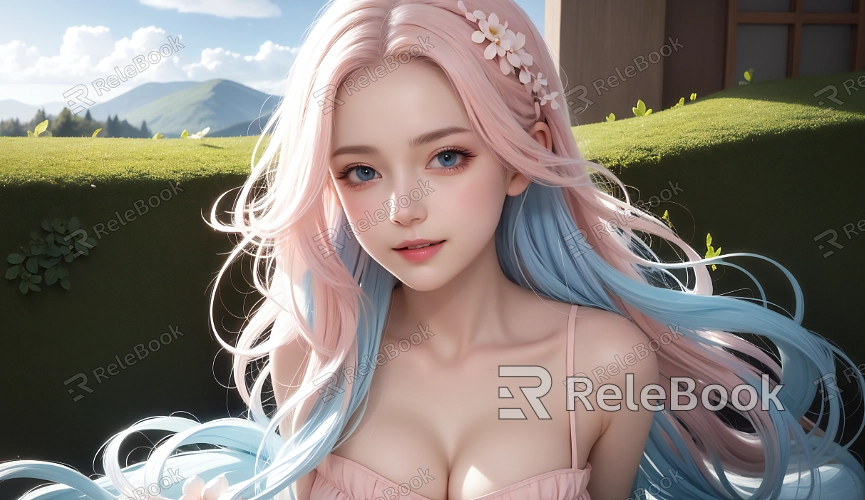
In fields like film, gaming, animation, and virtual reality, the quality of textures applied to 3D character models greatly impacts the visual appeal of the final product. Creating textures is a complex process that combines artistic and technical skills, from concept design and image processing to fine detail adjustments. Popular 3D software, including Blender, Maya, and Substance Painter, offer powerful tools for texturing, but each step still requires meticulous attention to detail. This guide will walk through key processes and techniques for efficient and high-quality texturing of 3D character models.

Prepare and Unwrap the UV Layout
UV layout is foundational for applying textures, as it maps the 3D model's surface onto a 2D space. Ensuring an efficient UV layout without stretching and making the most of UV space maximizes texture clarity.
Typically, character models are unwrapped by sections—such as face, limbs, and clothing—to allow for clearer texture details in each area. UV unwrapping tools, like Maya’s UV Editor or Blender’s UV Mapping tools, help designers achieve precise UV layouts that enhance the final texture quality.
Create Basic Texture Maps
Basic texture maps include the diffuse map, specular map, and normal map, each responsible for color, glossiness, and bumpiness on the model.
Diffuse Map: This map controls the color and pattern and can be crafted in Photoshop or Substance Painter. Use appropriate skin or fabric references, combining brush tools for painting details and patterns.
Normal Map: Add depth and detail to the model, like skin texture or fabric grain. High-detail sculpting tools can create intricate designs, which are then baked into a normal map for realistic detail on low-poly models.
Refine Facial Textures
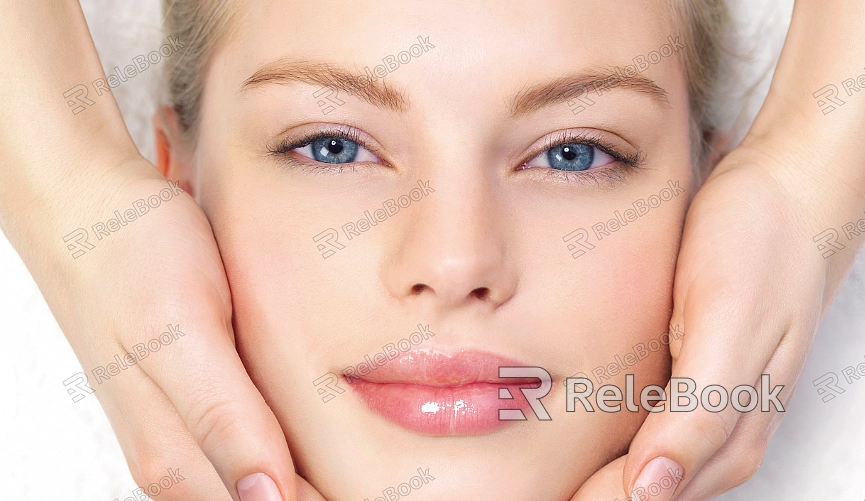
Facial textures often draw the viewer’s attention and require exceptional detail, including pores, wrinkles, and skin texture for added realism.
Begin with high-resolution skin references and use tools in software like Substance Painter to add realistic skin details. To avoid an overly smooth look, include imperfections and slight irregularities to enhance realism and expressiveness.
Add Clothing and Accessory Materials
Clothing and accessory textures contribute to a character’s uniqueness and depth, often involving fabric, leather, or metal textures.
In Substance Painter or Mari, designers can select material templates and adjust parameters like roughness, smoothness, and reflectivity to add a natural look to clothes and props. Adding elements like wrinkles or wear can enhance the texture and provide a lived-in look.

Control Lighting and Reflections
Lighting and reflections can have a significant impact on a character model's visual layers. Adjusting the specular and reflection maps enables designers to control how surfaces interact with light.
Specular Map: This defines the gloss level of different areas. For instance, skin might have a softer glow, while metal accessories need higher gloss for a more pronounced reflective quality.
Reflection Effects: Include a reflection map or tweak the metallic parameter to make surfaces like metal shine under light, creating realistic reflective effects.
Optimize and Test Texture Quality
After completing the initial texture, testing and refining the texture under various lighting conditions in 3D software ensures its quality. Use software like Blender or Marmoset Toolbag for quick previews, allowing adjustments to reduce excessive brightness on faces or tone down roughness on clothing to match expectations.
Add Dynamic Texture Layers
For dynamic or environmental effects, consider adding overlay textures, such as sweat, dirt, or blood, to match specific scenes and add atmosphere.
Layering additional textures with transparency masks can help control the visibility and placement of these effects, making them feel natural and fitting for the environment.
Bake and Integrate All Texture Maps
Baking all texture maps onto a low-poly version of the model helps streamline rendering and reduce processing load while preserving details. This step is crucial for achieving the best final result in-game or in-scene.
Post-baking, inspect the texture's resolution, color fidelity, and shading to ensure consistency across different displays and devices, adjusting as necessary for seamless visual quality.
Export and Optimize Texture Files
Once the textures are finalized, export them in formats compatible with rendering engines, like PNG, JPEG, or EXR. When exporting, balance compression for performance with high enough resolution to avoid losing detail and impacting visual quality.
Creating textures for 3D character models requires patience, skill, and a solid workflow, from UV unwrapping to final adjustments. If you're looking for high-quality 3D texture resources, SketchUp models, or 3ds Max assets for character modeling or virtual scenes, Relebook provides a variety of options to support you in creating outstanding visual effects in your projects.

