How to Make a Wet Ground Texture in Unity 3D
In game development, film, and VR environments, wet ground textures with reflective surfaces, water stains, and varied depths can greatly enhance the realism of a scene, allowing viewers to fully immerse themselves in the environment. Unity 3D, a leading 3D engine, offers robust material and texture tools that allow designers to create realistic wet ground effects by customizing material settings and adding detailed textures. Here’s a step-by-step guide covering key techniques to efficiently create a realistic wet ground texture in Unity.

1. Preparing Base Textures and Reference Materials
To start creating a wet ground texture, gather high-quality reference images and base textures that capture ground details, water stains, and reflections. Sources may include real photos or high-quality texture libraries.
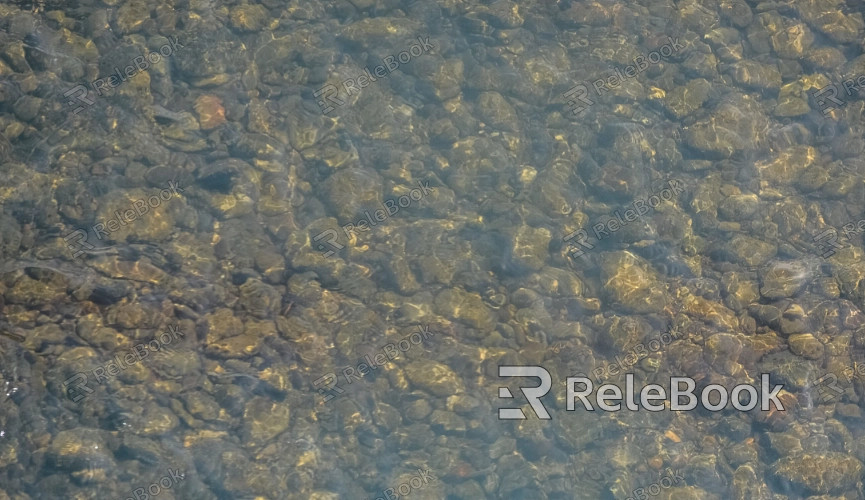
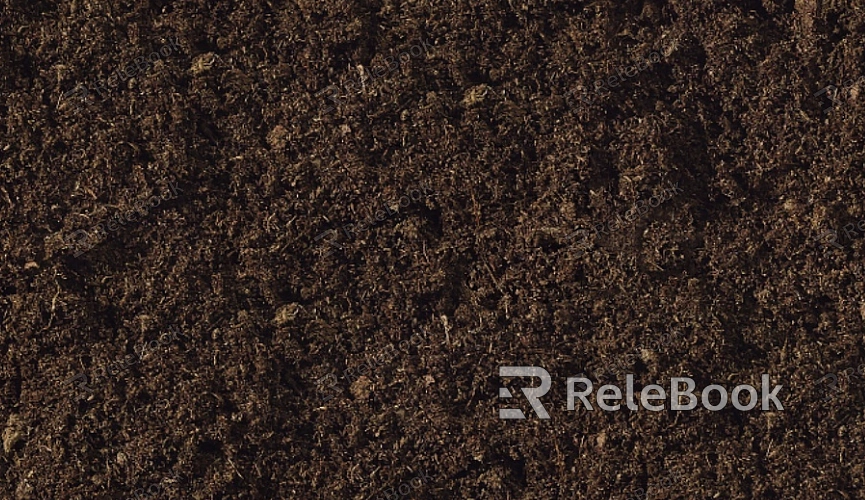
Ground Texture: Choose a muddy or wet ground texture that highlights details like soil particles, puddles, and shallow water.
Water Stain Effects: Use photos of puddles or wet streets to extract suitable water stains and reflective areas.
Lighting Details: Select references with diverse lighting, which helps make reflections appear more natural when added later.
2. Creating Base Material and Diffuse Map
In Unity, a wet ground material typically begins with a diffuse map, which defines the color and foundational details of the ground.
Diffuse Map Creation: Using software like Photoshop or Substance Painter, adjust the base soil color and add water stain effects. For added realism, use brushes to outline shallow water areas or overlay transparent layers to enhance water patterns.
Texture Blending: Layer different mud and water stain textures to add complexity to the ground. Blurring the edges of water stains can create a more natural transition.
3. Adding Normal Map and Depth Details
A normal map is essential for wet ground textures as it provides the 3D ground texture with depth, enhancing soil granularity and puddle features.
Normal Map Generation: Use software like Substance Designer or CrazyBump to create a normal map. Amplify soil particles and puddle features to simulate the rough and smooth regions of a wet ground surface.
Depth Effect Adjustment: In Unity, tweak the normal map’s intensity to control depth. Emphasizing soil texture and smoothing water areas creates contrast, making the wet ground texture appear more lifelike.
4. Creating Specular Map and Reflective Effects
Wet ground typically has a reflective sheen due to moisture, making specular mapping and reflection settings key steps.
Specular Map Creation: In Photoshop, generate a black-and-white map where bright areas represent wet parts. Adjust the brightness of water stain regions to increase glossiness.
Reflection Parameter Adjustments: In Unity, apply the specular map to the material’s specular channel, adjusting glossiness and reflection strength to simulate water’s shimmer. Activate Unity’s specular or environmental reflection settings to add dynamic reflections, enhancing realism.

5. Adding Ambient Occlusion and Contact Shadows
Ambient occlusion enhances the depth of wet ground, especially around puddles and soil edges, by providing realistic shadow effects.
Ambient Occlusion Map: Create an ambient occlusion map using Substance Painter or Photoshop, focusing on deepening shadows around puddles and soil edges to simulate the wet ground’s layered texture.
Contact Shadow Effect: Enable the ambient occlusion channel in Unity and adjust the intensity for a natural shadow effect, avoiding a flat texture appearance.
6. Enhancing Visuals with PBR Materials
Unity’s physically based rendering (PBR) materials are ideal for wet ground as they accurately mimic various optical properties.
Metallic and Roughness Settings: Use PBR materials to control roughness and metallic parameters, balancing soil’s roughness with the smoothness of wet areas to replicate water dispersion on the ground.
Reflection and Lighting Effects: Utilize Unity’s real-time reflections to make water stains more prominent in response to light, creating a realistic “wet” look.
7. Adding Dynamic Effects
Wet ground changes with different weather conditions, so adding dynamic elements like animated puddles or raindrops can further enhance realism.
Dynamic Puddles: Use multiple transparent overlays with different opacities and set them to animate, simulating rain gradually pooling on the ground.
Water Droplet and Flow Effects: Apply particle systems to simulate raindrops landing on the ground. In Unity’s Shader Graph, create custom shader nodes to make water stains appear to flow dynamically across the surface.
8. Optimizing Performance and Material Settings
To ensure smooth rendering of wet ground textures in complex scenes, optimize textures and material settings.
Texture Size and Format: Manage texture resolution to avoid overloading performance. Opt for compatible formats like PNG or JPEG for balance between quality and efficiency.
Material Compression and Render Settings: Use compression options in Unity’s material settings to reduce VRAM usage, ensuring materials look good across devices.
9. Previewing and Fine-Tuning
Once the texture is ready, use Unity’s preview or real-time rendering to inspect and tweak the wet ground effect.
Multi-Angle Check: Adjust the light source to view ground effects from different angles, verifying natural reflection and shadow behavior.
Compare with Real-World References: Check against real photos or videos of wet ground, fine-tuning textures for a lifelike visual outcome.
Creating wet ground textures requires attention to various details, from base texture preparation and normal mapping to reflection adjustments. Each step influences the final appearance. For a wealth of high-quality 3D textures and Unity materials, Relebook offers a comprehensive collection to help you achieve stunning visual results for your project.

