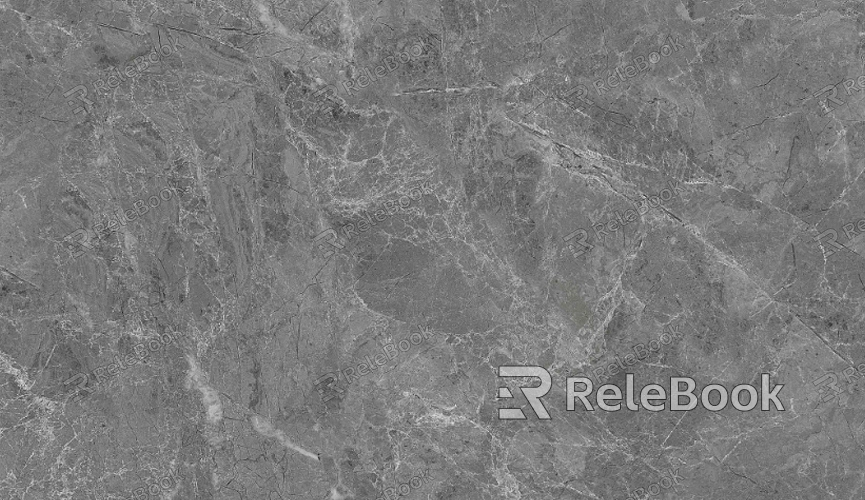
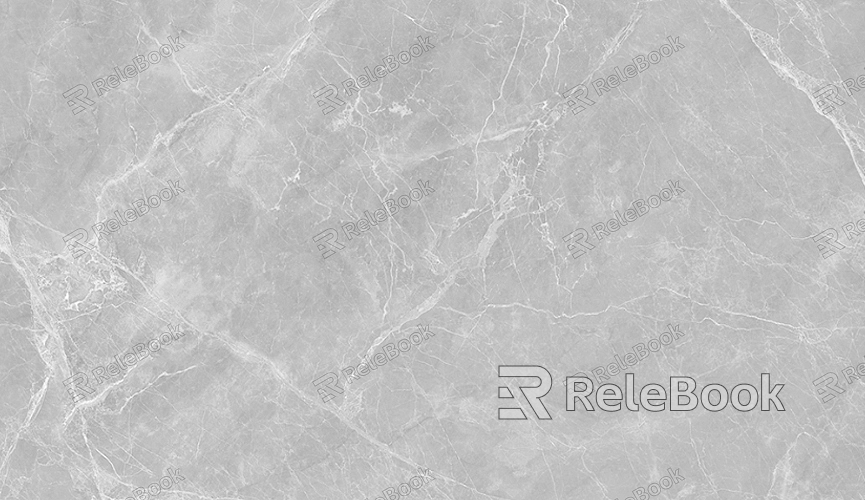
How to Create Texture Maps in SketchUp?
In today's field of 3D design, SketchUp is widely favored for its simplicity and ease of use. Texture mapping, as a crucial part of 3D model design, can endow models with a realistic appearance and rich details. It can transform the plain surfaces of models into visual elements with a genuine texture, whether it's simulating the grain of wood, the roughness of bricks and stones, or the luster of metal, all of which rely on the application of texture maps. This article will elaborate on the methods of creating texture maps in SketchUp to assist readers in better completing their 3D model designs.

Prepare Texture Image Materials
Texture image materials are the foundation for creating texture maps. You can obtain suitable images through various means. One common method is to create them using professional image editing software. For example, you can use software like Adobe Photoshop to draw unique texture patterns, such as abstract textures, hand-painted style textures, etc. During the drawing process, pay attention to the resolution and color mode of the texture. Generally speaking, images with high resolution and in RGB color mode can achieve better results in SketchUp.
In addition, you can also search for free or paid texture material libraries on the Internet. Many websites specifically provide high-quality texture images. When searching, you can look for them based on the type of texture you need, such as keywords like natural textures (wood grain, stone grain), artificial textures (fabric, plastic), etc. When downloading texture images, make sure to pay attention to the copyright issues to avoid unnecessary troubles caused by infringement. At the same time, note the format of the texture image. SketchUp supports many common image formats, such as JPEG, PNG, TIFF, etc.

Import Texture Images into SketchUp
Once you have the texture images ready, you can import them into SketchUp. In the menu bar of SketchUp, select "File" and then click on the "Import" option. In the pop-up import dialog box, locate the folder where the texture image is located and select the image file you need to import. During the import process, you can adjust the import settings as needed, such as whether to import the image as a texture, whether to maintain the original size of the image, etc.
If the imported texture image is too large, it may occupy too many system resources and cause SketchUp to run slowly. In this case, you can compress or resize the image appropriately before importing. Additionally, if you want to import multiple texture images at once, you can hold down the Ctrl key (for Windows systems) or the Command key (for Mac systems) to perform a multi-select operation.
Create Materials and Apply Textures
After importing the texture image, you need to create materials to apply the texture. In the material editor of SketchUp, you can create new materials. Click on the "Window" menu bar and select the "Material" option to open the material editor window. In the material editor, click on the "Create Material" button, and a new material will be created.
Next, apply the imported texture image to the newly created material. In the "Edit" tab of the material editor, there is a "Texture" dropdown menu where you can find the texture image you just imported. Select that texture image, and the newly created material will have the corresponding texture. Then, you can adjust other properties of the material, such as transparency, glossiness, etc., to further optimize the effect of the texture.
Once the material is created and the texture is applied, you can apply it to the surface of the model. Select the model surface where you want to apply the texture, and then click on the corresponding material in the material editor, and the texture will be applied to the selected model surface. You can use SketchUp's paint bucket tool to quickly apply the material to multiple adjacent model surfaces.
Adjust the Scale and Orientation of the Texture Map
After applying the texture map to the surface of the model, you may need to adjust its scale and orientation to meet the design requirements. SketchUp provides several methods to achieve this.
For adjusting the scale of the texture, you can use the scaling tool. Select the model surface with the applied texture and then activate the scaling tool. By dragging the scaling control points, you can adjust the size of the texture. During the adjustment process, you can perform fine scaling operations according to the actual needs. For example, if you want to simulate large tile textures, you can enlarge the texture appropriately; if it's to simulate fine fabric textures, you may need to reduce the texture.
The adjustment of the texture's orientation is equally important. You can use the rotating tool to change the orientation of the texture. Select the model surface and then activate the rotating tool, and then drag the rotating control points to rotate the texture in the desired direction. In addition, SketchUp also allows you to precisely specify the rotation angle and scaling ratio of the texture in the texture's property settings by entering specific numerical values to achieve more accurate adjustments.
Edit the Details of the Texture Map
Sometimes, simply applying the original texture image may not meet the detailed requirements of the design. At this time, further editing of the texture map is required. In SketchUp, you can use some of its built-in tools to achieve this goal.
For example, you can use SketchUp's drawing tools to add additional details on the texture surface, such as drawing lines, patterns, etc. These added details can be integrated with the original texture image to create a unique effect. Meanwhile, you can also use SketchUp's deformation tools to distort, stretch, etc. the texture to simulate the irregularities of the object surface texture in the real world, such as the mottled effect on an old wall, the worn surface of a metal, etc.
In addition, if you need to adjust the color of the texture, you can do so in the material editor by adjusting parameters such as color balance and saturation. This color adjustment can make the texture better match the overall color scheme of the entire model, enhancing the overall visual effect of the model.
Utilize UV Mapping to Optimize the Texture Map
UV mapping is an advanced texture map optimization technique. In complex 3D models, correct UV mapping can ensure the accurate distribution of the texture on the model surface. SketchUp provides some basic UV mapping functions.
By unfolding the surface of the model into a two-dimensional plane, it is more convenient to lay out and adjust the texture. In SketchUp, you can use the "Unfold" tool to perform the unfolding operation on some model surfaces. During the unfolding process, pay attention to maintaining the geometric shape of the model and the continuity of the texture. For some models with complex curved surfaces, you can divide the curved surface into multiple small planes for UV mapping and then piece the textures together to obtain a more natural effect.
At the same time, during the UV mapping process, you can adjust the coordinates of the texture to ensure that the mapping method of the texture on the model surface conforms to the design intention. This can be achieved by manually adjusting the texture coordinate points or using the automatic UV mapping algorithm provided by SketchUp.
Save and Share the Texture Map
After completing the creation and application of the texture map, you may need to save it for use in subsequent projects or to share it with other designers. SketchUp allows you to save the created materials and textures as independent files.
In the material editor, select the material you need to save and then click on the "Save" button. You can save the material in the SketchUp-specific material file format, which contains all the properties of the material, including the texture image. The saved material file can be conveniently imported and used in other SketchUp models.
If you want to share the texture map with other designers, you can package and send the material file and the corresponding texture image together. At the same time, you can also share the entire SketchUp model file so that other designers can directly see the application effect of the texture map in the model.
In SketchUp, creating texture maps requires careful operation in multiple steps, from preparing materials, importing, creating, and applying materials to adjusting textures, editing details, and UV mapping. By mastering these methods and techniques, you can create high-quality, realistic texture maps for 3D models, enhancing the visual expressiveness of the models. I hope you will continue to explore and try in practice to create satisfactory 3D models. If you are interested in 3D models and textures, you can download more exciting 3D models and textures from the Relebook website to further enrich your design resources.
FAQ
What should I do if the imported texture image looks blurry?
This may be due to the low resolution of the texture image or improper scaling during the import process. First, check the original resolution of the texture image. If it is too low, try to obtain a high-resolution image again. If it is a problem during the import, you can readjust the scaling ratio of the texture in the material editor, or reimport the texture image and select to maintain the original size in the import settings.
What should I do if the repeating effect of the texture on the model surface is not good?
This may be because the edge design of the texture image itself is not reasonable. When selecting a texture image, try to choose an image with edges that can be seamlessly spliced. If the texture has already been applied, you can try to adjust the scale and orientation of the texture or use the drawing tool to add some transition elements at the edge of the texture to make it more natural when repeating.
What should I do if the texture is severely deformed after UV mapping?
This may be due to the incorrect way of unfolding the model surface during the UV mapping process. Recheck the unfolding operation of the model surface to ensure that there is no excessive stretching or distortion of the model surface during the unfolding process. You can try to divide the model surface into smaller parts for unfolding and UV mapping or use different parameters of the automatic UV mapping algorithm for trial.

